Aurora photography settings for beginners and advanced shooters
Tromsø: Northern Lights Photography Tour by Bus
What camera settings do I need for aurora photography?
Start with ISO 1600–3200, aperture f/2.8 (or widest available), shutter speed 4–15 seconds on a tripod. The aurora's movement speed dictates shutter speed — slow drifting aurora allows 15–20 seconds; fast-dancing curtains require 2–4 seconds to avoid blur.
Quick answer: The foundation of aurora photography is ISO 1600–3200, f/2.8 or wider, shutter speed 4–15 seconds, manual focus on a star. The hardest part is focusing in the dark — spend 10 minutes on this before the lights appear. Everything else is adjustment from that baseline.
| Core settings | ISO 1600–3200, f/2.8, 4–15 sec, manual focus |
| Gear needed | Manual camera, wide-angle lens, tripod |
| Time to learn | ~10 minutes of practice, ideally before the trip |
| Cost | Free if you own the gear — see the gear guide otherwise |
| Hardest step | Manual focus on a star in the dark |
Why aurora photography is different from other night photography
The northern lights present two competing problems that don’t exist in most other photography contexts:
- They produce their own light — sometimes very bright, sometimes barely perceptible
- They move, and their speed changes unpredictably
A static star field is predictable: you calculate the exposure time from the focal length (500 rule) and set ISO high enough to capture dim light. Aurora is not static. A slow, diffuse arc can be exposed for 20 seconds at ISO 1600. A rapidly writhing curtain at KP 5 needs 2–3 seconds at ISO 6400 or you capture a green blur instead of structure.
This guide gives you the settings that work, the logic behind them, and the adaptations for different conditions.
The exposure triangle for aurora — applied
Aperture: always maximum or near-maximum
Set your lens to its widest aperture. This is not negotiable. The aurora is often dim, especially early in the evening or at low KP. Every stop of aperture you close costs you half the light and forces a doubling of either ISO (more noise) or shutter speed (more motion blur).
f/2.8 is the practical maximum for most zooms (24–70 mm, 16–35 mm range).
f/2.0 or f/1.8 is achievable with fast primes (e.g. Samyang 24 mm f/1.4, Nikon 20 mm f/1.8).
f/1.4 is available with specialist primes (Sigma 14 mm f/1.8 Art, Canon 24 mm f/1.4).
One caveat: most lenses perform better at f/2.0 than at f/1.4 — the extreme corner sharpness and vignetting at wide-open settings can be problematic. For a 14 mm f/1.8 lens, shooting at f/2.0 rather than f/1.8 often produces cleaner images.
ISO: 1600 as your baseline
Modern cameras handle ISO 1600 cleanly. ISO 3200 is acceptable on full-frame sensors (Sony A7 series, Nikon Z6/Z7, Canon R5/R6). ISO 6400 is usable on high-end full-frame bodies, borderline on crop-sensor cameras.
When to go higher: Aurora is faint, or you’re shooting fast-moving curtains and need a shorter shutter speed.
When to stay lower: Aurora is bright (KP 4+), you want maximum detail with minimum noise, and the lights are moving slowly.
Don’t fixate on noise. A slightly noisy sharp image of moving aurora is vastly better than a clean blurred image. Go to ISO 6400 if the curtains are flying.
Shutter speed: the variable that controls movement blur
This is where aurora photography diverges most from standard night photography:
| Aurora state | Recommended shutter speed |
|---|---|
| Slow diffuse glow | 10–20 seconds |
| Gentle arcs with slow movement | 6–10 seconds |
| Active curtains | 3–6 seconds |
| Rapidly dancing, sub-second flickering | 1–3 seconds |
The key skill: Watch the aurora for 60 seconds before shooting. Estimate how fast it’s moving. If you can count 20 seconds and the arc has barely shifted — use 15 seconds. If the curtains are visibly dancing second to second — use 3 seconds.
A simple test: take a 10-second exposure and zoom into the aurora on your screen. If you see smooth smeared lines instead of structure (defined beams or curtains), shorten your shutter. If you see grain but sharp structure, your shutter is good.
Manual focus in the dark — step by step
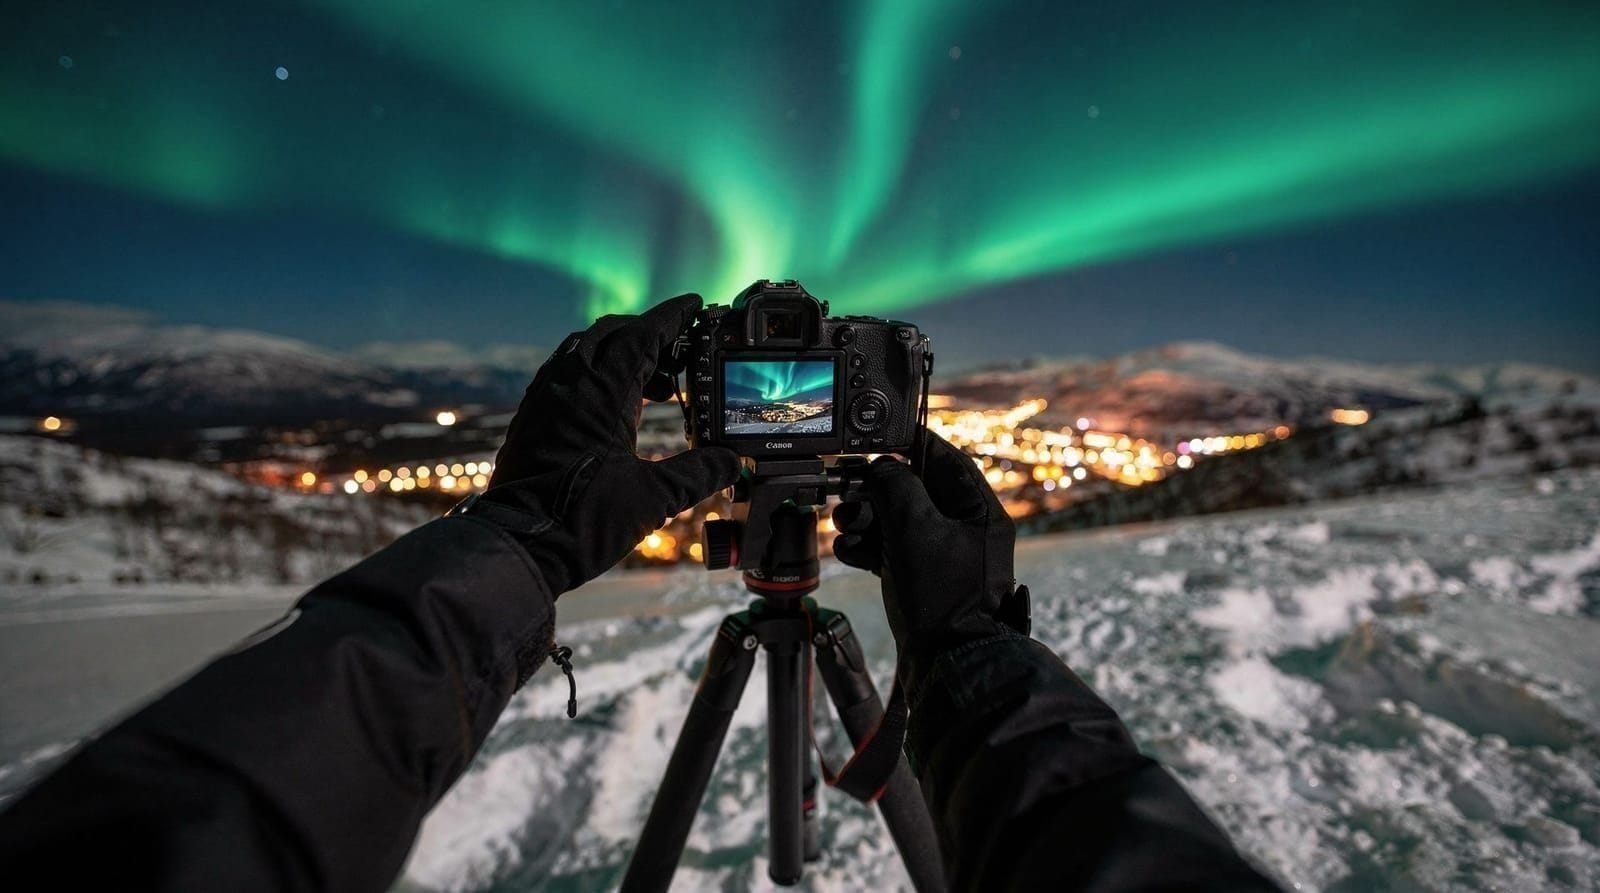
This is where most beginners produce blurry photos. Autofocus does not work reliably on stars or aurora.
Method:
- Switch your lens to manual focus (MF switch on lens barrel).
- Enable live view at 10× magnification.
- Point your camera at the brightest star visible.
- Slowly rotate the focus ring. Watch the star on screen — it will shrink as you approach focus, then expand again if you go past.
- Stop when the star is its smallest, sharpest point.
- Do not touch the focus ring again. Apply a small piece of tape to hold it in place.
Note on “infinity” focus: The infinity symbol (∞) on most lens focus scales is NOT the correct focus point for stars. Autofocus lenses can hunt past optical infinity. Always focus by eye using live view, not by rotating to the ∞ mark.
White balance: Set to 3,500–4,200K (tungsten or custom) for accurate aurora greens and natural sky colour. Auto white balance tends to shift the subtle colours. Shooting RAW lets you change this in post without quality loss.
Settings summary card
Mode:          Manual (M)
Aperture:      f/2.0–f/2.8 (widest available)
ISO:           Start at 1600–3200
Shutter:       Start at 8 seconds; adjust for movement
White balance: 4,000K custom (or shoot RAW and adjust later)
Focus:         Manual — focus on brightest star at 10× live view
Format:        RAW (not JPEG)
Drive mode:    2-second timer or remote shutter release
Image stab.:   OFF (causes blur on a stationary tripod)
Advanced technique: blending exposures
When aurora is extremely bright and fast (KP 5+), it becomes a moving subject competing with a static foreground. The best photographers deal with this by:
- Taking a series of fast exposures (2–4 seconds) to capture aurora movement
- Taking a separate foreground exposure at lower ISO for a clean landscape
- Blending them in Lightroom or Photoshop
This separates the exposure optimisation for the sky (fast, high ISO) from the foreground (slow, low ISO, clean).
The importance of a dedicated photography tour
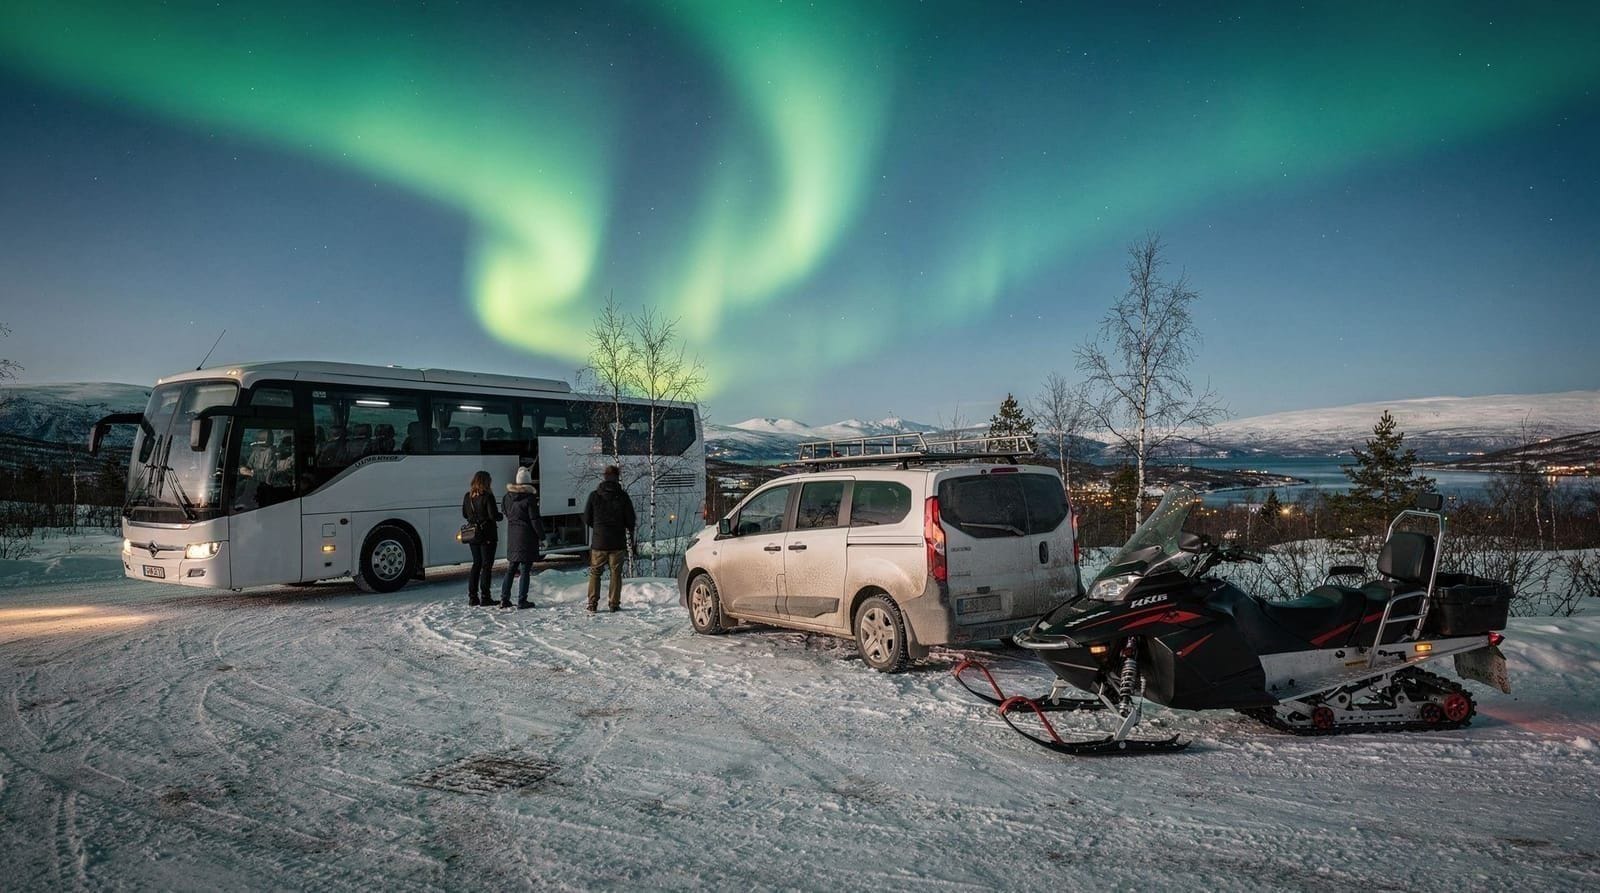
Photography-focused tours stop longer (20–40 minutes per location), use small groups (4–8 people) to minimise light interference, and guides actively help with focusing and settings. The extra cost pays off in finished images. Small-group photography tours typically cap at 6–8 people — critical for aurora photography where nearby headlamps ruin long exposures and crowd noise breaks concentration.If you join a standard large-group tour with a camera, you’ll spend significant time waiting for other guests, dealing with headlamp light from people walking in front of your lens, and being rushed between stops. Photography tours solve these problems.
Post-processing aurora photos
Even perfect in-camera settings need some post-processing. Suggested Lightroom workflow:
- Exposure: Add 0.5–1 stop if the aurora looks dim on screen
- Highlights: Pull down -30 to -50 to recover any blown aurora channels
- Shadows: Push up +20 to reveal foreground detail
- Clarity: +10 to +20 to sharpen aurora rays
- Noise reduction: Luminance 30–50, Detail slider to taste
- White balance: Adjust for accurate green (aurora is green at 557.7 nm); too warm makes it yellow
- Hue (HSL): Shift aqua hue slightly to make greens more vivid
Do not over-process. The biggest mistake is pumping vibrance and saturation until the aurora looks electric neon — it destroys realism and marks the image as obviously edited.
Matching settings to your gear and location
The settings above assume you already have suitable equipment. If you’re still deciding what to bring, the aurora photography gear guide covers cameras, lenses, and tripods by budget tier, and the aurora camera settings guide goes deeper into scenario-specific adjustments (slow diffuse aurora vs. fast dancing curtains) than the baseline settings here.
Settings alone won’t produce a great photo without a good vantage point — the best aurora locations in Tromsø guide lists spots with strong foreground interest, which matters as much as exposure accuracy for a genuinely memorable image. And if you’d rather have a guide handle the technical side on your first night, the northern lights tours compared guide shows which tours include hands-on settings coaching.
Practising before you arrive
The single hardest skill — manual focus in the dark — can and should be practised at home before the trip. Point your camera at a distant streetlight or a bright star from your garden or balcony, switch to manual focus, enable live view at 10× magnification, and practise finding the smallest, sharpest point. Doing this once at room temperature saves frustrating minutes at −15°C on your first real aurora night, when the display may only last 20–40 minutes.
Frequently asked questions about aurora photography settings
Can I photograph aurora with my phone?
Modern phones (iPhone 15 Pro, Pixel 8 Pro, Samsung S24) have astrophotography modes that work acceptably for bright aurora at KP 4+. Enable night mode, use a mini-tripod or ProRAW, set 10–15 second exposure. Results are decent for social media; not comparable to a proper camera for prints.
Why do my aurora photos look blurry?
Most likely causes: (1) Focus is off — re-check by zooming in on a star before shooting; (2) Wind moved the tripod during exposure; (3) Shutter speed too long for fast-moving aurora; (4) Image stabilisation is ON and fighting the stationary tripod.
What is the colour of the northern lights on camera vs. naked eye?
The human eye cannot see colour well in low light. Aurora looks pale white or pale green visually. Camera sensors capture the full 557.7 nm green, and at high KP the 630 nm red at altitude, and 427 nm blue/violet at lower levels. This is why photos look more colourful than what you saw.
Do I need a fast prime lens or is a kit zoom enough?
A kit zoom (18–55 mm f/3.5–5.6) will work in a pinch at high ISO for bright aurora but will struggle in marginal conditions. A dedicated wide aperture lens makes a significant difference. If you’re renting for this trip, a 16–35 mm f/2.8 or a Samyang 14 mm f/2.8 is worth the rental cost.
How do I shoot aurora without a dedicated camera?
If you only have a tablet or a basic compact camera, join a tour that includes professional photos — many operators have a photographer who takes group and individual shots with quality gear and shares the results. This often produces better images than struggling with inadequate equipment.
Does cold weather affect camera settings?
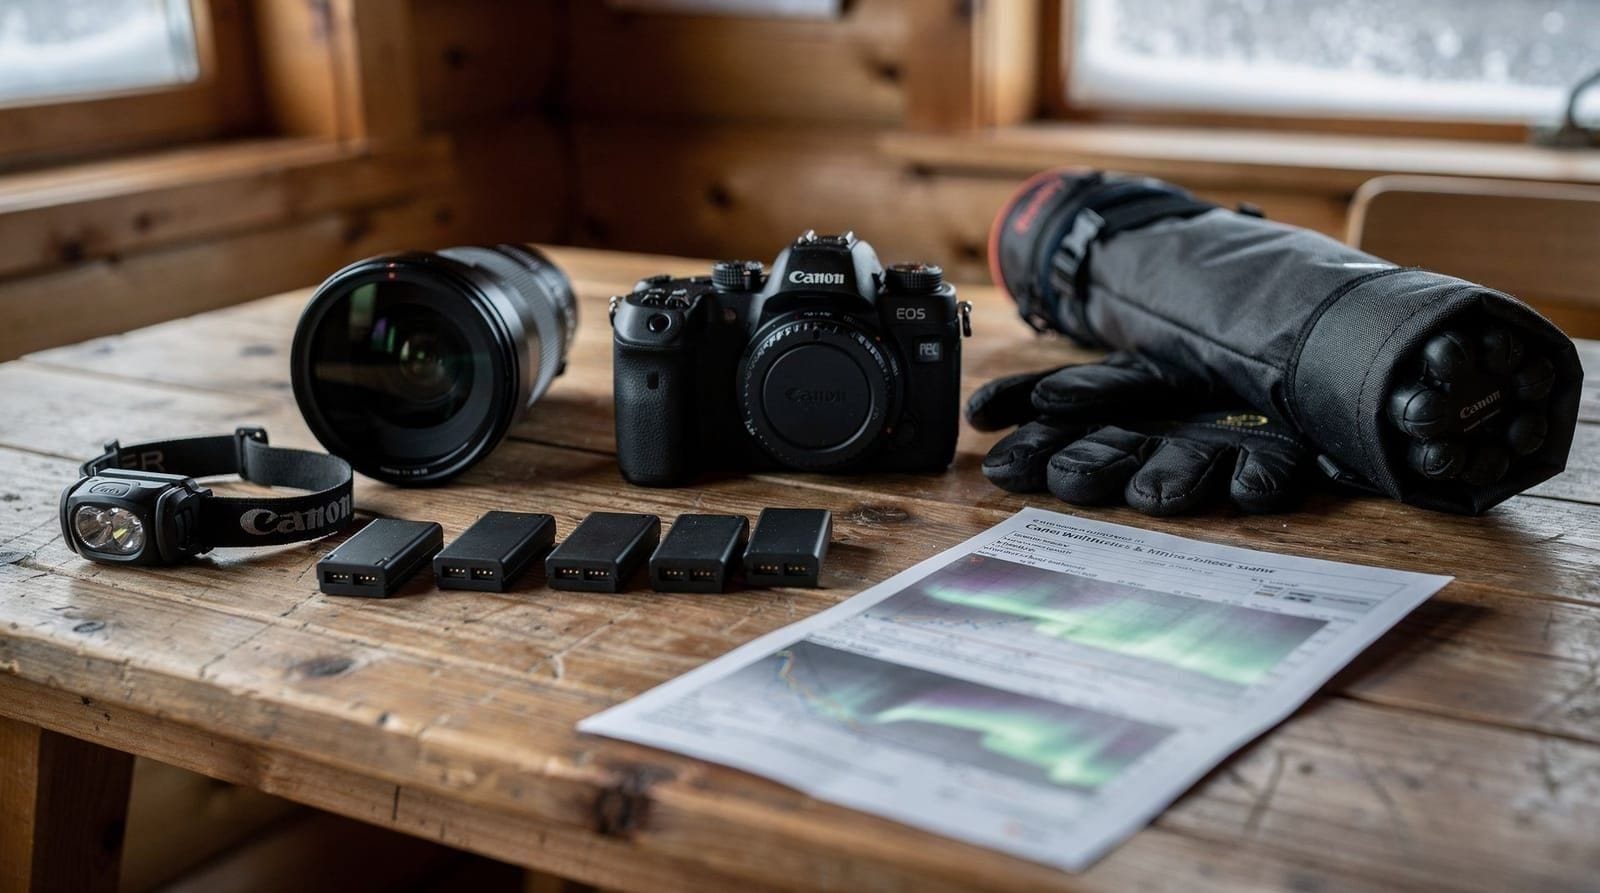
Cold batteries drain fast — always start a night shoot with a fully charged battery and carry a spare inside your jacket. LCD screens become slow to update below -15°C. JPEG compression at very cold temperatures occasionally produces artefacts with some cameras — another reason to shoot RAW.
What if my lens fogs up?
Lens fogging happens when you move from a cold exterior to a warm vehicle and back. Prevention: keep your camera outside (don’t bring it into a warm bus mid-shoot). If fogged: wait 15 minutes outside; do not breathe on the lens; a lens heater strap prevents this if it’s a recurring issue.
Is the aurora difficult to photograph for beginners?
With a manual-capable camera and tripod, a beginner can get a decent aurora photo on the first attempt by following these settings. The hardest skill — manual focus in the dark — can be practised at home on distant lights before the trip. Everything else is trial and error.
What settings should I use if I only have a kit lens?
Set aperture to its widest available value (often f/3.5 at the widest focal length), ISO 3200–6400, and shutter 8–12 seconds. Results will show more noise than a fast prime lens but remain usable for KP 3+ displays. See the aurora photography gear guide for budget lens upgrades if aurora photography matters enough to invest.
How do these settings change if I’m shooting from a moving boat or vehicle?
They don’t work the same way — long exposures require a stationary tripod, so shooting from a moving platform (an aurora cruise, for example) generally means shorter exposures (1–2 seconds) at higher ISO, accepting more noise and motion blur in exchange for a usable frame. A tripod-based session on solid ground remains the better option for serious aurora photography.
Do I need to adjust these settings for a specific location like Tamok Valley?
The core settings stay the same wherever you shoot — what changes by location is ambient light pollution and foreground options. Darker sites like Tamok Valley allow slightly longer exposures before ambient light brightens the sky, but the ISO/aperture/shutter logic in the scenario table above applies everywhere in the Tromsø region.
Top experiences
Bookable activities with verified prices and instant confirmation on GetYourGuide.