Winter landscape photography in Tromsø — an honest guide
Tromsø: 4x4 Small-Group Northern Lights Photography Tour
What makes Tromsø special for winter landscape photography?
Three things that exist nowhere else simultaneously — the blue polar night twilight at midday, aurora at any hour during the long night, and snow-covered Arctic landscapes framed by dramatic fjords and mountains. The light quality at blue hour during polar night is unlike anything at lower latitudes.
Quick answer: Winter Tromsø offers three unique light phenomena for landscape photographers: polar night blue twilight (midday, 2–3 hours), aurora-lit night landscape (any clear night), and the returning light after January 15 when the first golden sunbeams appear after 49 days of polar night. No other accessible destination combines all three.
| Best light window | 12:30–14:00 during polar night (blue hour) |
| Best month overall | February — returning sun plus active aurora |
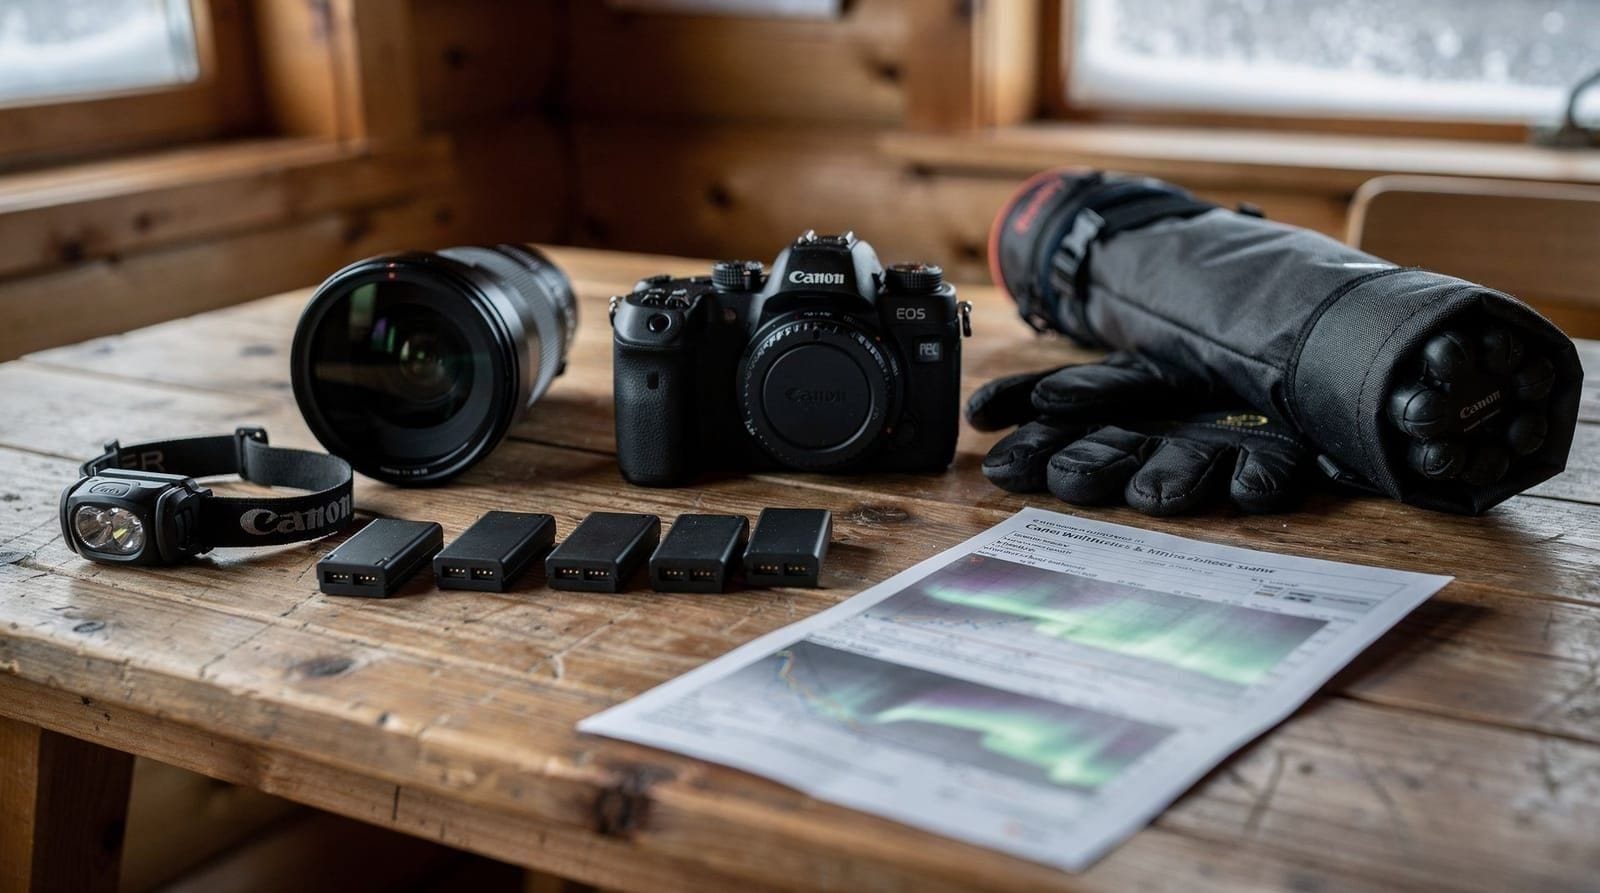
| Key gear | Tripod, spare batteries kept warm, lens hood |
| Premium location | Lyngen Alps, 1.5–2hrs drive |
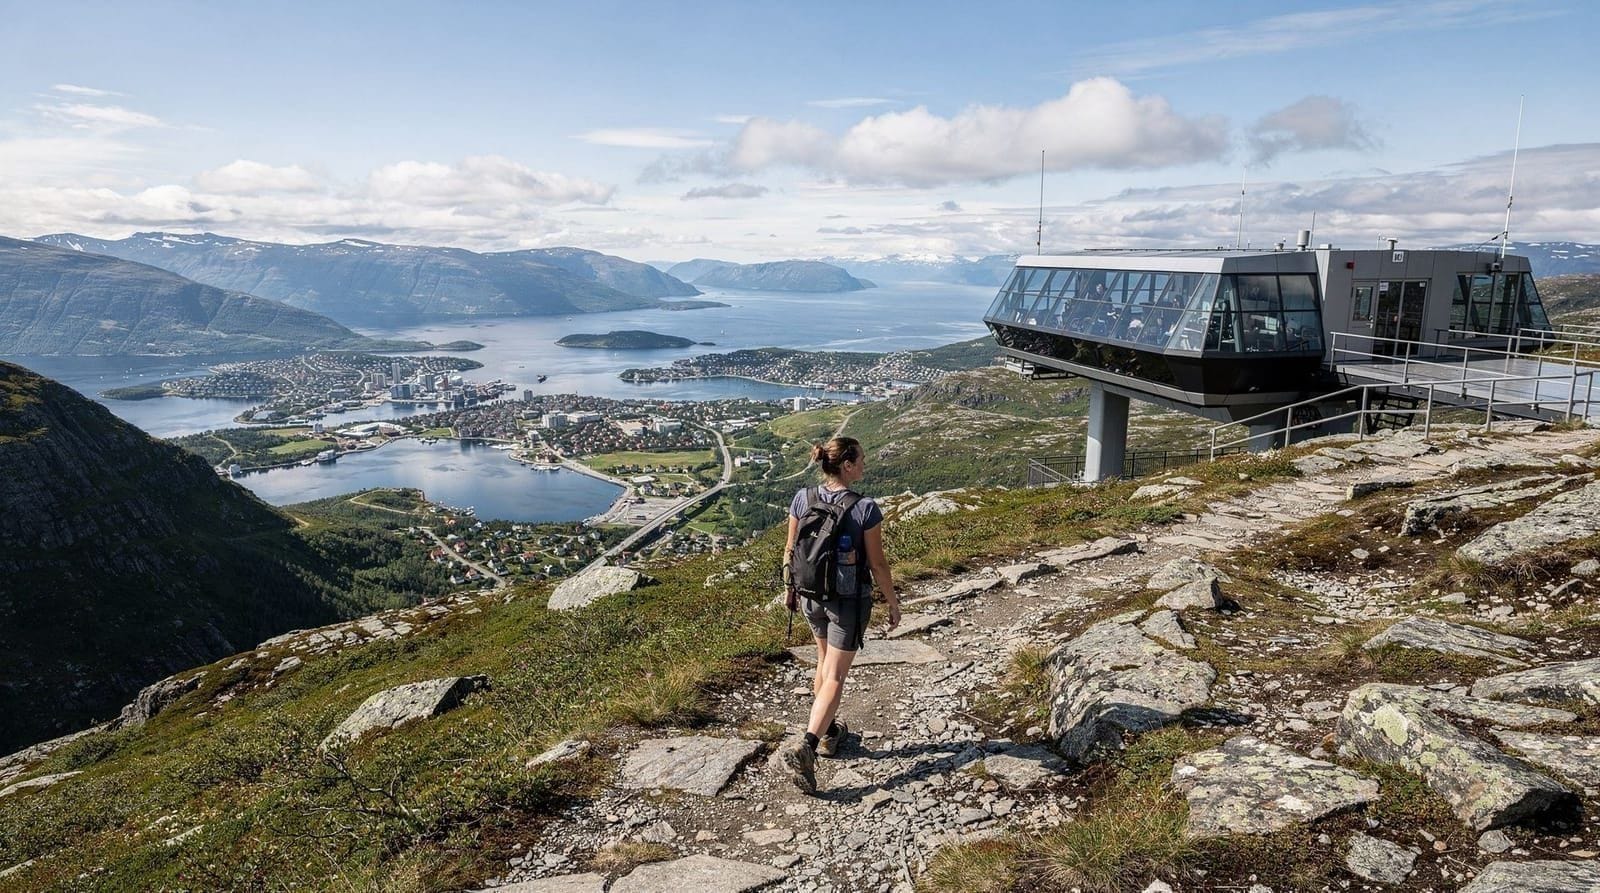
| Close-in option | Fjellheisen cable car, 421m |
Why winter Tromsø is a landscape photographer’s destination
Most extreme-weather landscape photography destinations are logistically difficult — Svalbard requires expedition planning, Iceland’s winter storms are unpredictable, Greenland requires chartered transport. Tromsø is different: a small city with international flights, hotels, and restaurants, set inside genuine Arctic wilderness accessible by car in 45 minutes.
The photography rewards are exceptional:
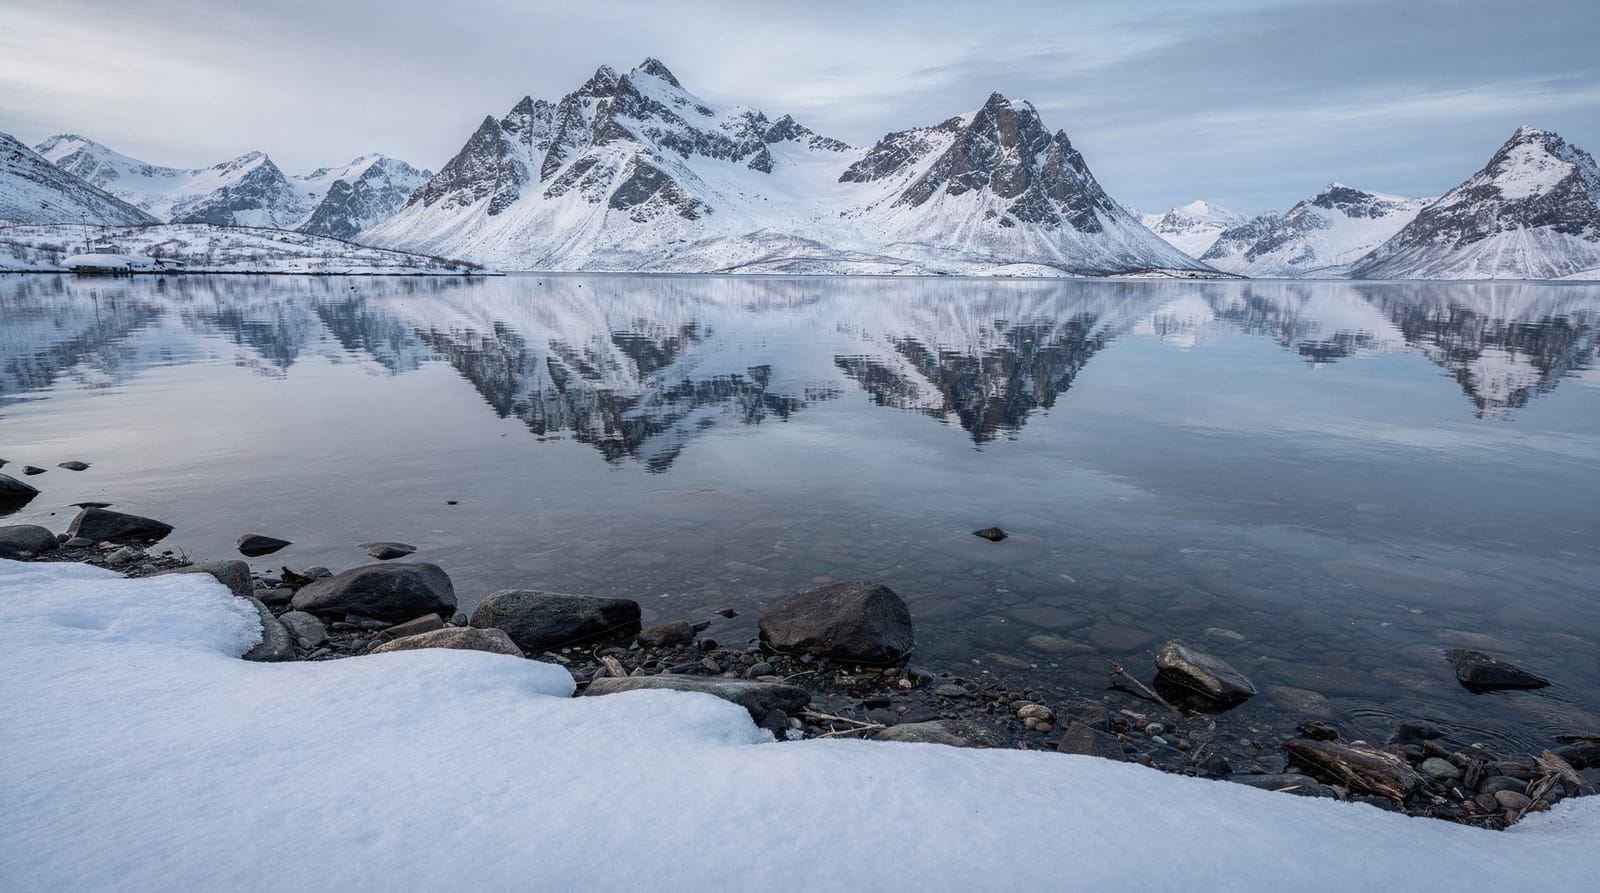
Polar night blue hour: During polar night (November 27–January 15), midday produces a 2–3 hour window of extraordinary blue-purple twilight. The sun is just below the horizon — the sky turns a specific shade of deep blue that exists nowhere outside the polar regions. Combined with snow-covered fjord landscapes and the Lyngen Alps, this light quality is essentially impossible to replicate at lower latitudes.
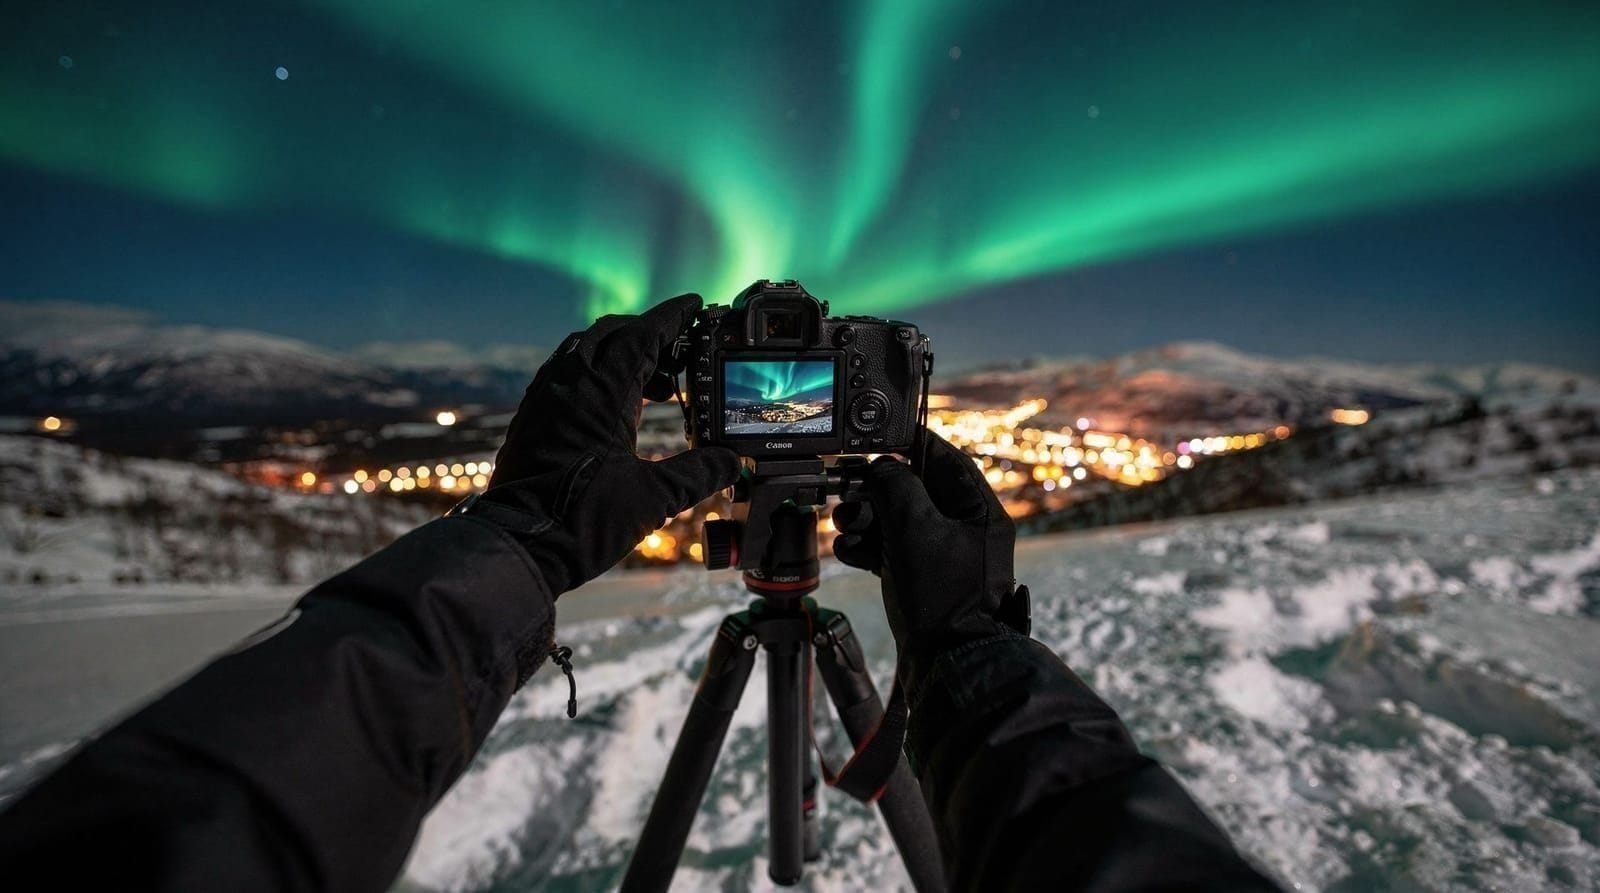
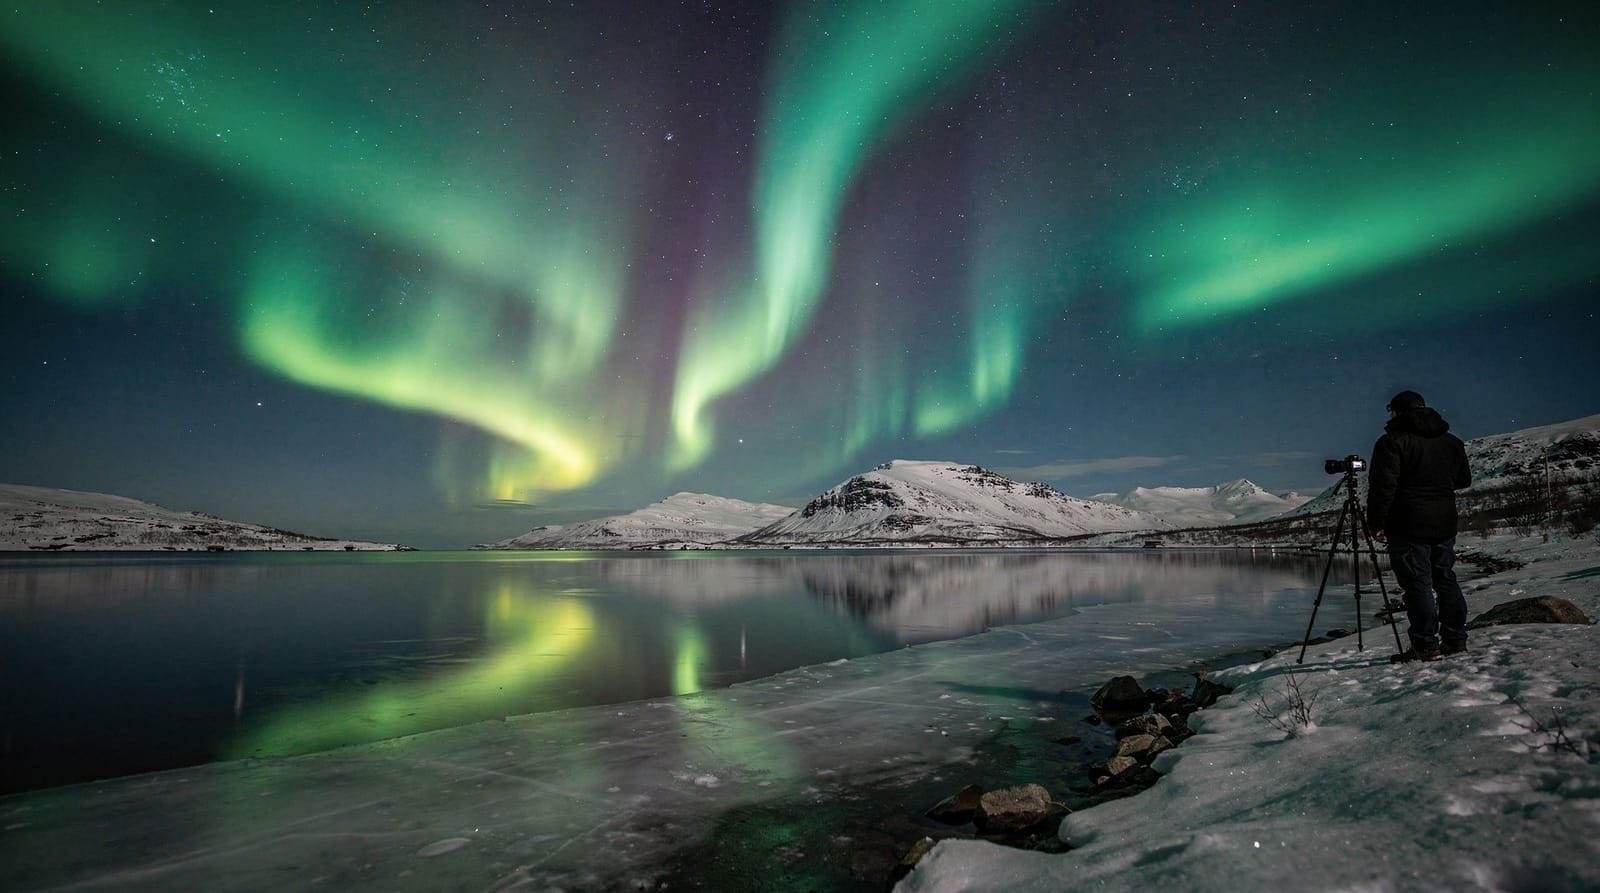
Aurora and landscape: Snow-covered landscapes lit by aurora create the archetypal Arctic photography image. The lights above, the white foreground, the dark mountains — this image has a specific power and Tromsø is one of the most accessible places to create it.
The returning light: On and around January 15, the sun returns to Tromsø for the first time in 49 days. The first golden light appearing on the southern mountain peaks after weeks of blue twilight creates deeply emotional and visually distinctive images.
Polar night blue hour — the flagship light condition
The polar night blue hour is worth understanding carefully because it’s so different from the regular “golden hour/blue hour” concept.
At lower latitudes, blue hour is the 30-minute window before dawn or after sunset when the sky turns blue. In polar night Tromsø, the sun is below the horizon for the entire day. At midday (12:30–13:30 around the solstice), it’s as close to the horizon as it gets — about 6–8° below — producing a 2–3 hour window of intense blue twilight.
What this light does: It illuminates the landscape evenly without direct sun, producing shadows under the snow surface (revealing texture) and giving the mountain peaks an ethereal blue-pink cast. The sky is a gradient from deep purple-blue at the zenith to pale pink on the southern horizon.
Exposure for polar night blue hour:
- ISO 400–1600 (it’s genuinely dim)
- Aperture f/8 for landscape sharpness
- Shutter: 1–10 seconds depending on brightness and how much movement is in the scene
- White balance: 3,500–4,500K (auto white balance works reasonably here, unusual for photography)
- Tripod essential
The best locations: Fjellheisen cable car (421 m, catches the peak blue moment with panoramic view), the Tromsøysund bridge area (urban foreground with light quality above), and Tamok Valley (dark background terrain showing the blue sky contrast most dramatically). For a broader list of vantage points beyond photography specifically, see best aurora locations near Tromsø — most double as strong daytime landscape spots too.
Composition in snow-covered Arctic landscapes
White snow everywhere is a compositional enemy — it’s featureless and creates flat, empty images. The solution is finding and emphasising the elements that break up the white.
What provides texture and interest
Wind-scalloped snow: Wind creates ripple patterns in dry snow surface — horizontal ridges that provide foreground texture and leading lines. Best found on exposed ridges and open valley floors.
Tree shadows on snow: Birch trees in winter cast long shadows across the snow surface, especially during the low blue-hour light. A birch grove at midday polar night, shadows pointing toward camera, with mountains behind — this is a strong image.
Frozen stream banks: The border between black stream water and white snow creates strong graphic lines. In deep winter, streams freeze except at the centre current, creating dark channels in white.
Mountain ridges: Use mountain silhouettes as directional elements pointing into the composition. The sharp ridgelines of the Lyngen Alps against a polar night sky are among the most graphic shapes in Arctic landscape photography.
Arctic birch groves: The birch birch forests of Tromsøya and Kvaløya in winter — small twisted trees with grey-white bark against white snow — create a delicate texture that contrasts with the larger elements of mountains and sky.
Specific shooting scenarios and settings
Scenario A: Polar night blue hour, fjord view
Setting: 12:30–14:00, clear sky, -10°C, Fjellheisen viewpoint or Tromsøysund bridge area.
- ISO 800–1600
- Aperture f/8–f/11
- Shutter: 3–8 seconds
- Tripod: essential
- White balance: 4,000K manual
- Composition: Include fjord in foreground, mountains on horizon, sky in upper 40% of frame
Scenario B: Aurora with snow landscape
Setting: any clear night during aurora season, active KP 2+, snow-covered foreground available.
- ISO 1600–3200 (same as regular aurora photography)
- Aperture: f/2.8 or wider
- Shutter: 6–15 seconds (adjust for aurora movement speed)
- Tripod: essential
- Include snow foreground in lower 20–30% of frame
- Use a head torch briefly to light-paint the immediate snow foreground during a long exposure
Scenario C: The returning sun (after January 15)
Setting: 13:00–14:00, after January 15, first sunbeams appear on southern peaks.
The sun climbs back above the horizon gradually after January 15. For the first few weeks, only the highest southern mountain peaks catch direct sunlight — the valley floors and city remain in shadow. The peaks appear to glow while everything below stays in blue twilight. This extreme contrast between golden peaks and blue shadow is one of the most powerful winter photography opportunities anywhere.
- ISO 200–400 (bright peaks, darker foreground)
- Aperture f/8–f/11
- Shutter: 1/60–1/250 depending on how bright the peaks are
- Include both the golden peak AND the blue-shadowed foreground in the frame for maximum contrast
The Lyngen Alps — the premium winter landscape destination
The Lyngen Alps 90–100 km from Tromsø are technically demanding to reach (1.5–2 hours driving) but the photographic payoff is exceptional. The peaks rise to 1,800 m with near-vertical faces that catch light differently at every hour of the blue twilight period.
The eastern Lyngen shore — reached via E8 and the road around the peninsula — gives the most dramatic views: peaks reflected in the fjord below in calm conditions.
Guided fjord expedition tours include the Lyngen Alps area specifically for the dramatic winter scenery — some operators include photography-oriented stops during the blue hour.Closer alternatives when Lyngen isn’t practical
Not every trip has room for a half-day round trip to Lyngen, and the weather doesn’t always cooperate for it either. Kvaløya, the island just west of Tromsøya, offers a genuinely strong substitute within 20–40 minutes of the city centre. The coastal road toward Ersfjord passes several pull-offs with unobstructed views of jagged peaks dropping straight into the sea — less dramatic in scale than Lyngen’s 1,800 m faces, but far more accessible on a short-notice clear-sky morning.
Sommarøy, further out on Kvaløya’s western tip, adds white-sand beaches (yes, genuinely white sand, even under snow) against turquoise Arctic water — an unusual combination that reads as almost tropical in a photograph until the temperature reading in the metadata gives it away. Both locations work for the polar night blue hour and for daytime shooting once the sun returns in February, and neither requires the early start or road commitment that a Lyngen day trip does.
If you only have one clear-weather window during your trip and are deciding between Kvaløya and Lyngen, the honest answer is: choose Kvaløya if you have half a day or less, and reserve Lyngen for when you have a full day and a flexible return time, since a socked-in return drive on the E8 in the dark is not something to rush.
Practical considerations for winter landscape photography
Cold management for gear
Battery: Cold drains lithium batteries 30–70% faster. Keep spare batteries inside your jacket. Start every session fully charged and carry 2+ spares per body.
Condensation: Moving from -15°C outside to a warm car or building causes condensation on cold lens and sensor. Use a sealed dry bag to transition equipment. Wait 20–30 minutes in the bag before opening camera indoors.
Lens fog: Cold front element + warm breath from your face + wind shift = lens fog. Use a lens hood and angle your body to block your breath from the lens. A lens heater strap (USB-powered) prevents this on extended shoots.
Tripod: Carbon fibre stays manageable in cold. Aluminium becomes painful to handle barehanded. Use the wrist strap to carry the tripod rather than gripping the cold aluminium sections.
Clothing for photography in cold
Photographers face a specific clothing challenge — you need to handle camera controls while staying warm. The solution: thin thermal inner gloves (which allow finger dexterity for camera buttons) + outer waterproof mittens (which go on between shots). Remove the mitten for camera work, replace immediately after.
See our what to wear for northern lights guide for the full winter layer system, and the dedicated aurora photography gear and aurora camera settings guides if you’re shooting aurora specifically rather than daytime landscapes.
Guided winter landscape photography tours in Tromsø are run by professionals who know both the locations and the practical aspects of shooting in -15°C — including how to keep your gear functioning and your hands warm enough to operate it.Frequently asked questions about winter landscape photography in Tromsø
What is the most photogenic month for winter landscapes in Tromsø?
February is widely considered the premium month: the sun returns after polar night (adding golden light back to the palette), snow cover is consolidated and deep, aurora season is active, and weather tends toward clearer high-pressure periods than November. January during polar night is the most dramatic light quality; February combines aurora + returning sun + snow.
Are the Senja coastline views worth the 3-hour drive for photography?
Yes, for a dedicated photography trip. Senja (2.5–3 hours from Tromsø) has dramatic coastal scenery — fjord views with fishing villages, mountain-backed sea, and wilder Atlantic coast. In winter the drive is challenging. A dedicated photography day trip to Senja requires an early start (06:00) and clear weather — not an impromptu decision.
Can I use flash for winter landscape photography?
A single speedflash can light-paint specific foreground elements (trees, snow surface) during a long exposure, adding warm light in contrast to the blue ambient. Use at low power (1/16–1/8) fired manually during the exposure. This is a creative technique rather than standard practice.
Are there photography competitions focused on Tromsø and Arctic Norway?
The Arctic Light Photo Festival in Tromsø (check current schedule) celebrates Arctic photography specifically. The Hurtigruten photo award and several Nordic photography competitions accept Arctic Norway entries. The landscape photography community in Norway is active on social media (Instagram #nordnorge #tromsø #nordlys) and engages with visiting photographers.
Is drone photography legal in Tromsø’s fjords?
Subject to Norwegian drone law — see our drone rules in Norway guide for the full breakdown. In general: UAV drones under 900 g may be flown without specific permits in most recreational airspace. Never fly near airports (Tromsø TOS is 4 km from city centre) or over people without permission.
What is the best post-processing workflow for polar night blue hour images?
- White balance: warm slightly from auto (push toward 4,500–5,000K to control blue cast)
- Shadows: +30–40 to reveal shadow foreground detail
- Highlights: -20 to -30 to bring down sky brightness
- Clarity: +15 for landscape sharpness
- Blue hue (HSL): shift toward purple (+10) to enhance the polar night sky quality
- Avoid heavy noise reduction — some grain at ISO 1600 is natural and acceptable
Does the snow affect camera autofocus?
Snow is difficult for contrast-detection autofocus — flat white surfaces have minimal contrast. Use manual focus or switch to a single AF point on a high-contrast element (a dark rock, a mountain edge). Phase-detect AF on modern mirrorless cameras handles snow better than older contrast-detect systems.
How do I find photography companions or workshops in Tromsø?
Several Facebook groups (Nordic Landscape Photography, Arctic Photo Network) connect photographers visiting the area. The Visit Tromsø tourism website lists photography workshops and guided sessions from local operators. Some hostels have bulletin boards where photographers coordinate joint outings.
Is it worth renting a car specifically for photography, or is a tour enough?
It depends on how much control you want over timing. A rental car lets you chase a clearing sky at short notice and linger at a location until the light is exactly right, which matters enormously for the polar night blue hour’s narrow window. A guided tour trades that flexibility for local knowledge of exactly where the light will be best on a given day and someone else handling the -15°C winter driving. For a single dedicated photography day with a fixed clear-sky forecast, self-driving to Kvaløya or the Lyngen Alps is usually worth it; for a shorter trip where you can’t predict the weather in advance, a flexible small-group tour is the safer bet.
Top experiences
Bookable activities with verified prices and instant confirmation on GetYourGuide.