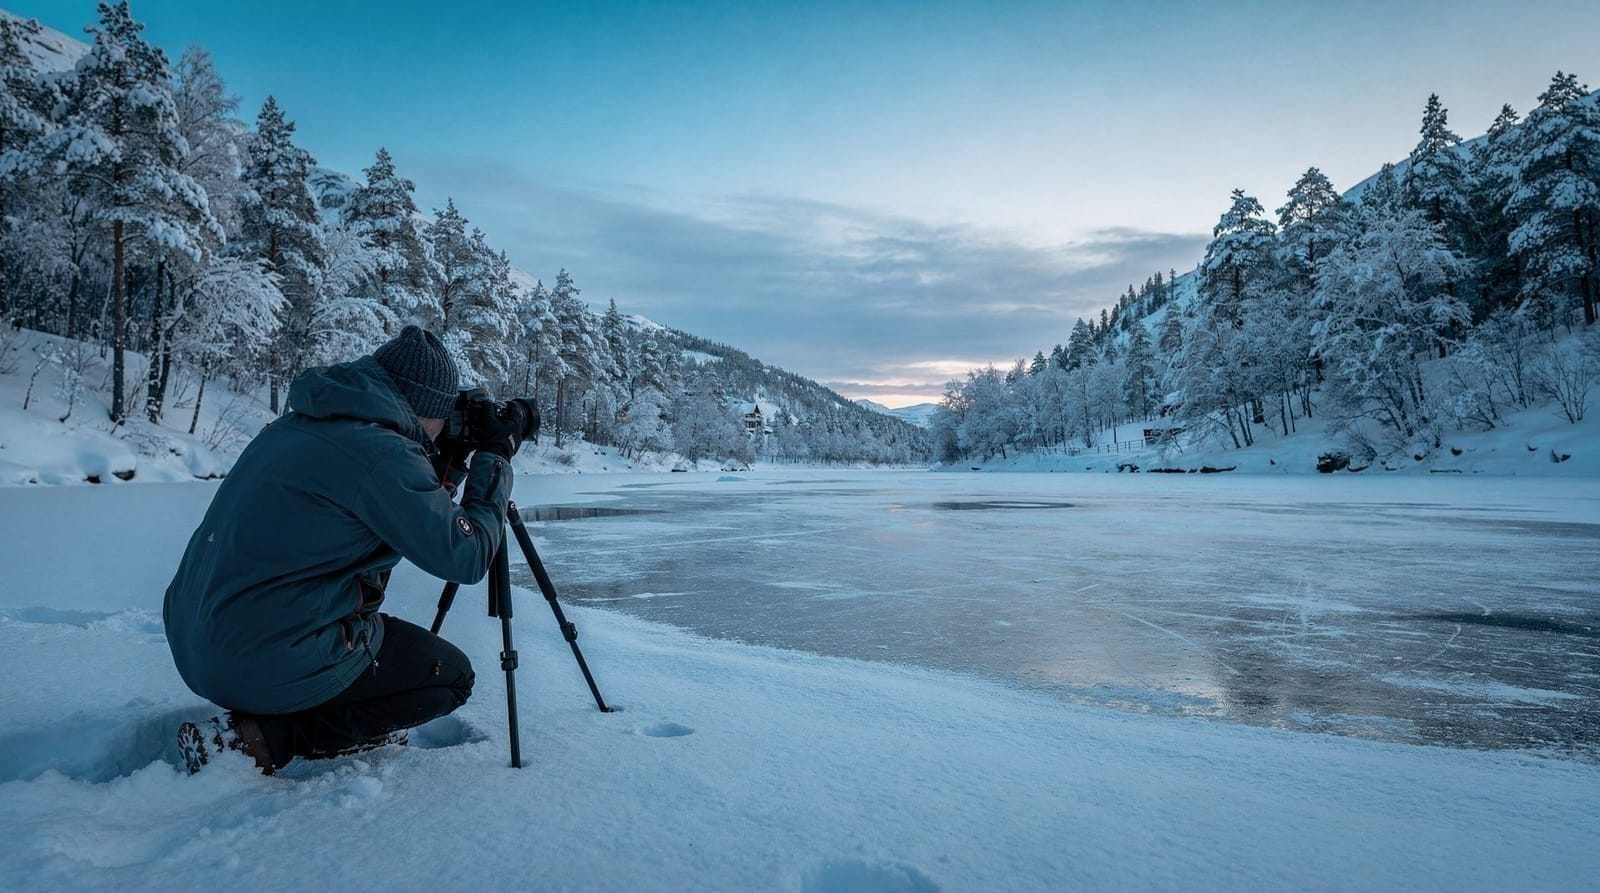
Aurora camera settings — the complete guide for Tromsø
Tromsø: Small-Group Aurora Tour with Free Photos (8 Hours)
Duration: 8 hours
What are the best camera settings for aurora photography?
Start with ISO 1600, f/2.8, 10 seconds. Adjust for aurora speed — faster aurora needs shorter shutter (3–6 seconds) and higher ISO. Slow diffuse aurora allows 15–20 seconds at ISO 1600. Always manual mode, manual focus on stars, and RAW format.
Quick answer: Starting settings: Manual mode, ISO 1600, f/2.8, 10 seconds, RAW, manual focus on stars at 10× live view, white balance 4,000K, image stabilisation OFF, 2-second self-timer. Adjust shutter speed for aurora movement speed. These settings work for 80% of aurora sessions.
| Where | Any dark site outside Tromsø’s light pollution |
| Gear needed | Manual-capable camera, wide-angle lens, tripod |
| Time to set up | 10 minutes for focus + composition, once |
| Cost | Free if you own the gear; see the photography gear guide for rental options |
| Best conditions | Clear sky, KP 2+, away from streetlights |
Why aurora settings differ from other night photography
Milky Way photography: static subject, wide-open aperture, long exposure (25–30 seconds) to gather maximum light, lowest comfortable ISO.
Aurora photography: moving subject. The movement speed of the aurora determines your shutter ceiling. Use too long an exposure and the aurora’s movement creates blur — beams that should be sharp rays become smeared green streaks. This is the fundamental difference.
The exposure triangle for aurora optimises differently depending on how fast the lights are moving.
Settings for different aurora scenarios
Slow diffuse aurora (quiet night, KP 1–2)
Aurora appears as a pale static arch or glow with very little movement.
ISO:      1600
Aperture: f/2.0–f/2.8
Shutter:  15–25 seconds
Low ISO keeps noise minimal. Long shutter captures the faint light. Movement blur is not an issue because the aurora is essentially static. Check that stars don’t trail significantly (at 14 mm, 25 seconds is borderline — zoom in to verify).
Active curtains (KP 3–4)
Visible movement in the aurora — arcs folding, rays brightening, bands shifting.
ISO:      1600–3200
Aperture: f/2.0–f/2.8
Shutter:  5–10 seconds
This is the most common situation and the most rewarding to photograph. The shutter needs to be short enough to “freeze” the movement while long enough to gather good exposure. Check the result at 100% magnification — if the rays look blurred (wavy lines instead of sharp beams), reduce shutter to 4–6 seconds.
Fast dancing aurora (KP 5+, substorm)
Rapid curtain movement, flickering, sub-second changes.
ISO:      3200–6400
Aperture: f/1.4–f/2.0
Shutter:  1–3 seconds
The highest KP events require the fastest settings. Accept more noise at ISO 6400 — the sharp texture of dancing aurora is far better than blurred lower-noise images. If your lens maximum aperture is f/2.8, this is when you wish you had f/1.8. A 2-second exposure during a rapid substorm still captures identifiable curtains.
Setting checklist summary card
| Setting | Value |
|---|---|
| Mode | Manual (M) |
| ISO | 1600 (starting point) |
| Aperture | f/2.8 (or widest available) |
| Shutter | 10 seconds (starting point) |
| White balance | 4,000K (manual) |
| Focus | Manual — star at 10× live view |
| Image format | RAW (or RAW+JPEG) |
| Image stabilisation | OFF |
| Drive mode | 2-second self-timer |
| Noise reduction | OFF (apply in post) |
| Long exposure NR | OFF (doubles capture time) |
Step-by-step setup process
This is the sequence to follow when you arrive at an aurora location:
Step 1: Switch to M mode. Set ISO 1600, aperture to maximum, shutter 10 seconds.
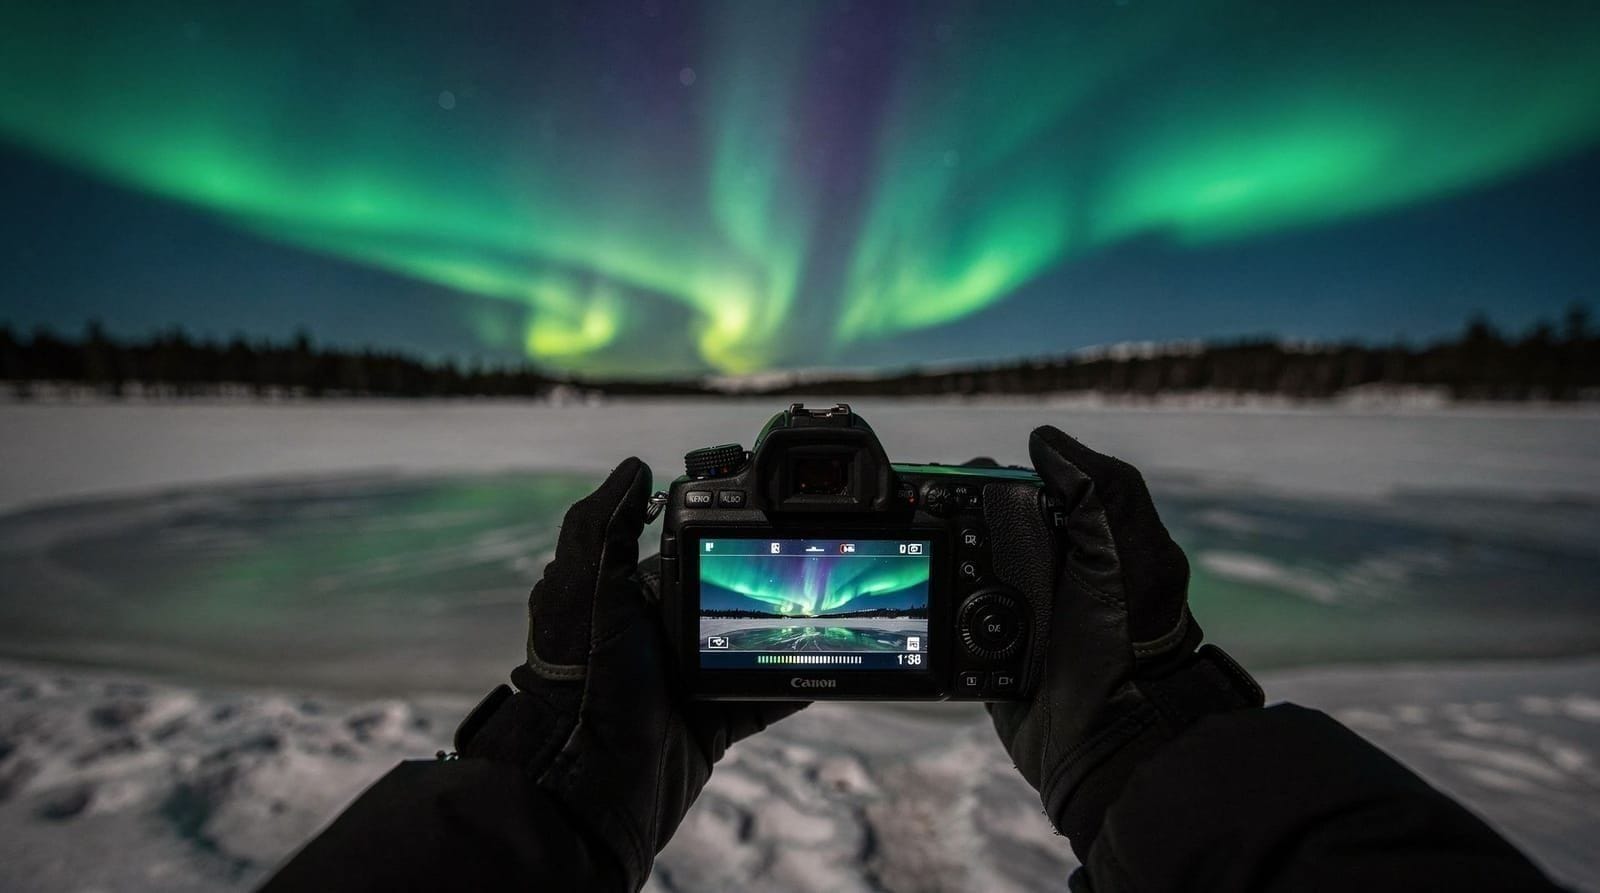
Step 2: Manual focus. Switch lens to MF. Enable live view at 10× magnification. Find the brightest star. Rotate focus ring slowly until the star is a pinpoint. Stop. Do not touch focus ring again. Tape the focus ring in place if you have tape.
Step 3: Compose your shot. Use live view at regular magnification to check composition — include interesting foreground (snow surface, mountain silhouette, frozen trees) with aurora-visible sky.
Step 4: Set 2-second self-timer. Press shutter. Step back from the tripod during the 2-second countdown.
Step 5: Review the result. Zoom to 100% to check: (a) Is focus sharp on stars? (b) Is aurora blurred by movement? (c) Is the exposure correct (histogram not blown on the right, not flat on the left)?
Step 6: Adjust based on results:
- Aurora blurred? Reduce shutter to 5 seconds
- Image too dark? Increase ISO to 3200
- Focus soft? Re-do the live view focus step
- Aurora too bright (blown highlights)? Reduce ISO to 800 or reduce shutter to 6 seconds
Advanced settings: interval shooting for timelapse
Aurora timelapse sequences are one of the most compelling outputs from a Tromsø shoot. Set up:
- Same exposure settings as stills (ISO 1600, f/2.8, 10 seconds)
- Interval timer: 12 seconds (gives 2 seconds between shots for write time)
- Total duration: 45–90 minutes for a usable sequence
- Output: 225–450 RAW files = 9–18 seconds of smooth 24 fps timelapse
Process in LRTimelapse (best) or Lightroom’s built-in timelapse tool. Apply consistent exposure correction across all frames. Do not add motion blur in post — leave the natural aurora movement.
Settings for phone cameras
Modern phones in “Night” or “Astrophoto” mode do the following automatically:
- Stack multiple short exposures
- Apply noise reduction
- Increase saturation of greens (often exaggerated)
For more manual control on iPhone 15 Pro / Pixel 8 Pro:
iPhone: Use ProRAW mode, Night mode, 15–25 second capture. Set on tripod or beanbag. Adjust Exposure slider.
Pixel 8 Pro: Astrophotography mode, standard Night mode. Let the phone capture for 30–60 seconds in Night mode — it stacks internally.
Samsung S24: Night mode + PRO RAW, ISO 800–1600, 10–15 second shutter.
Result quality is genuinely competitive with modest DSLR kits at KP 4+ conditions. At KP 2–3, phones struggle and dedicated cameras produce significantly better results.
Post-processing settings reference
After a shoot, in Lightroom or Capture One:
Develop module adjustments:
- Exposure: +0.5 to +1.0 (aurora is often underexposed in camera)
- Highlights: -40 to -60 (recover aurora structure that’s bright)
- Shadows: +20 to +40 (reveal foreground detail)
- Clarity: +15 to +25 (enhance aurora ray sharpness)
- Vibrance: +5 to +15 (subtle enhancement; avoid heavy saturation)
Noise reduction:
- Luminance: 30–50 depending on ISO used
- Color noise: 15–25
- Detail slider: higher value = sharper but more noisy; lower = smoother
White balance fine-tuning:
- Temp: 3,500–4,200K for natural aurora green
- Tint: slight magenta adjustment corrects common blue cast from some lenses
Hue-Saturation-Luminance (HSL):
- Aqua hue: shift toward green (+5 to +15) to enhance aurora green
- Green hue: shift toward yellow slightly for warmer green tones
- Avoid pushing saturation above +15 on individual colour channels — exaggerated aurora looks artificial
Common settings mistakes
Autofocus left on: Camera hunts and never locks. Switch to MF immediately.
ISO set in Auto: Camera selects very high ISO for aurora, leading to excessive noise. Set manual ISO.
Image stabilisation on: IS/VR systems create blur when the camera is stationary on a tripod. Always OFF for tripod shots.
Long exposure noise reduction on: Doubles capture time (a 10-second exposure takes 20 seconds total) and misses aurora movement. Off. Apply noise reduction in Lightroom instead.
White balance in Auto: Produces inconsistent colour across a timelapse and may shift the aurora colours. Set manual WB.
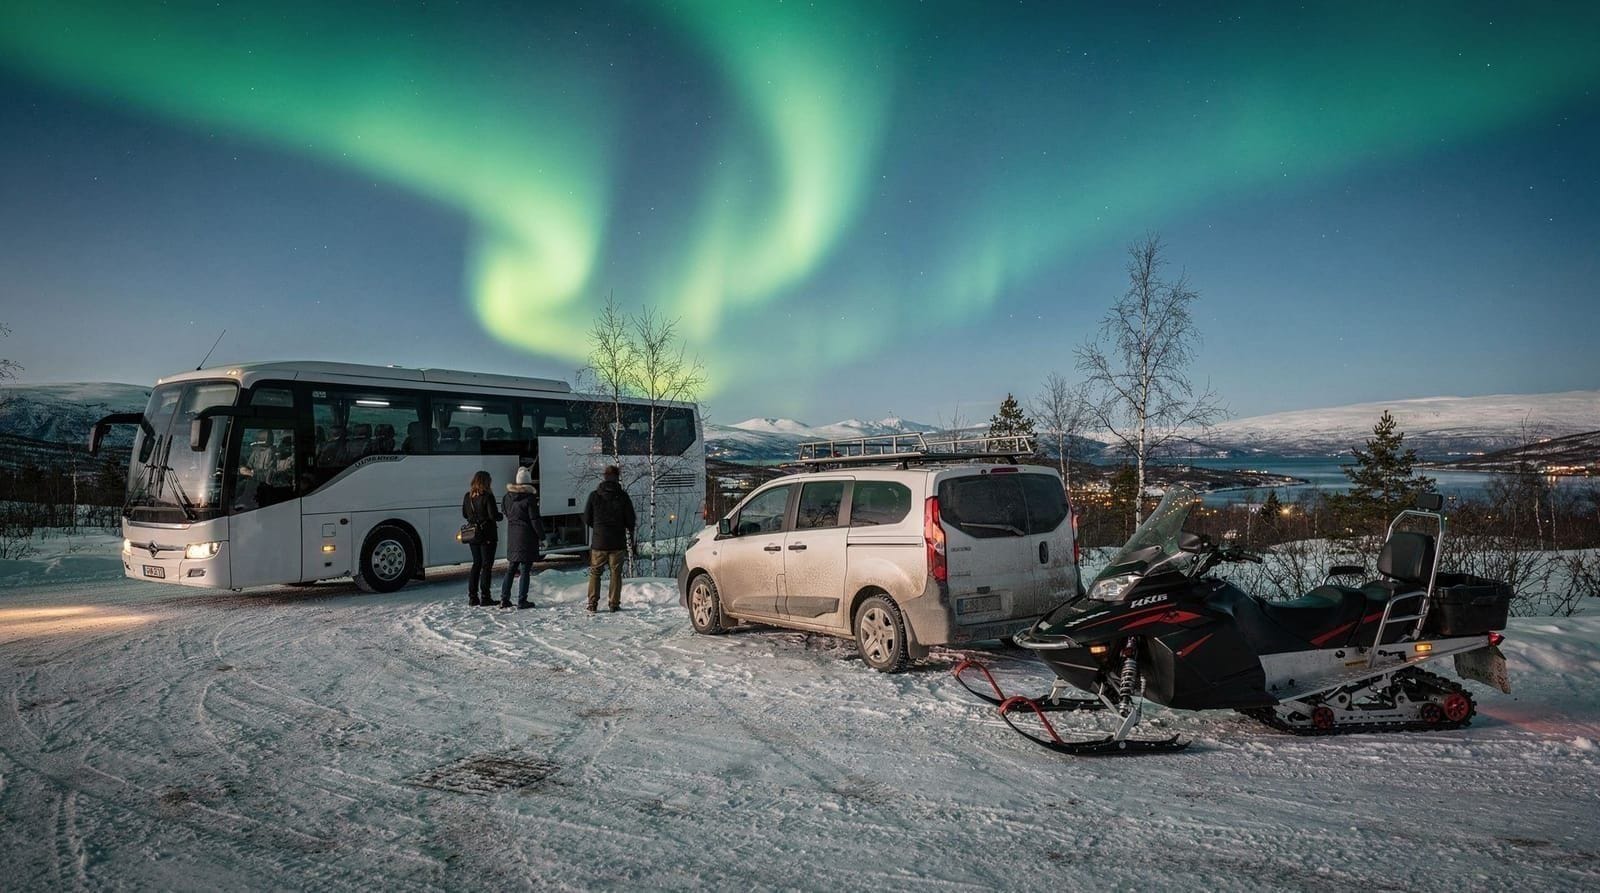
Small-group aurora tours with free photos are valuable for seeing what professional settings produce — compare your setup with the guide’s output for immediate feedback.Where to actually use these settings
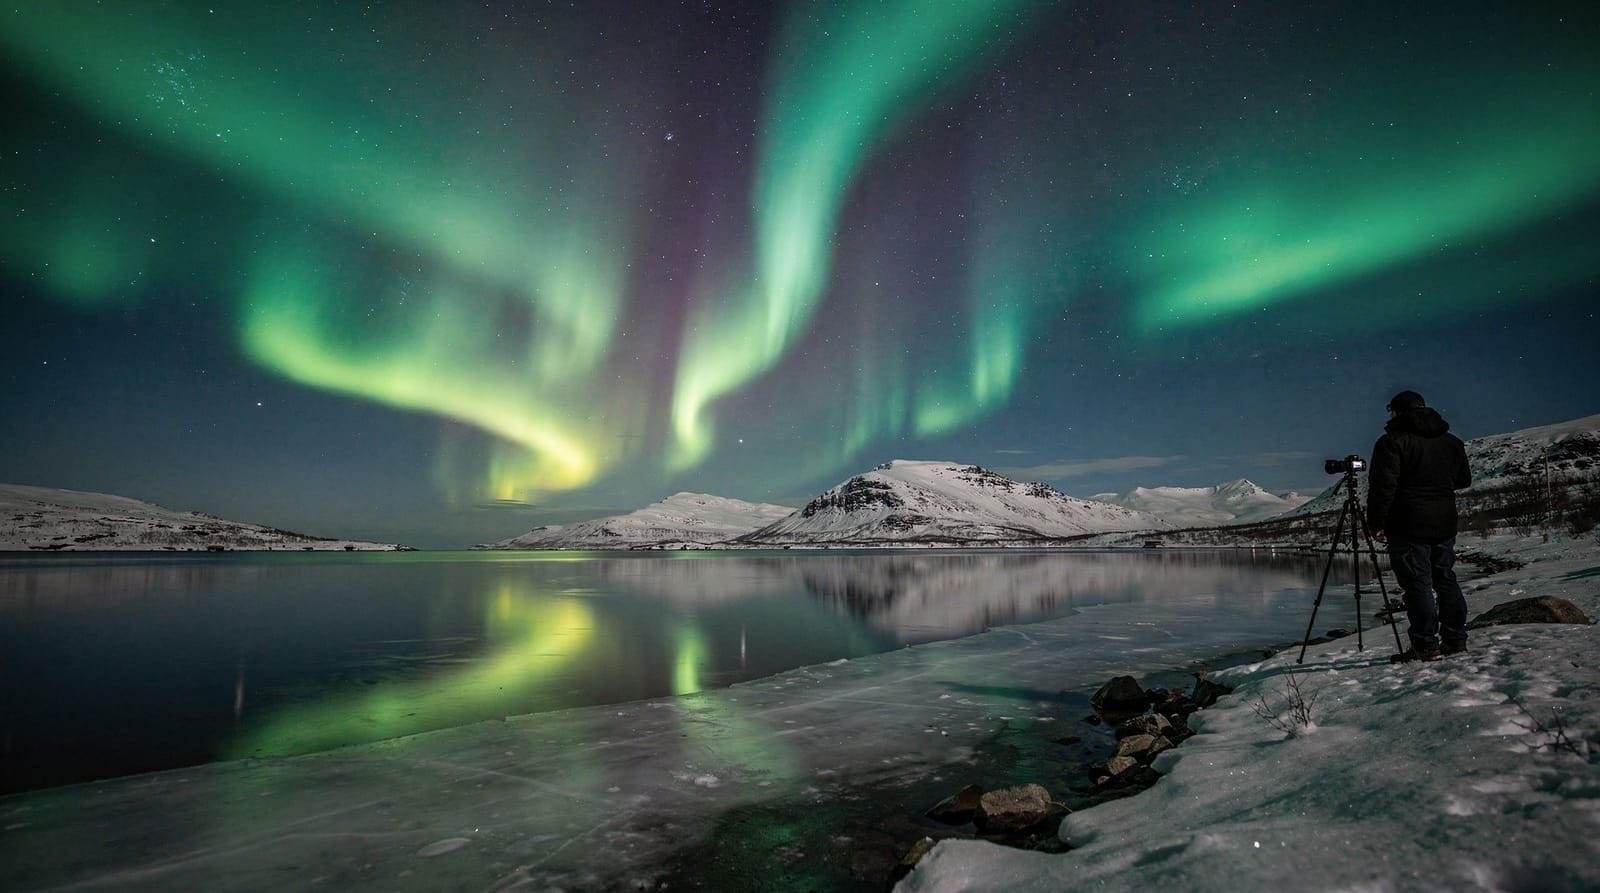
Settings alone don’t guarantee a good photo — location matters just as much. The best aurora locations in Tromsø guide covers specific spots with good foreground interest and minimal light pollution, which matters more than most beginners assume: even perfect ISO/aperture/shutter values produce a flat, empty photo without something in frame besides sky. Pair your settings knowledge with a location that has a mountain silhouette, a fjord reflection, or an interesting building.
For readers deciding whether to buy gear or join a guided session instead, the northern lights tours compared guide breaks down which tour types include photography coaching versus which are pure sightseeing. A dedicated photography tour is often the fastest way to get competent results on a first Tromsø trip, since a guide can correct your focus and exposure in real time rather than you discovering mistakes back at the hotel.
Cross-training with winter landscape photography
Many of the same principles — manual focus in low light, tripod stability in wind and cold, exposing for a bright subject against a dark scene — apply beyond aurora. If you’re in Tromsø during the day too, the winter landscape photography guide covers daytime techniques that use an overlapping kit, so you’re not packing separate gear for day and night shooting.
Frequently asked questions about aurora camera settings
Why is my aurora photo completely black?
Most likely: ISO not raised (still at 100), shutter too short (1/100 vs. 10 seconds), or the camera is not in Manual mode. Check all three in sequence. Also confirm the lens cap is off and the viewfinder eyepiece cover (on DSLR with live view issue) isn’t blocking the sensor.
Why do my stars look like streaks?
Shutter speed is too long for your focal length. At 14 mm, trails appear after ~30 seconds. At 24 mm, trails appear after ~20 seconds. For aurora, use 4–15 seconds and stars won’t trail. If you’re seeing trails at 10 seconds, the “500 rule” focal length is different from what you think you’re shooting.
My aurora looks grey and foggy — why?
Focus is slightly off. Even marginally missed focus in a dark scene makes sharp objects (stars, aurora rays) look hazy. Re-do the focus step carefully at 10× magnification. Also check that a clear UV filter is not creating internal reflections (try shooting without it).
How do I check histogram for aurora on a dark scene?
Enable the live histogram overlay on your camera if available, or check the histogram on the image review screen after each shot. Aurora exposure is correct when the histogram peak (the bright aurora) is in the centre-right zone without touching the right edge. A histogram pushed hard left means underexposure — increase ISO.
Can I use aperture priority for aurora?
You can, but it won’t work well. The camera will choose ISO and/or shutter based on metering — which is unreliable at night on a scene with aurora in one corner and dark sky in another. Manual mode is necessary for consistent, intentional aurora exposures.
What happens if I leave auto-ISO on?
Auto-ISO will typically push to maximum (6400 or higher) immediately in a dark scene, producing very noisy images. In some cameras Auto-ISO minimum shutter settings can also limit your shutter speed. Always set ISO manually.
Is live view battery-intensive for focusing?
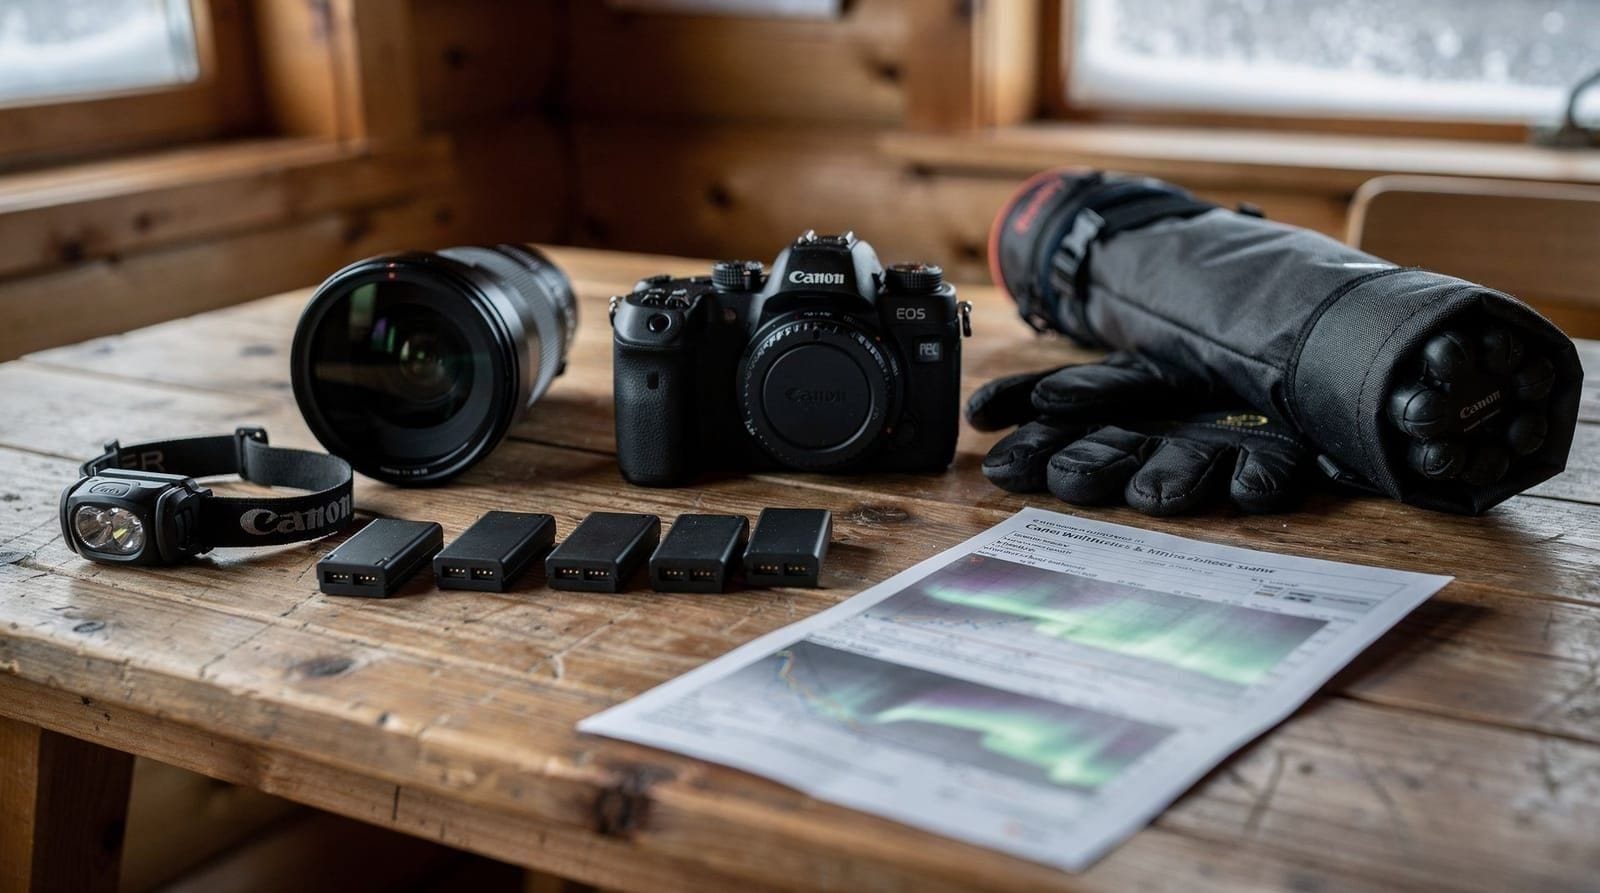
Yes. Using live view at 10× magnification for focusing and checking composition does use battery faster than optical viewfinder shooting. This is another reason to carry 2–3 spare batteries in cold weather. Focus using live view, then shoot using the 2-second timer with live view off to conserve battery between shots.
Should I bracket exposures for aurora HDR?
HDR (multiple exposures merged) doesn’t work well for aurora because the aurora position changes between exposures. The brackets won’t align. Instead, expose for the aurora and lift shadows in post for the foreground — the latitude in RAW files is typically sufficient for a single correct exposure.
Do I need different settings at different Tromsø locations?
No — the exposure triangle logic is the same wherever you are. What changes by location is the foreground and the light pollution level; darker sites away from the city allow slightly longer exposures before the sky itself starts to brighten from ambient light. See the best aurora locations guide for site-specific notes.
Is it worth joining a photography tour if I already know these settings?
Possibly still yes, for the location scouting and real-time feedback rather than the settings themselves. Guides know which spots are clear and dark on a given night, which saves the trial-and-error of self-driving to a mediocre location. If you’re confident in your settings and just need transport and site knowledge, compare tour types in the northern lights tours compared guide.
Do these camera settings work for photographing the midnight sun too?
No — midnight sun photography is a static, well-lit subject and uses completely different exposure logic (lower ISO, smaller aperture, faster shutter). If you’re in Tromsø across seasons, treat aurora and midnight sun as separate photography problems; the aurora photography settings guide covers the aurora-specific logic in more narrative detail than the scenario tables above.
Top experiences
Bookable activities with verified prices and instant confirmation on GetYourGuide.