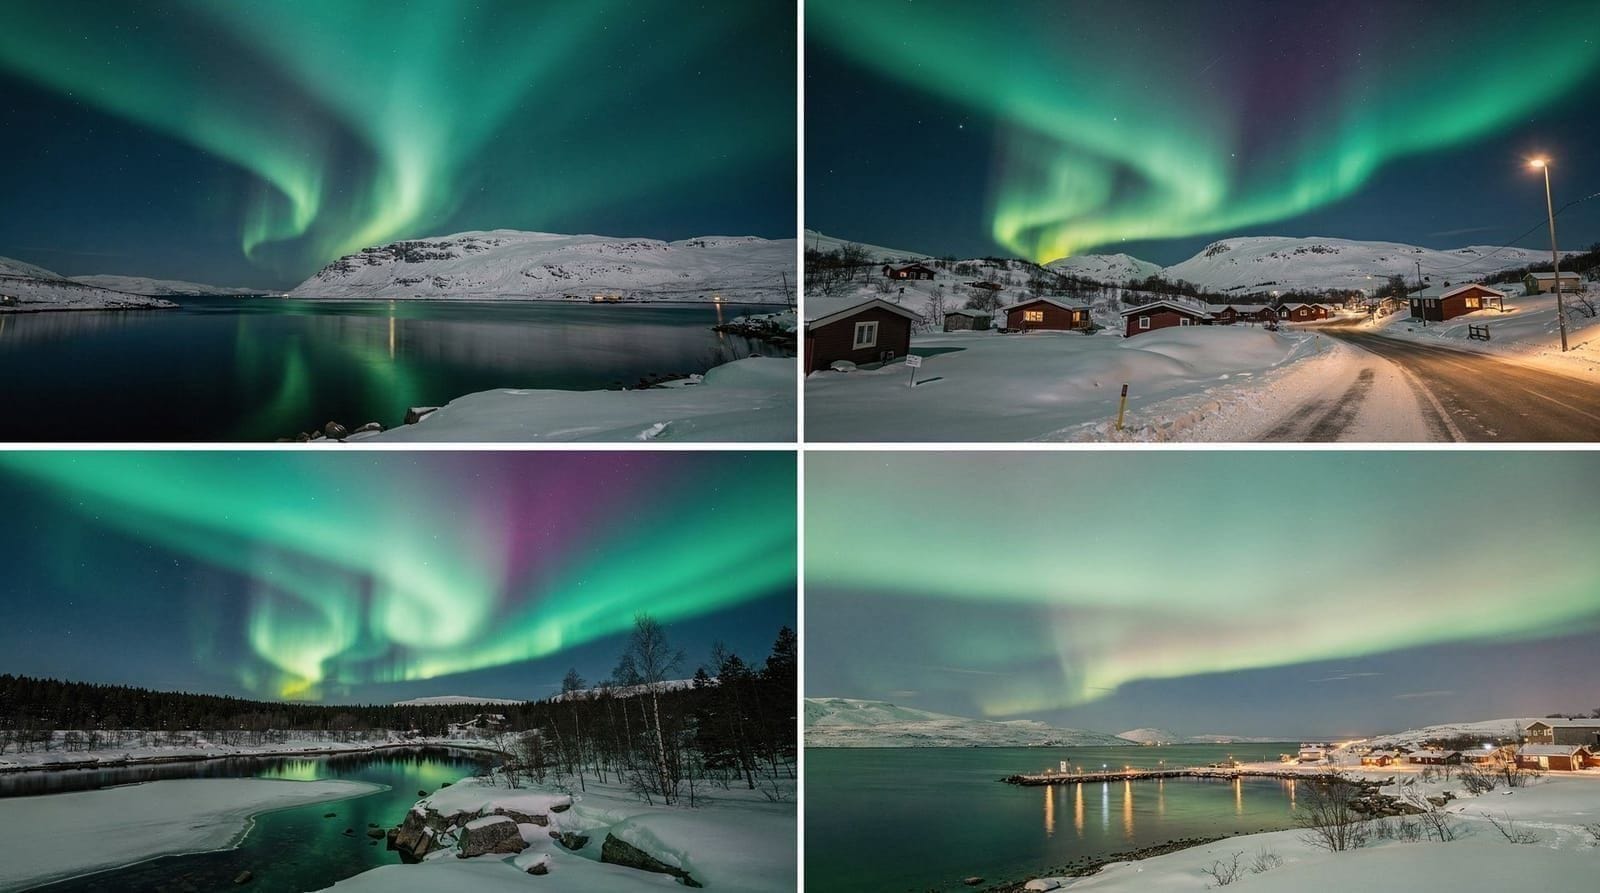
Tromsø winter photography itinerary — 4 days
Tromsø: Northern Lights Photography Tour by Bus
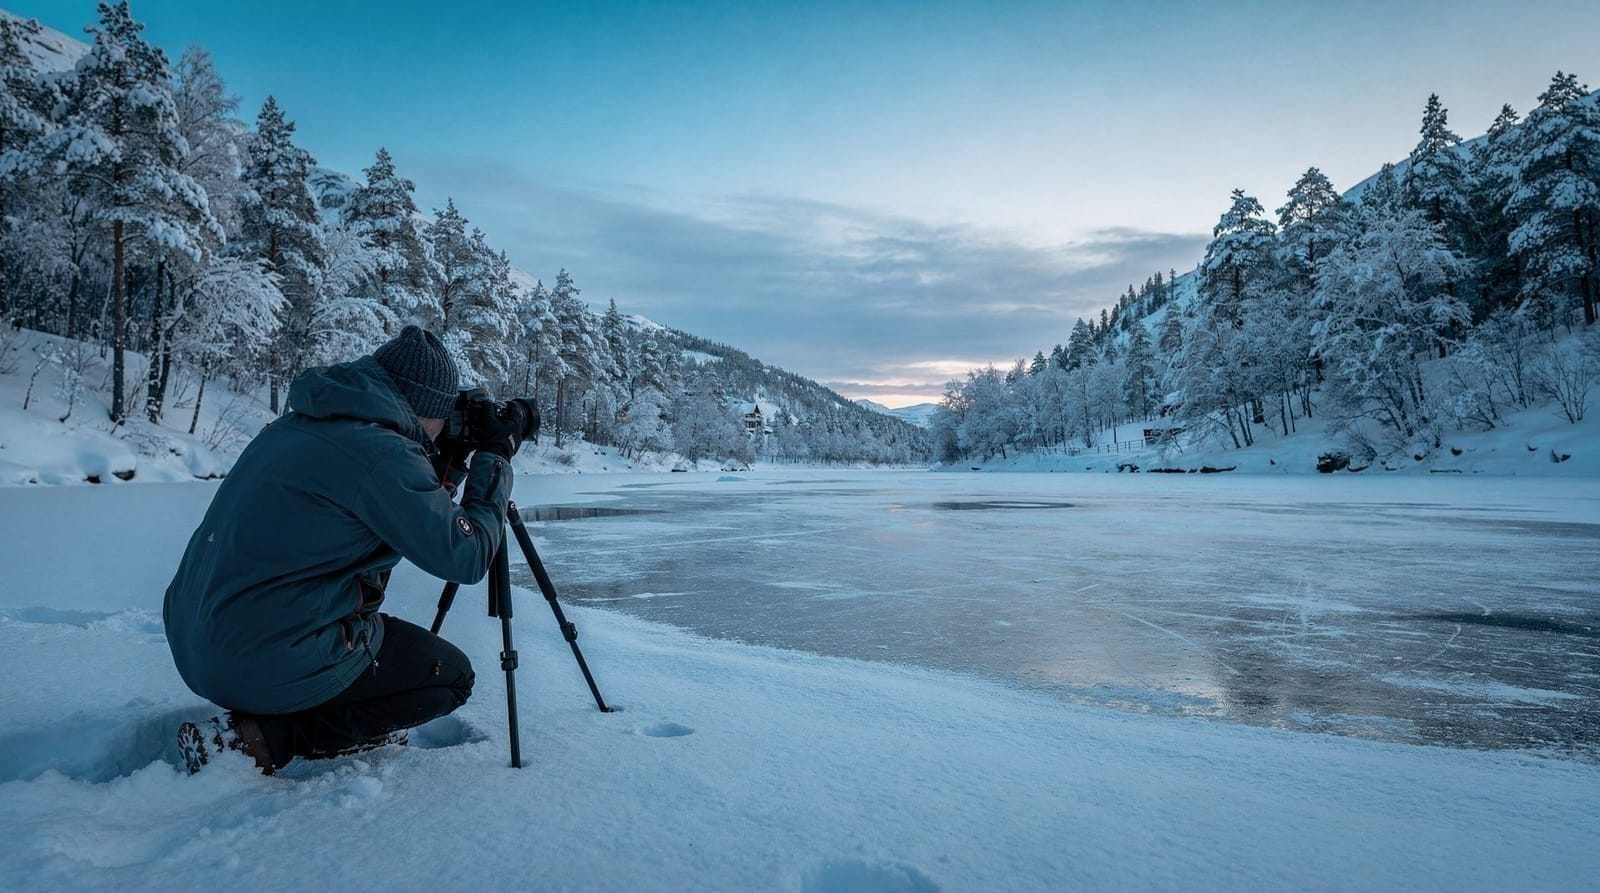
This itinerary is for photographers — not snappers on tour with a camera, but people who want specific compositions, understand exposure, and plan shoots around light quality rather than convenience. It combines guided aurora photography sessions with independent location scouting and vehicle access for blue-hour fjord and mountain shots.
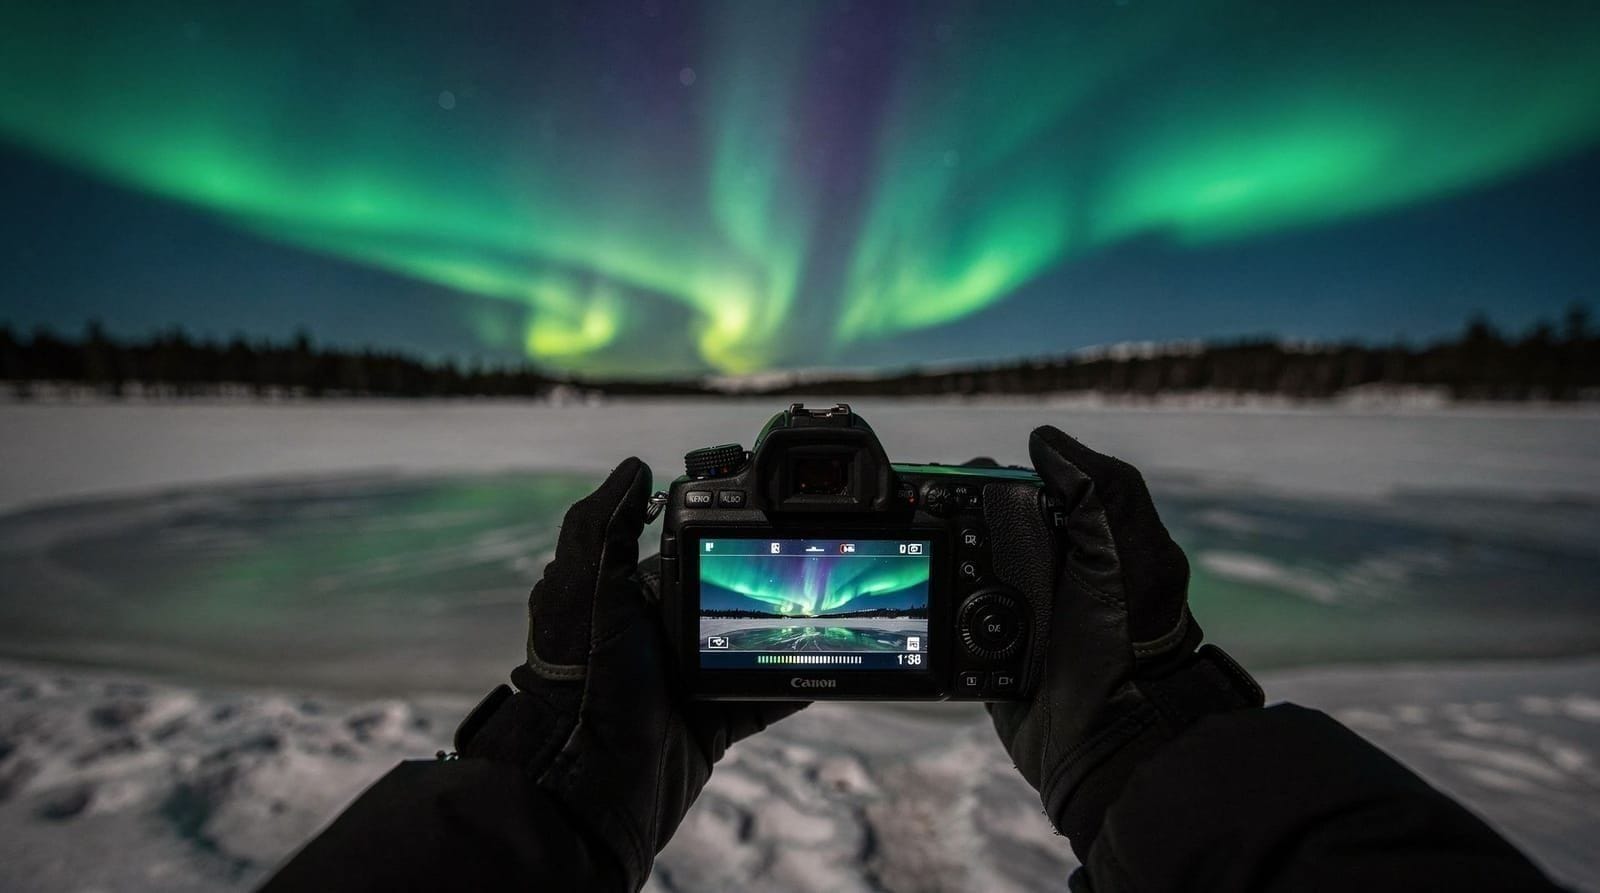
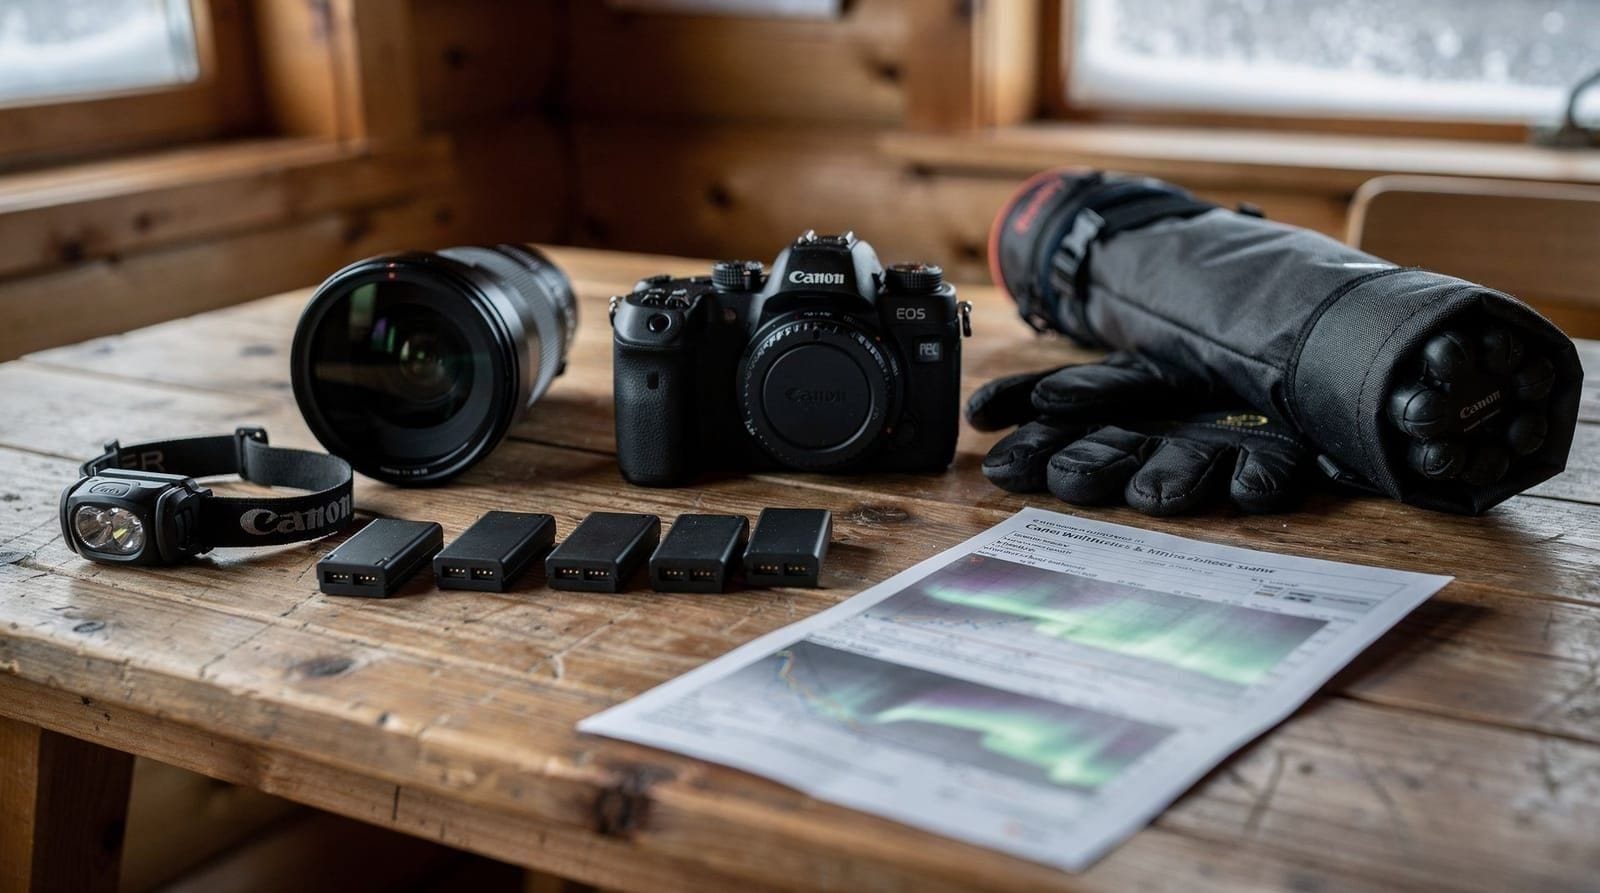
You will need: a camera with full manual mode, lenses to f/2.8 or faster, a sturdy tripod, hand warmers for batteries (cold kills battery life fast), and a headlamp with red-light mode. A rental car (Days 2–4) is strongly recommended for independent location access.
Read the aurora photography guide and winter landscape photography guide before you arrive. Set your camera’s manual focus to infinity on wide lenses at home; stars and aurora are the fastest way to confirm sharp infinity focus.
Arrive Day 1 afternoon. Depart Day 4 late evening.
| Where | Tromsø city, Kvaløya, Tamok Valley, optional Senja |
| Cost | around 19,650–24,650 NOK/person, 4 days |
| Time needed | 4 days / 3 nights, rental car Days 2–4 |
| Getting there | Airport bus or rental car pickup at TOS |
| Best time | Late November–February for polar night blue hour and aurora |
Day 1: blue-hour city shots and specialist aurora tour
Afternoon (14:00–17:00): Blue-hour city photography. Tromsø has no true daylight in polar night (27 Nov–15 Jan) but a 2-hour blue-hour window around solar noon gives extraordinary pastel light. Best spots for city photography:
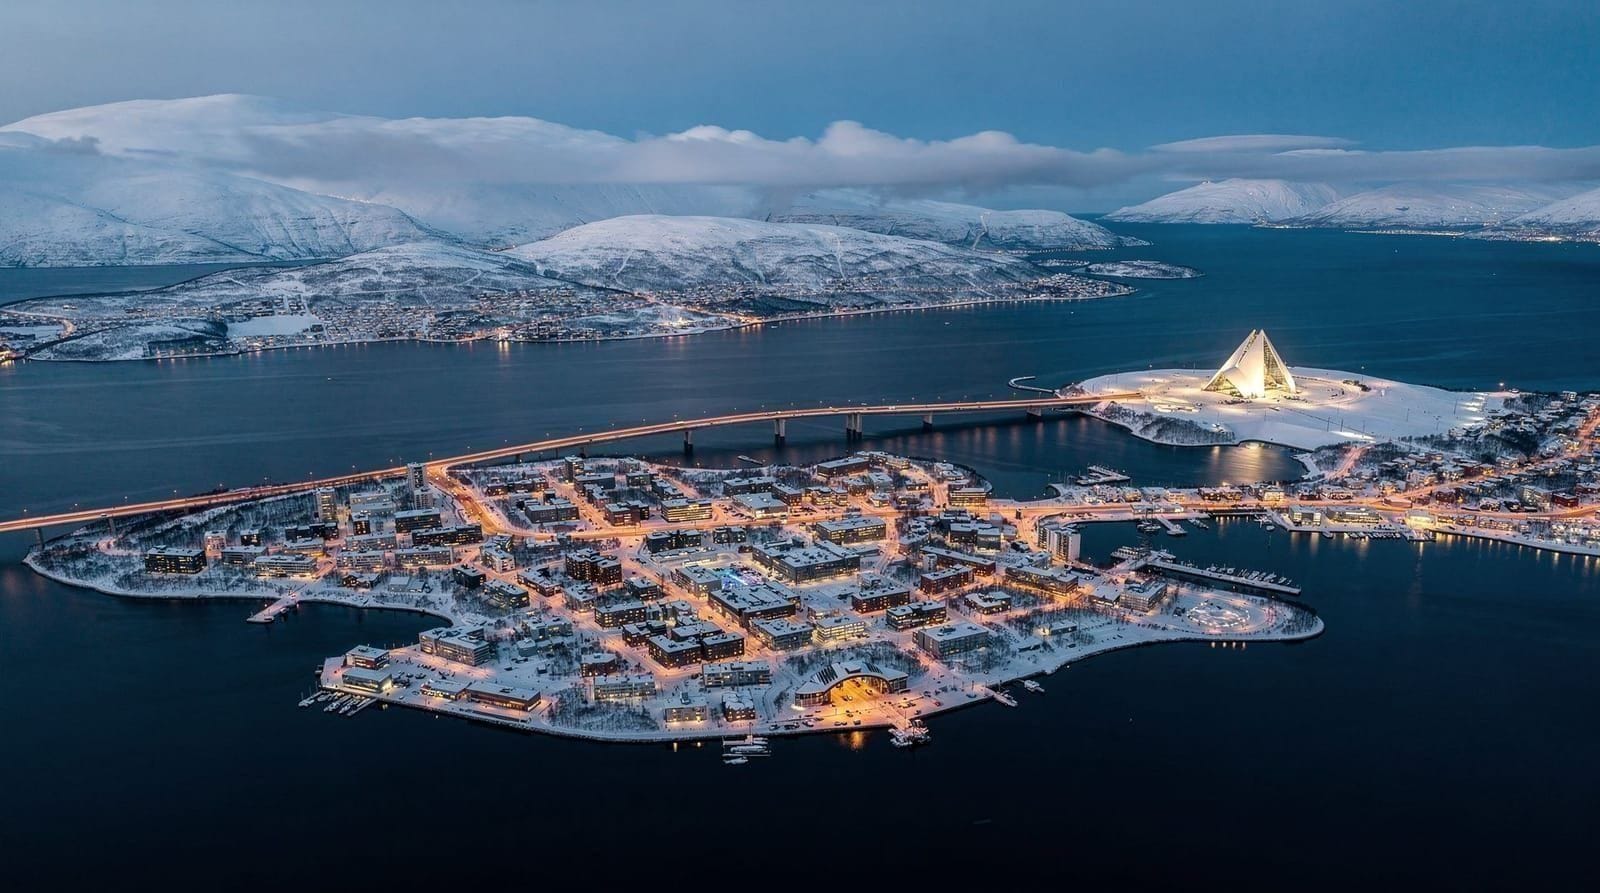
- South end of the Tromsø bridge: classic angle of the Arctic Cathedral reflection in the fjord at dusk.
- Storgata hill (above Driv): elevated view over the colourful wooden houses toward the waterfront.
- North quay (Strandpromenaden): long exposure of the harbour with mountain backdrop.
Settings for blue hour: f/8, ISO 400–800, 10–30 second exposure on tripod. Aurora photography settings covers the full exposure matrix.
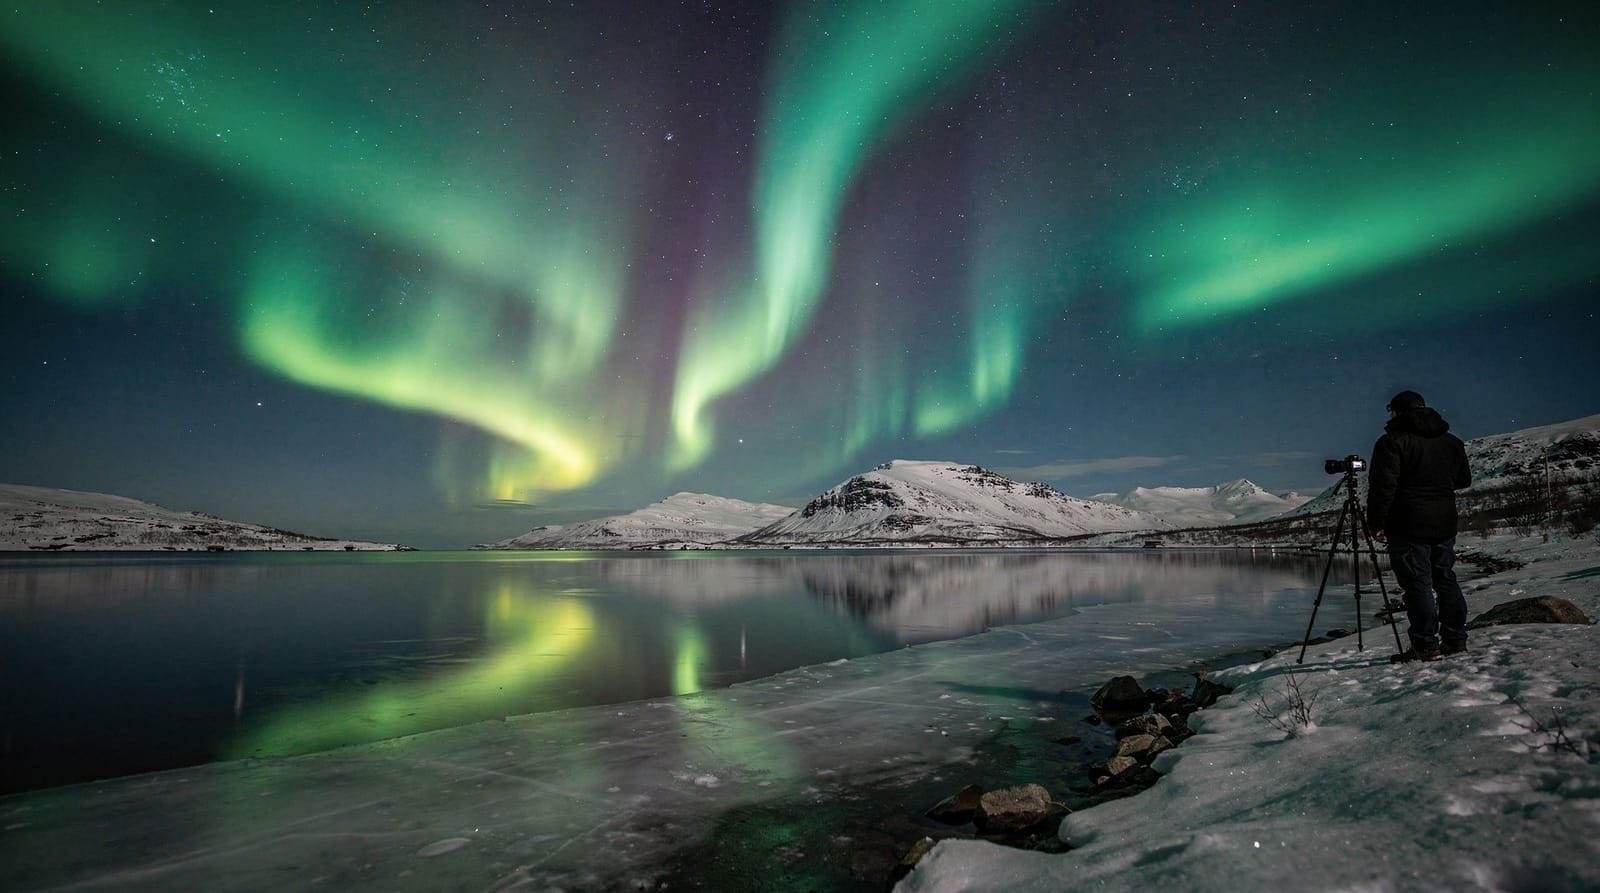
Evening aurora photography tour (19:00–01:00): Specialist aurora photography tours (max 6–8 people) are fundamentally different from large-group aurora tours. The guide scouts locations in advance for visual interest — a frozen lake foreground, birch trees, a mountain silhouette. They stop longer at active displays rather than moving constantly. Cost ~2400–3000 NOK.
These tours provide tripods for participants who do not own one. Confirm at booking if you need one.
Day 1 costs: Transfer 50 + dinner 300 + photo tour 2600 = ~2950 NOK
Day 2: pick up car, self-drive blue hour, Sommarøy evening
Pick up the rental car at TOS airport (08:00). This gives you vehicle access for self-drive aurora and location scouting.
Morning (09:00–11:00): Tromsøya island north coast. Drive north on Hansens vei to the top of Tromsøya. The view from the northern tip across to the mainland mountains is excellent in early polar-night light. Very few visitors come this far north on the island.
Late morning (11:00–13:30): Fjellheisen. Fjellheisen cable car opens from 10:00. Summit shots in blue hour: use the bench platform west of the café for an unobstructed view of the city, fjord, and the Lyngen Alps silhouette to the east (~280 NOK return).
Drive to Sommarøy (14:30–16:00): 77 km west. Sommarøy and Ersfjord on Kvaløya have excellent winter landscape compositions — white sand under snow, frozen spray on rocks, pastel sky. The Ersfjord beach at low tide with mountain walls behind is a frequently-used composition. Ersfjord day trip guide for specific location coordinates.
Sunset and twilight (15:30–17:00): In December, sunset is around 13:00 and afterglow lingers until 15:30–16:00. This is your golden window for dramatic coastal shots. Shoot RAW; the colour gradients require latitude in post.
Self-drive aurora (21:00–01:00): Drive to the east side of Tromsøya or south toward Breivikeidet for self-drive aurora. The high mountains east of the fjord create a natural backdrop; park on a flat roadside and shoot with a mountain foreground. Best aurora locations guide lists specific coordinates with access notes.
Day 2 costs: Car ~1100 + fuel ~300 + cable car 280 + dinner 300 = ~1980 NOK
Day 3: dog sled action photography in Tamokdalen
Dog sledding at Tamok Valley is one of the best action photography subjects in the Arctic — fast-moving teams, snow spray, forest scenery, and dogs’ expressions. Request to be in the lead sled position to photograph the team from behind, or ask the operator if you can move between sleds for action shots.
Morning (08:30–14:00): Self-drive dog sledding. The self-drive format lets you pause and photograph while the team is stopped. Passenger-only sleds limit your movement. Cost ~2950 NOK with lunch.
Photography tips for dog sledding: use burst mode at 1/1000 or faster for sharp dogs in motion. ISO 800–2000 depending on cloud cover. Polarising filter to cut snow glare. Keep a hand warmer in your camera bag — battery charge drops fast in −15°C. Put fresh batteries in before the session and keep the spares in an inner pocket.
Afternoon (14:30–16:30): Return to Tromsø. Rest and process images from the morning.
Evening (19:00–23:00): Second guided aurora photography tour if you booked two nights, or independent shooting from car with locations from Day 2 scouting. The Kaldfjorden fjord south of Tromsøya and the coastal road south of Breivikeidet are both excellent independent locations.
Day 3 costs: Dog sledding 2950 + dinner 300 + aurora tour or fuel 1500 = ~4750 NOK
Day 4: optional Senja or rest day, departure
Day 4 is flex. If you rented the car for a fourth day, drive to Senja — 2.5h — for the north coast landscape compositions. The Tungeneset arch rock and Mefjordvær end-of-road village provide foreground interest that Tromsøya lacks. Stay one night or make it a long day trip (07:00–20:00).
If Senja is not in the plan: use the morning for a final blue-hour city circuit (bridge, harbour, south quay), return the car at TOS by 12:00, and spend the afternoon backing up files, editing, and packing.
Optional guided expedition: A 4x4 aurora photographer expedition runs from some operators as a full-day (10:00–02:00) single-day expedition covering blue-hour landscape locations + evening aurora.
Departure: TOS late evening departures.
Day 4 costs: Car fuel ~350 (Senja option) + lunch 200 + transfer 50 = ~600 NOK (excluding optional tour)
4-day photography budget
| NOK | |
|---|---|
| Accommodation (3 nights, single room mid-range) | 5000–8000 |
| Aurora photography tours (2 nights) | 5200–6000 |
| Dog sledding | 2950 |
| Car rental (3 days) | 3300–4500 |
| Fuel | 800 |
| Cable car + other attractions | 400 |
| Food (4 days) | 2000 |
| Total per person | ~19650–24650 |
Essential camera kit for Tromsø winter
Body: Full-frame preferred for aurora (better high-ISO performance). APS-C works fine with a fast lens.
Lenses: 14–24mm f/2.8 or a prime 20mm f/1.8 for aurora. 70–200mm for dog sledding and compressed mountain shots.
Cold weather prep: Battery grips hold an extra battery. Keep spare batteries at body temperature. LCD screens slow in the cold; increase brightness in camera settings.
Tripod: Carbon fibre preferred (lighter and handles cold better than aluminium). Metal triggers are painful in bare hands at −15°C — attach a small foam grip.
Filters: Circular polariser for blue-hour shots. No filters for aurora (any haze reduces contrast). ND filters for long exposures on rivers or the quay.
Post-processing: Aurora shots respond well to raising shadows and reducing highlights. Green-magenta colour balance often needs correction. The aurora photography guide includes Lightroom/Capture One preset starting points.
Planning around the weather, not just the calendar
Clear skies matter more than exact dates for this itinerary — a photographer chasing a specific week can still get four cloudy nights. Build in slack if you can: a 5th night as a buffer, or treat Day 4’s Senja option as the flexible slot that moves to whichever day has the clearest forecast. Check yr.no daily and cross-reference with the aurora forecast Kp explained guide — a high Kp index with heavy cloud cover is still a wasted night, and a modest Kp with clear sky often outperforms it. For readers deciding between a guided chase and a self-drive plan across the whole trip, self-drive vs guided aurora lays out the trade-offs in more depth than this itinerary has room for.
Comparing the two aurora nights
Day 1’s guided specialist tour and Day 3’s second session (guided or independent) serve different purposes, and it helps to plan them as a pair rather than duplicates.
| Day 1: guided specialist tour | Day 3: independent or 4x4 tour | |
|---|---|---|
| Best for | First-night location scouting, provided tripods | Applying what you learned, working a single composition longer |
| Cost | ~2,400–3,000 NOK | 0 NOK (self-drive) or ~2,600–3,200 NOK (guided) |
| Control | Guide decides locations and timing | You decide, but no vehicle backup if clouds move in fast |
| Risk | Group pace may move on before you finish a shot | Self-drive requires you to already know clear-sky spots |
Editing on the road
Bring a laptop and back up to a second drive or cloud storage each night — a lost card after four nights of aurora shooting is the single worst outcome of this trip. Battery life for laptops also drops in cold hotel rooms if you leave gear in a cold bag too long before opening it; let equipment reach room temperature first, same rule as the camera condensation advice below. If you are also considering Lofoten as an alternative or addition, note that Senja on Day 4 gives a very similar arch-rock coastal composition without the extra travel day.
Frequently asked questions about winter photography in Tromsø
What is the best camera for aurora photography in Tromsø?
Any camera with full manual control and an ISO of at least 3200 usable. The Sony A7 IV, Nikon Z6 III, and Canon R6 Mark II are current choices with excellent high-ISO performance. Among compact cameras, the Sony ZV-E10 with a fast prime (Sigma 16mm f/1.4) can produce acceptable aurora images. See aurora photography gear guide.
Do I need a dedicated aurora photography tour or can I shoot independently?
For your first night in Tromsø, a guided tour (especially specialist photography-focused tours) gives you access to better locations and eliminates the logistics. After one or two nights, you will have enough local knowledge to self-drive to the locations you identified. Both approaches have value in a 4-day itinerary.
What are the best foreground subjects for aurora compositions in Tromsø?
Frozen lakes (Tromsø area has several within 30 minutes), mountain reflections in fjord water, birch tree clusters, traditional red wooden buildings (look south of the city), and the Arctic Cathedral from the north side. Best aurora locations guide maps these with access notes.
How do I handle condensation when bringing cold equipment inside?
Put the camera and lenses in a sealed bag (a zip-lock works) before entering a warm building. Let them warm up inside the bag before opening. This prevents condensation forming on the glass. Never go directly from −15°C to a warm room with lenses uncovered.
Can I use drone photography in Tromsø?
Some restrictions apply. Norway requires registration for drones over 250g. No-fly zones exist around TOS airport (obvious), military installations, and nature reserves. Within Tromsø city, you need operator permission for flight over populated areas. See drone rules Norway guide for the current regulation summary.
Is a rental car worth it just for photography locations?
Yes, if your budget allows it. The single biggest jump in composition variety on this itinerary comes from vehicle access to Sommarøy, Tamokdalen and the eastern side of Tromsøya — locations a self-guided pedestrian simply cannot reach in a 4-day trip. If the car is out of budget, a 4x4 photography expedition tour covers similar ground for a single night’s cost instead of a multi-day rental.
Top experiences
Bookable activities with verified prices and instant confirmation on GetYourGuide.