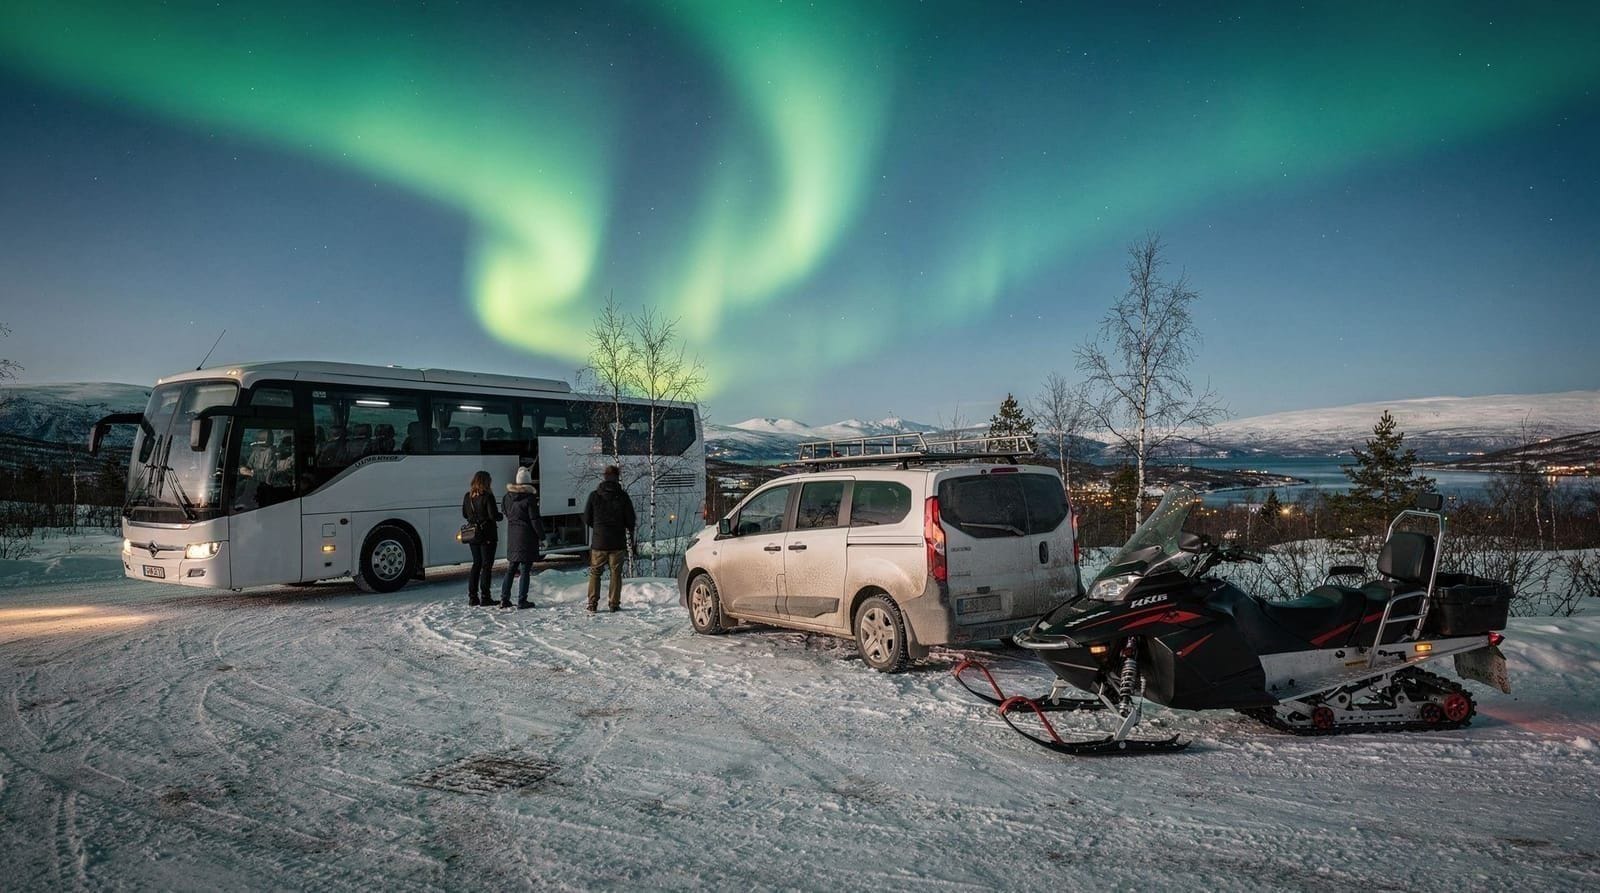
Aurora photography tours in Tromsø — honest review 2026
Tromsø: 4x4 Small-Group Northern Lights Photography Tour
Tromsø’s aurora season runs from late September through early April, and a photography-specific tour is a genuinely different product from a standard chase tour — different price, different group size, and a different outcome in your camera roll. This review breaks down what you’re actually paying for, what gear is worth bringing, and how to avoid an underwhelming evening with a clear sky overhead and nothing usable to show for it.
| Season | Late September–early April, peak Nov–Feb |
| Group size | 4–8 (instruction) to 20–40 (bus/chase) |
| Duration | 4–10 hours, evening/night departure |
| Cost | around 1,500–4,500 NOK depending on format |
| Booking | 2–3 days ahead in good-forecast periods |
| Clothing | Full winter layers — see packing guide below |
What a real aurora photography tour looks like
There are two categories of tour sold under the “aurora photography” label, and confusing them is expensive.
Category A: photography instruction tour. A professional photographer (who photographs aurora regularly and has a portfolio) drives a small group of 4–8 in a 4x4 vehicle, teaches camera operation in the field, positions you at pre-scouted foreground locations, reviews your shots in real time, and helps you understand why each frame works or doesn’t. You leave with your own photographs taken with your own hands.
Category B: “free photos included” standard chase tour. A guide chases aurora with a group of 12–30, takes professional photographs of the aurora with their equipment, and sends you the files afterward. You take your phone out during stops. The photographs you receive are the guide’s, not yours.
Both are legitimate products. Only one is a photography tour in any meaningful instructional sense. Most listings blur this distinction deliberately in marketing copy. The reliable check: does the listing specify the guide’s photography background? Does it state maximum group size? If the answers are vague, assume Category B.
4x4 small-group northern lights photography tourWhat genuine photography instruction covers
A proper 6–8 hour aurora photography tour teaches the following:
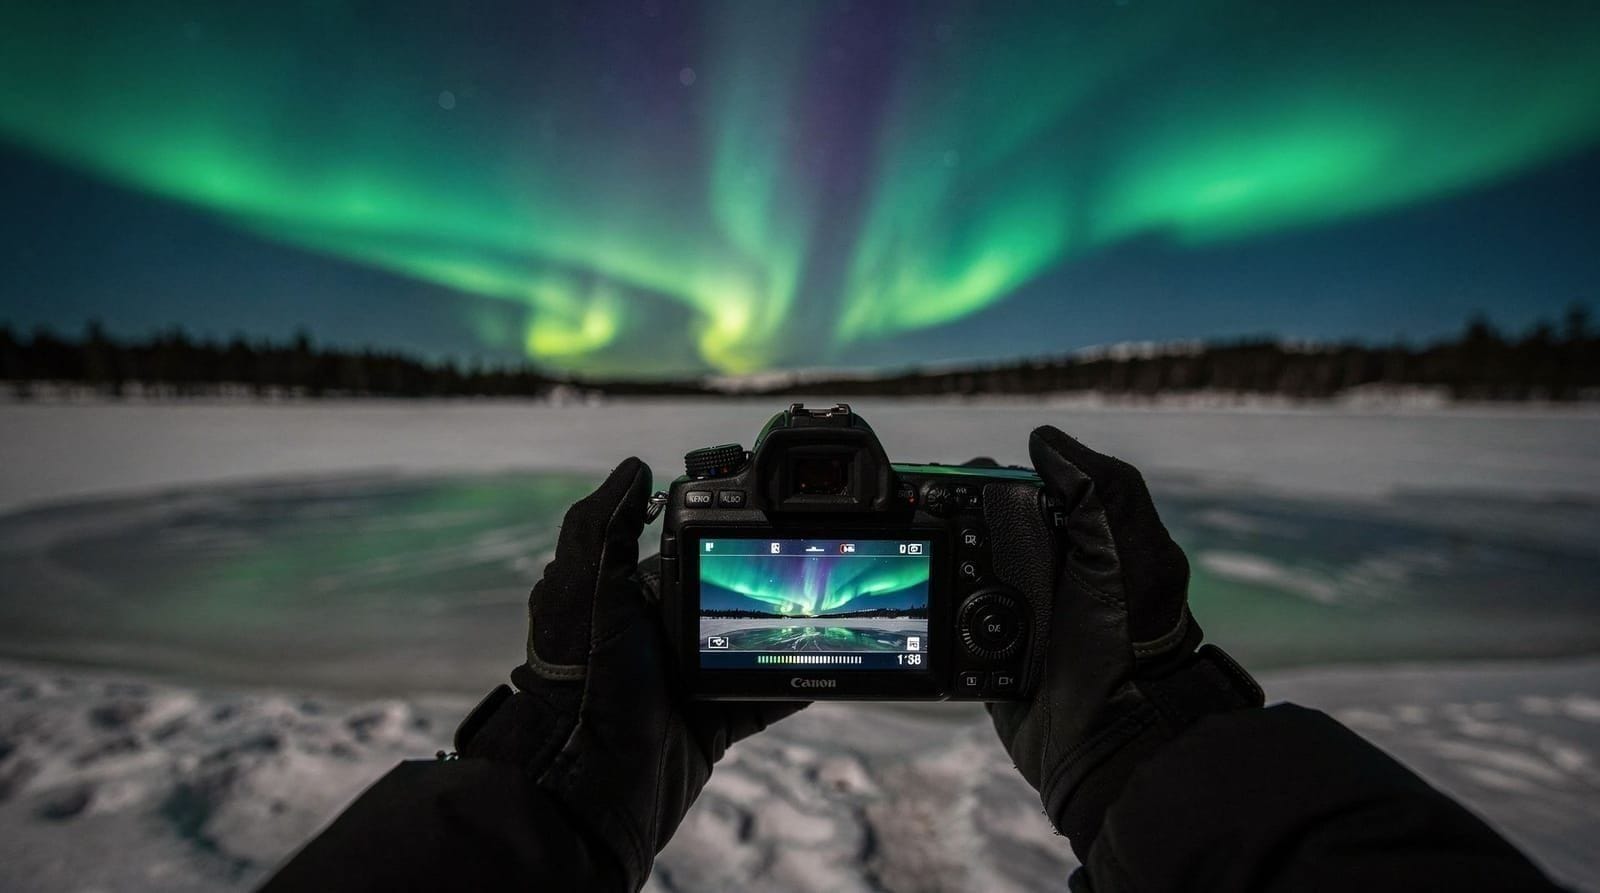
Exposure control in extreme darkness Aurora photography requires manual operation because no automatic mode handles the scene correctly. Understanding the relationship between ISO (sensor sensitivity), aperture (lens opening), and shutter speed (how long the sensor collects light) is the core skill. A good guide teaches this in 30 minutes of field practice.
Dealing with moving aurora Slow diffuse glow (very common) allows 15–25 second exposures. Fast-moving curtains (occasional, spectacular) blur over anything longer than 5–8 seconds. Recognizing which you’re dealing with and adjusting shutter speed on the fly is the most valuable skill from an instruction tour.
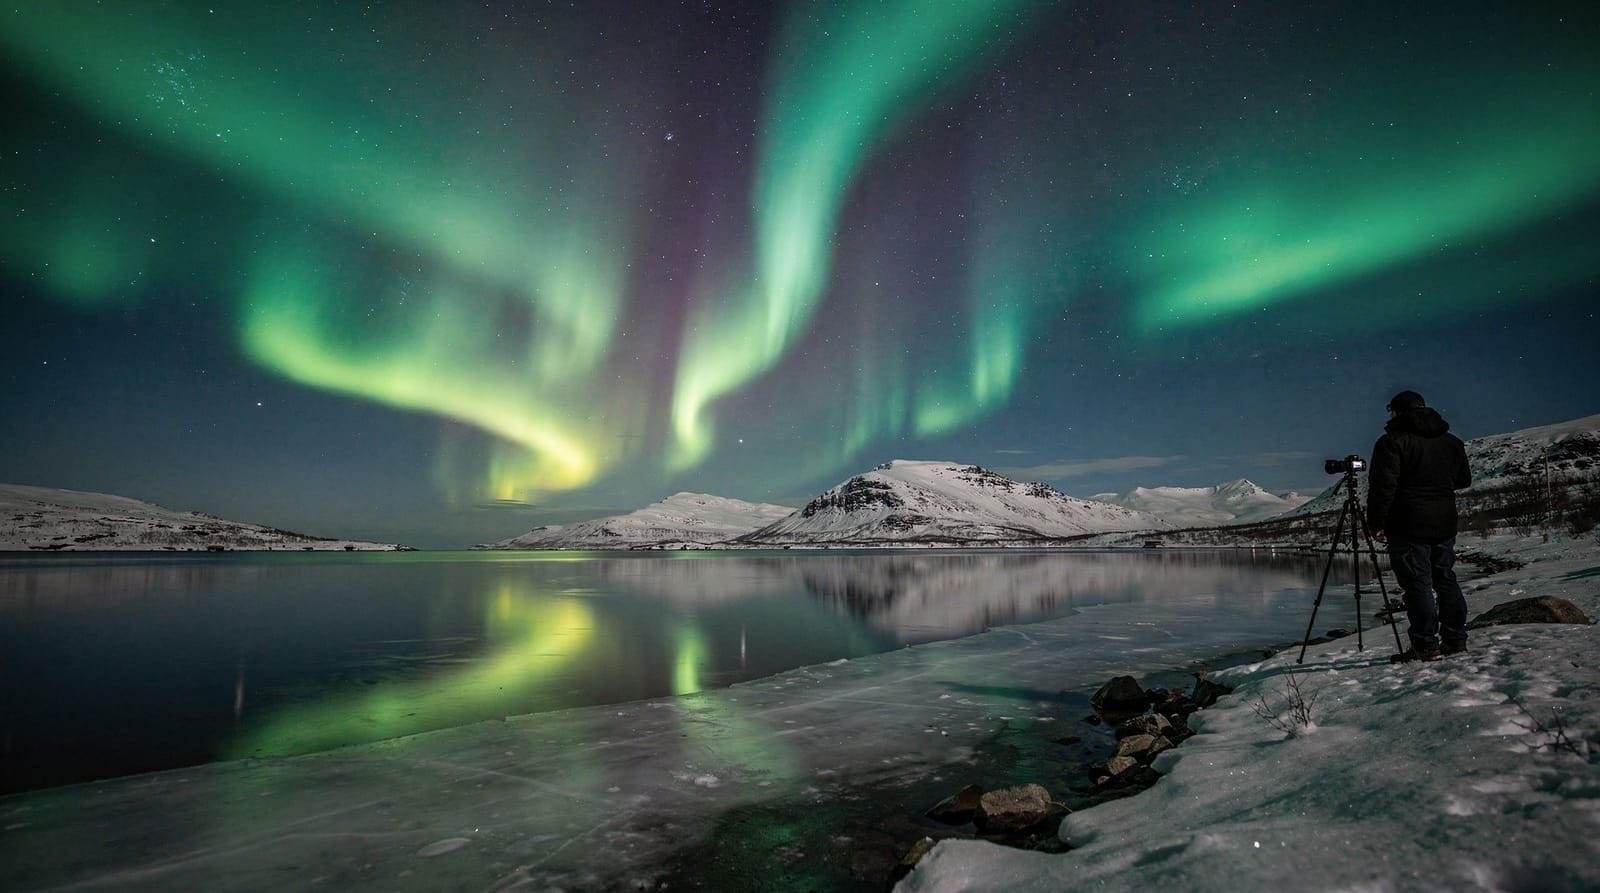
Foreground composition Aurora shots without a foreground are aesthetically weaker than shots that include landscape. The best Tromsø aurora images contain foreground elements — a frozen lake, mountains, a single tree, a lit cabin. Finding and framing these at night requires the guide’s local knowledge of scouted locations.
White balance and color accuracy The green color of aurora is real. Overly warm white balance shifts it toward yellow. Shooting RAW (not JPEG) gives full post-processing flexibility, but understanding the starting color temperature matters even for JPEG shooters.
Post-processing basics Some tours include a morning debrief session with Lightroom or similar software. This is valuable for understanding how to maximize low-light raw files. If your tour doesn’t include this, the aurora photography settings guide covers the key Lightroom adjustments.
Gear you need — and what you don’t
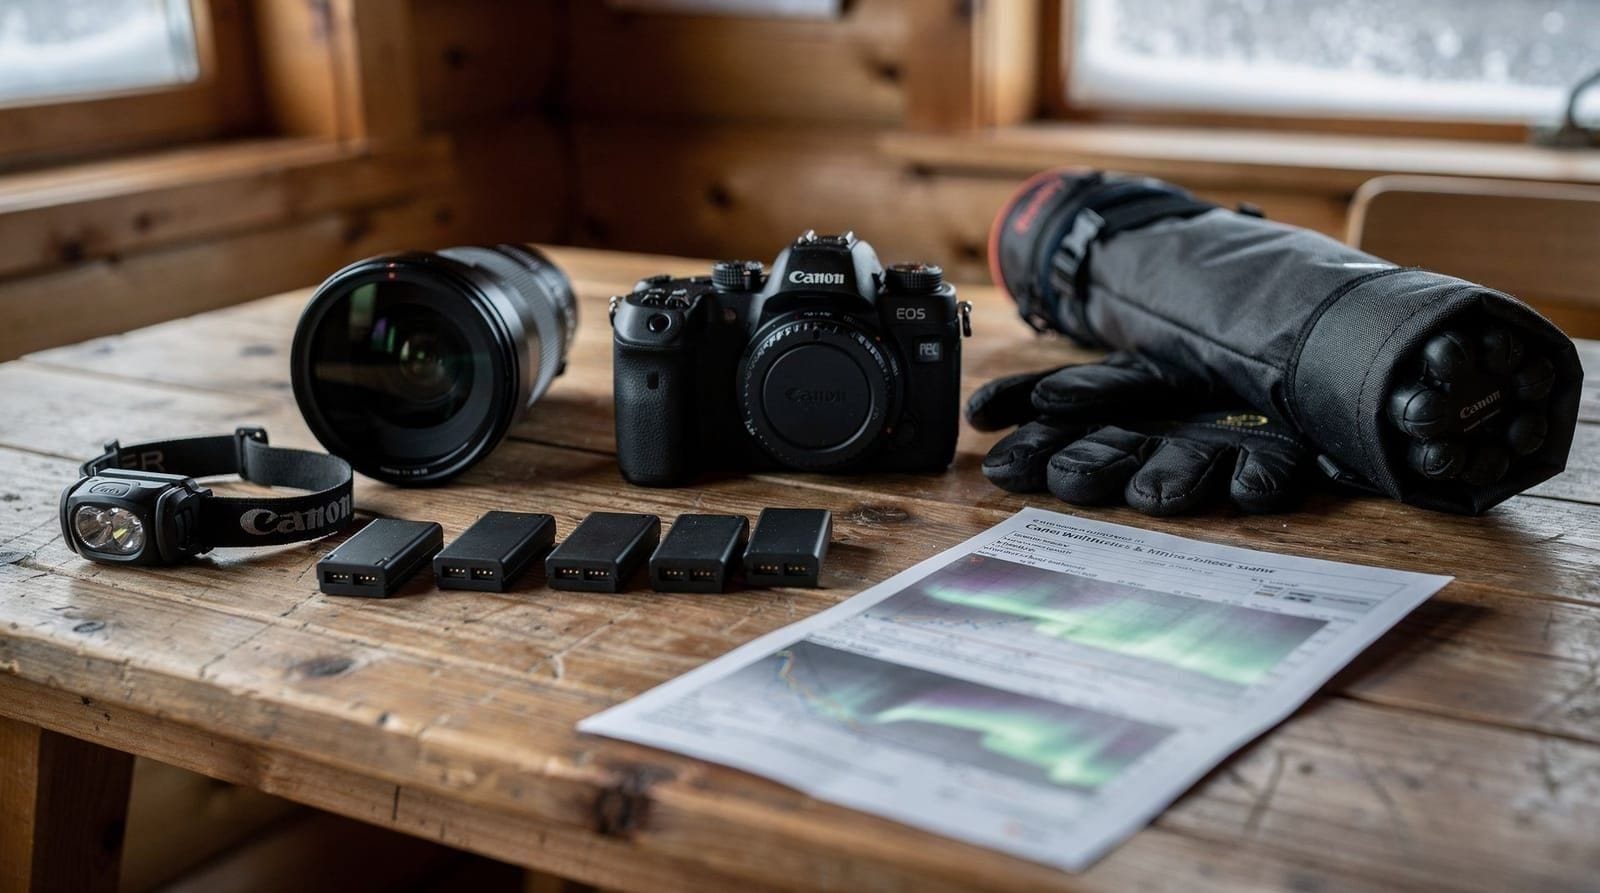
Essential
- Camera with full manual mode (any interchangeable lens camera made after 2015 is adequate)
- Wide-angle lens, 14–35mm equivalent, f/2.8 or faster (f/1.8 is better but not necessary)
- Sturdy tripod — carbon fiber travel tripod is ideal; cheap plastic ones vibrate in wind
- Extra batteries (cold reduces battery life by 50–70% — bring at least two spares)
- Remote shutter release or use the self-timer (2s delay to prevent camera shake)
- Memory cards (RAW files are large — 32–64 GB minimum)
Useful additions
- Lens warmer (a USB-powered heated ring that prevents lens fogging — roughly 200–300 NOK online)
- Red-light headlamp (preserves night vision between shots)
- Handwarmers inserted into camera gloves (keeps your fingers functional for camera dials)
Not needed
- Tracking mounts (used for star photography, not aurora — aurora moves too fast)
- Graduated ND filters (aurora requires maximum light, not reduced light)
- Telephoto lens (wide angle is almost always better for aurora)
Comparing photography tour formats
| Format | Guide type | Group size | Duration | Instruction | Price (NOK) |
|---|---|---|---|---|---|
| 4x4 small-group photo | Professional photographer | 4–8 | 6–9h | Yes, individual | 2,800–3,800 |
| Small-group photo bus | Experienced guide-photographer | 8–16 | 6–8h | Partial | 2,000–2,800 |
| Bus tour (free photos) | Guide + hired photographer | 20–40 | 4–6h | No | 1,500–2,200 |
| Expedition format | Professional photographer | 4–8 | 8–10h | Yes | 3,200–4,500 |
The expedition format (longest, fewest guests, deepest chase radius) is the highest quality available. It’s the right choice if aurora photography is the primary purpose of your trip to Tromsø.
The “free photos” model — what you actually receive
Many chase tours include “free professional photos of you under the aurora.” These are:
- Photographs taken by the guide using their own equipment
- Usually 3–10 edited images per group member
- Delivered via download link or social media platform the next morning
- Generally high quality — guides who do this regularly produce excellent work
They are not instruction, and they are not your own photography. If you want to come away able to replicate the result yourself, they are insufficient. If you simply want a quality record of the experience without learning to shoot, they are completely adequate.
Location scouting — what guides know that you don’t
The difference between a professional aurora photographer and a tourist with the same camera is primarily knowledge of foreground locations. Within a 150-km radius of Tromsø there are perhaps 30–50 pre-scouted aurora photography locations with different foreground types and different optimal aurora directions (active aurora fills the sky, but the direction of maximum activity matters for composition).
Good photography guides have driven every route, photographed every location repeatedly, and know which direction the aurora typically appears from at each spot. They also know which roads to take when a cloud gap appears and which locations have the least light pollution.
The best aurora locations guide covers the public-access spots for self-drive aurora photography.
Small-group aurora tour with free photos — 8 hoursChase tours versus camp-based photography
Most Tromsø photography tours are mobile “chase” formats — a guide drives to wherever the forecast and cloud gaps look best, which can mean an hour or more on the road between stops. A smaller number of operators run camp-based evenings instead: you stay at one prepared site (often with a fire, a lavvo, or a heated cabin) and wait for the sky to clear overhead. The chasing versus camp aurora guide compares the two in detail — chasing generally wins on sighting odds, camping wins on comfort and a calmer pace for serious photography. If you’d rather set up your own tripod at your own speed instead of following a group schedule, the self-drive aurora guide and the aurora camp evening guide are the relevant alternatives to a guided instruction tour.
Dressing for a night of standing still
Photography tours involve far more standing still in the cold than active tours like dog sledding — you are stationary at a tripod for long stretches, often for over an hour at a single location. This is colder than it sounds. The what to wear for northern lights guide and the fuller Tromsø winter packing guide cover the layering system that keeps hands functional enough to operate camera dials at -10°C to -15°C. Bringing your own hand warmers beyond what the operator supplies is a small cost that meaningfully improves the evening.
Frequently asked questions about aurora photography tours
Can I learn aurora photography on a standard chase tour without dedicated instruction?
With prior preparation yes — if you understand your camera before the tour, have practiced on dark skies at home, and already know manual exposure. The aurora photography settings guide and gear guide cover what to learn before arrival. Without preparation, a standard tour leaves you fumbling with settings while the aurora is active overhead.
Do these tours work with phone cameras?
Modern flagship phones (iPhone 15 Pro, Samsung Galaxy S24+) have dedicated night mode and astrophotography modes that can capture aurora. Results are genuinely usable for social media and prints up to A4. The limitation is lens speed — phones typically have f/1.6–f/2.2 equivalent on their main sensors, which is good, but the smaller sensor introduces noise in dark conditions that DSLR sensors don’t show. A photography instructor familiar with phone cameras can help you maximize results.
What is the best KP index for aurora photography?
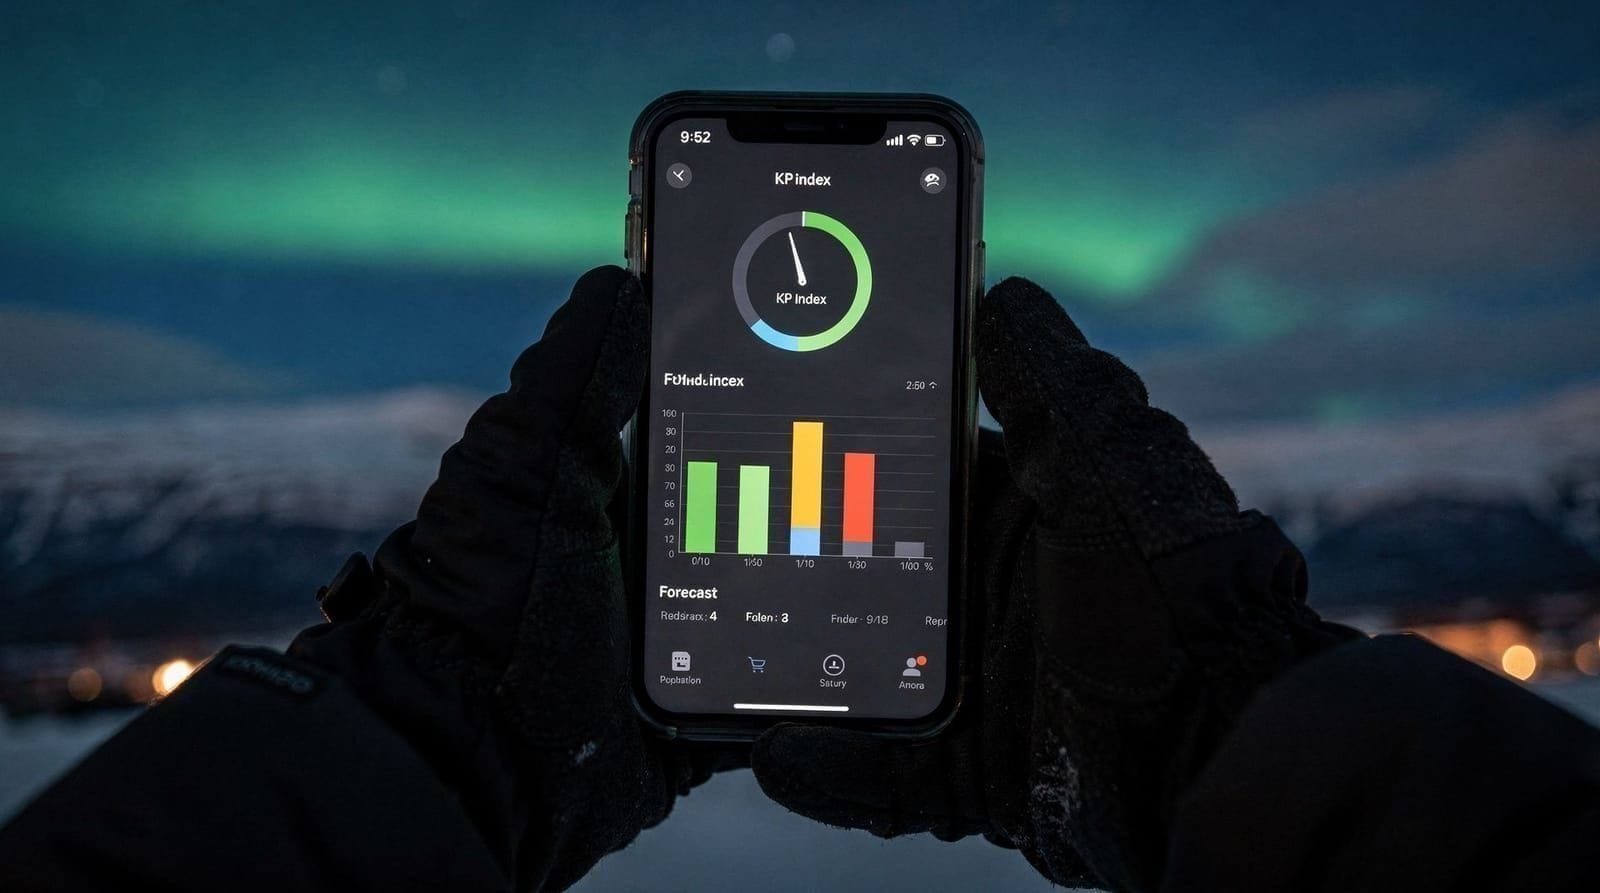
KP3–KP4 produces visible aurora near Tromsø (latitude 69°N — farther north than most aurora destinations, making lower KP values visible). KP5–KP7 fills the sky with active curtains and makes spectacular photography easier. KP8+ (rare major geomagnetic storms) can make aurora visible even in partially cloudy conditions. The KP index guide explains how to read and use this forecast tool.
Is September or February better for photography tours?
Both have merits. September offers colored sky at sunset merging into aurora — golden/pink horizon and green aurora together are exceptional. February offers maximum polar darkness and maximum chance of curtain-style aurora. March and October are also excellent. The best time to see northern lights page covers seasonal patterns.
Can I bring camera equipment in checked luggage to Norway?
Yes, Norway has no restrictions on camera equipment for visitors. Customs will not flag camera gear. Carry your camera body and most valuable lenses in your carry-on to avoid temperature shock (hold baggage holds can be very cold) and reduce theft risk.
What if I don’t get any aurora on my photography tour?
Most photography-specific tour operators offer rebooking if conditions prevent any aurora activity — they have a commercial incentive to deliver results because their reputation depends on it. Confirm this policy at booking. Standard tours are typically rebookable; expedition formats at higher price points sometimes offer partial refunds.