Midnight sun photography in Tromsø — techniques and locations
Tromsø: Midnight Sun Experience with Scenic Stops and Lunch
How do you photograph the midnight sun in Tromsø?
Treat midnight sun like shooting into a golden-hour sunset that lasts 6–8 hours. Use a graduated ND filter or expose for the foreground and recover highlights in RAW. Best locations — Sommarøy, Fjellheisen, and Tromsdalstinden ridge — place the low sun against dramatic landscape.
Quick answer: Midnight sun photography is golden-hour photography that lasts all night — warm directional light, long shadows, orange-lit sky from approximately 23:00 to 02:00 when the sun skims the northern horizon. Use graduated ND filters for balanced exposures. Best locations: Sommarøy beach, Fjellheisen at 421 m, and Tromsdalstinden for alpine views.
| When | Around 20 May – 22 July; best light 22:00–02:30 |
| Best locations | Sommarøy beach, Fjellheisen (421 m), Tromsdalstinden (1,238 m) |
| Key gear | Graduated ND filter, tripod or remote release, wide-angle lens |
| Cost | Free (waterfront, Sommarøy drive) to around 265 NOK (cable car) |
| Sleep plan | Shift sleep to 04:00–11:00/12:00; blackout curtains essential |
What the midnight sun looks like for photography
Most visitors expect the midnight sun to be impressive but somewhat ordinary — “just the sun, at midnight.” The reality is more visually striking.
Because the sun stays near the horizon for its entire low trajectory (it never rises more than 8–10° in Tromsø even at noon in June), the light is always directional and warm. The sun skims parallel to the ground, casting long shadows that change direction constantly as it travels its circular path.
At true midnight (00:00) around the solstice, the sun is at its lowest point — roughly 7° above the northern horizon. The sky to the north is intensely orange and red. The sea, mountains, and landscape glow with warm reflected light. This is not a 20-minute window like a regular sunset — it persists for 5–6 hours.
For photographers, this is extraordinary: the best landscape light quality (golden, directional, warm) for an entire night. You can start shooting at 22:00, photograph continuously until 04:00, and have consistent beautiful light throughout.
Camera settings for midnight sun
The midnight sun behaves like any bright light source at low angle — powerful, contrast-creating, and metering-challenging.
Basic settings for landscape with sun off-frame
When photographing landscape illuminated by midnight sun light without including the sun itself:
- ISO 100–200 (full daylight intensity)
- Aperture f/8–f/11 (maximum sharpness in the landscape)
- Shutter speed variable — let the meter guide, then adjust manually
- Use matrix/evaluative metering
- RAW format essential for highlight recovery
The challenge is the dynamic range — the warm orange sky may be 4–5 stops brighter than the foreground in shadow. A graduated ND filter (soft or hard edge, 2–3 stops) is the most useful tool.
Including the sun in the frame
The sun at midnight is bright (same intensity as afternoon sun). Including it directly requires managing a 8–10+ stop dynamic range between the solar disc and foreground.
Options:
- Graduated ND filter (3-stop hard edge): Position the hard edge on the horizon, filter above reduces sun exposure. Best for clean single exposures.
- Exposure bracketing and HDR merge: Take 3–5 exposures in 1-stop increments, merge in Lightroom or Photoshop. Effective but requires post-processing.
- Sun behind foreground element: Position a mountain, rock, or tree branch to obscure the solar disc. Shoot the corona (rays around the sun) rather than the disc itself.
- Silhouette shooting: Expose for the sky behind the sun. Foreground becomes a solid black silhouette — a dramatic but useful midnight sun technique.
Blue-hour equivalent in midnight sun
Around midnight and 01:00 in June, the sky to the north has a specific colour quality — deep orange-red near the sun position, transitioning through peach and soft blue at the zenith. This gradient is one of the most distinctive and photographically unique aspects of the midnight sun and cannot be replicated at any other time or place.
Capture this gradient by positioning yourself to include both the northern low-sun sky and the zenith in the same frame — this requires an ultrawide angle (14–16 mm on full-frame) and vertical composition.
Best midnight sun photography locations
Fjellheisen cable car — 421 m, accessible by cable car
The easiest elevated midnight sun location. The cable car runs until midnight in summer (check seasonal schedule). At 421 m, you’re above most of the city and surrounding topography, with a clear northern view over the Tromsøysund strait.
Best composition: The Tromsøysund at midnight with the orange sun reflected on the water, city lights beginning to appear (they stay on through the “night” in summer) and Lyngen mountains in the distance.
Limitation: The platform is a popular tourist spot — you won’t be alone even at midnight. Go to the edge of the platform or walk further along the marked trails above for space.
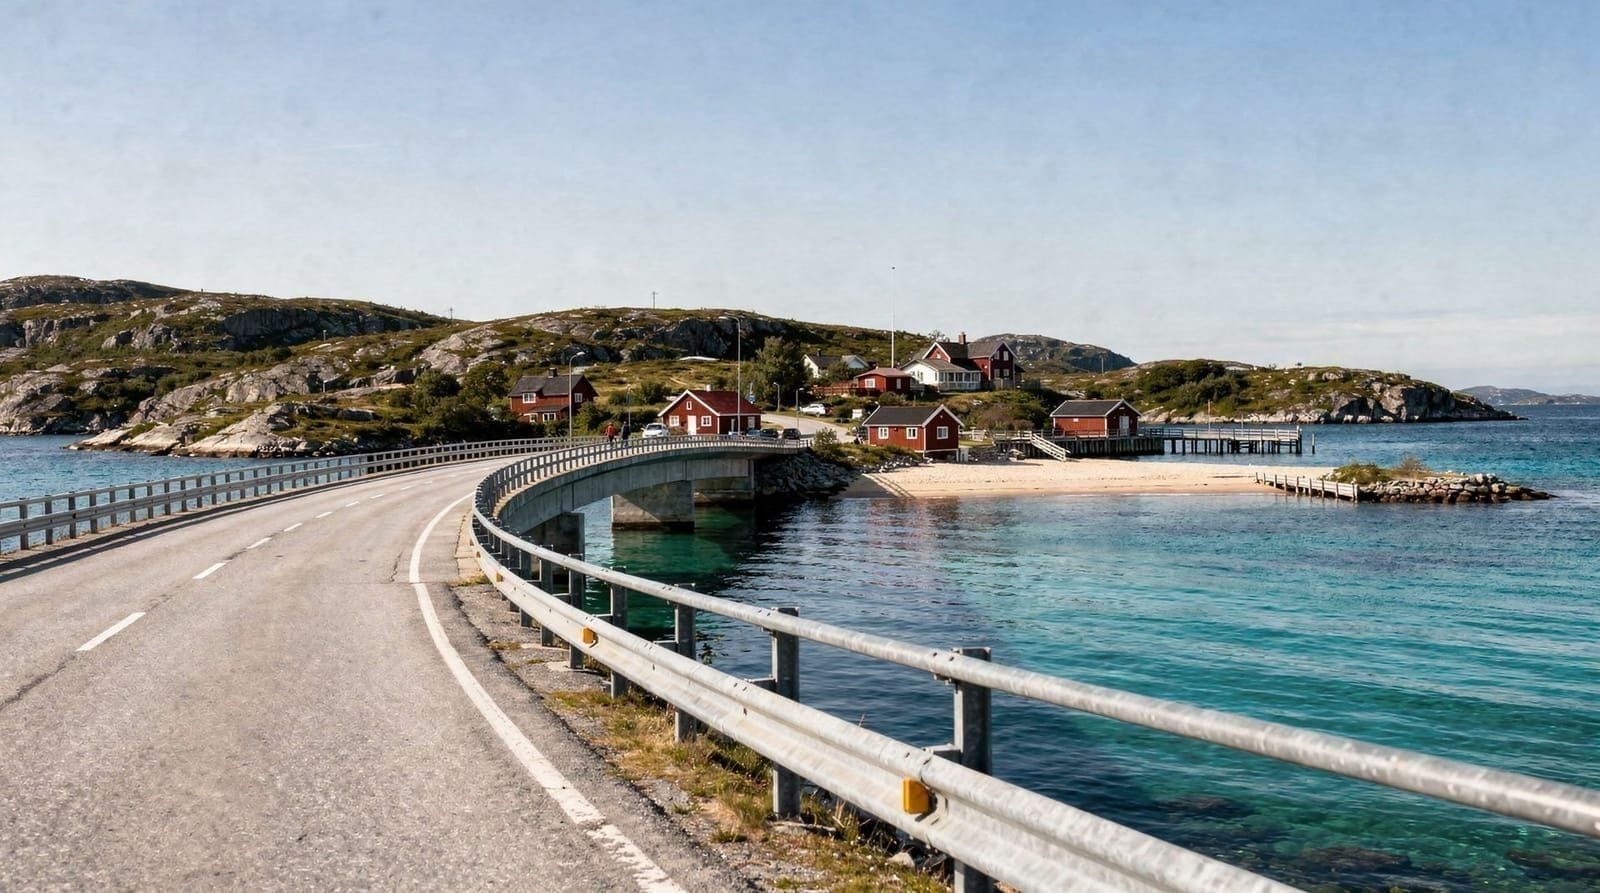
Sommarøy beach — ocean horizon, 65 km west
Sommarøy faces northwest and west, providing the clearest ocean-to-horizon midnight sun views. The beach faces the direction of the midnight sun and the ocean horizon lets the sun be seen without mountains blocking it.
Best composition: Stand on the flat rock slabs on the northern shore, midnight sun low on the northwestern horizon, warm light on the water, rock foreground in the shadow. Long exposures (1/2 second at f/16 for graduated ND) for smooth water surface.
Guided midnight sun tours to Sommarøy specifically time arrival for the midnight sun window and include scenic stops along the route — useful if you don’t have a rental car.Tromsdalstinden — 1,238 m summit, half-day hike
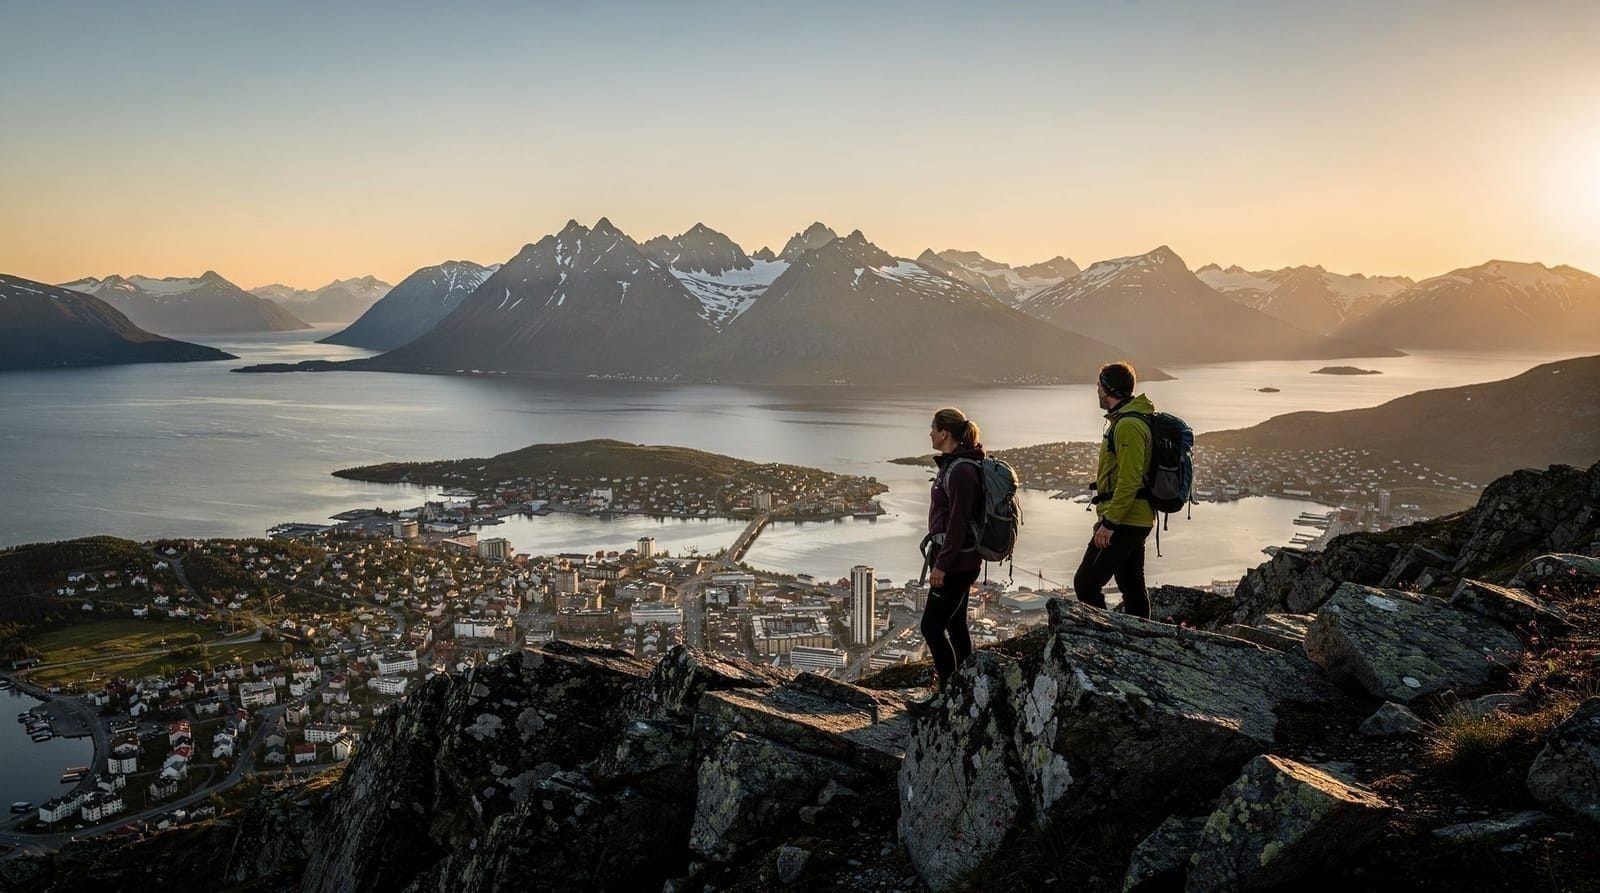
The highest accessible peak from Tromsø. The trail from Tromsdalen (city side) reaches the summit in 3–4 hours of hiking. In late May and June, snow may still cover the upper trail.
At the summit: unobstructed 360° panorama. At midnight, the sun hangs to the north-northwest and the entire Tromsø archipelago is visible. This is the most dramatic midnight sun view accessible from the city — but the hike requires fitness, proper footwear, and awareness of summer snowpack on the upper slopes.
Photography: Wide-angle for the panorama, telephoto for compression effects on the distant archipelago lit in warm light.
Quick comparison of the main locations
| Location | Access | Composition strength | Crowds |
|---|---|---|---|
| Fjellheisen (421 m) | Cable car or 45–75 min Sherpa trail | City + fjord + Lyngen mountains | Busiest, even at midnight |
| Sommarøy beach | ~1hr drive west | Open ocean horizon, no obstruction | Quiet |
| Tromsdalstinden (1,238 m) | 3–4hr hike | Full 360° archipelago panorama | Near-empty |
| Fjord cruise | Booked boat departure | Water-level reflections, city lights | Small group on board |
For hikers considering the Tromsdalstinden option, our Tromsdalstinden hike guide and the broader best midnight sun hikes guide cover the route logistics beyond photography.
From a boat on the fjord
A midnight sun catamaran cruise goes out onto the fjord at midnight specifically for photography — the boat positions relative to the sun for the best reflections and compositions in the crew’s experience.From the water, the midnight sun reflects on the fjord with Tromsø city’s lights visible on one side and the mountains on the other. There’s no better position for the full panoramic experience. Ship vibration affects long exposures but the scenery justifies the trip.
Technical challenges and solutions
Managing the orange colour cast
The midnight sun produces heavy orange/red light. Most photographs benefit from this warm tone — it’s part of the aesthetic. However, if you want accurate blues or greens in foreground elements, shoot with daylight white balance (5,500–6,000K) to preserve natural colour and then adjust in post.
If the orange is too intense: shift white balance cooler (4,000–4,500K). If you want the full orange drama: leave auto white balance or 6,500K, which preserves the warm tones.
Sleep schedule for midnight sun photography
The best midnight sun light is from approximately 22:00 to 02:30 in June. Schedule sleep accordingly: sleep from 04:00 to 11:00 or 12:00, use the afternoon for exploration, and photograph in the “evening” through midnight. Blackout curtains are essential for sleep quality.
Weather windows
Summer clouds in Tromsø can obscure the midnight sun. The weather pattern in June–July is generally more settled than winter but cloud systems still pass through. Check the forecast: the best midnight sun photography conditions are clear high-pressure systems that often last 3–5 days consecutively in summer.
Gear parallels with winter photography
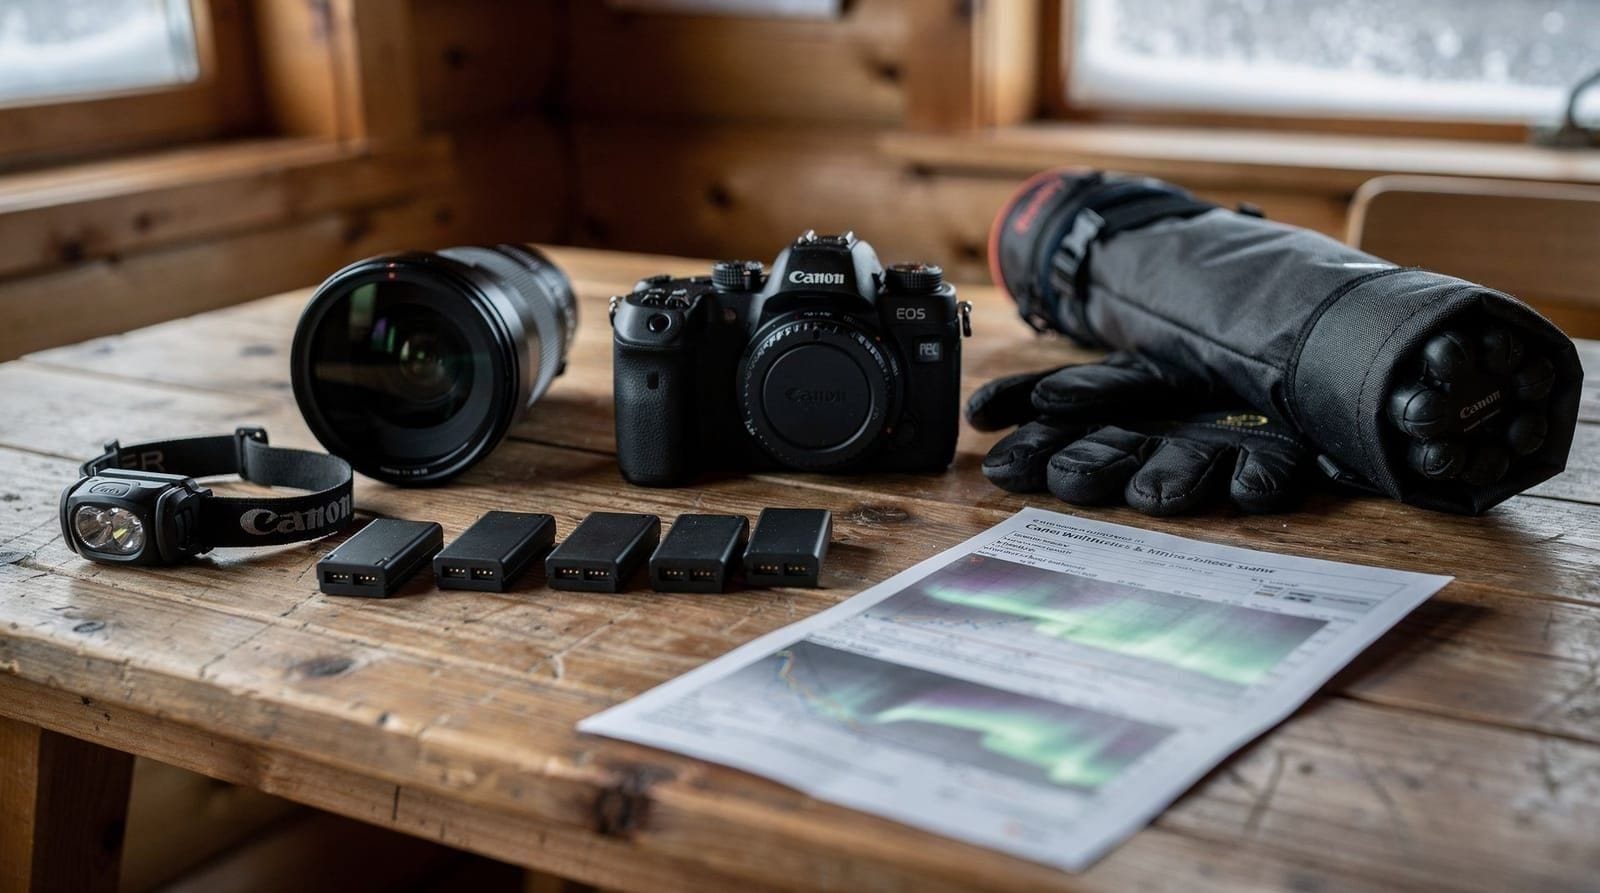
If you also plan to return for the aurora, much of your midnight sun kit carries over. A sturdy tripod, remote shutter release and a wide-angle lens are essential in both seasons; the main difference is filter choice — graduated ND for the midnight sun versus fast, wide apertures for the aurora’s low light. See our aurora photography gear guide if you’re building a kit that covers both seasons, and our winter landscape photography guide for how the same locations change character under snow and darkness.
Planning the trip around photography
A photography-focused midnight sun visit benefits from at least 3–4 nights, since weather can close out one or two evenings entirely. Our midnight sun Tromsø guide sequences a full visit, and a Sommarøy day trip timed for the evening gives you the best chance at the open-horizon shot described above without needing to drive back in the dark — there is no dark to drive back in, but you will want the energy for the return.
Frequently asked questions about midnight sun photography
Do I need a special filter for midnight sun photography?
A graduated ND filter (2 or 3 stops, soft or hard edge) is the most useful addition. A polarising filter reduces glare on water surfaces and increases colour saturation — useful for ocean shots. UV filters are optional (some photographers use them for lens protection in salty sea air near Sommarøy).
What time of year produces the best midnight sun photos?
The summer solstice (20–22 June) produces the highest sun at midnight and the most orange-red sky. The early midnight sun (late May, before solstice) and the late midnight sun (late July, after solstice) have a lower sun position and a more golden-orange rather than red-orange sky. All are excellent; the solstice period is most dramatic.
Can I photograph the midnight sun from the Hurtigruten ship?
Yes — Hurtigruten operates year-round and summer sailings pass through Tromsø in June. The ship is above the water surface with a clear deck for photography. The voyage northward from Tromsø in June produces midnight sun views over the fjords with excellent naval perspectives.
Is it possible to photograph both the midnight sun and northern lights on the same trip?
Not simultaneously — they are in opposite seasons. A late August or early September visit gives the last of the summer light (sun sets again in late July) combined with the beginning of the aurora season. September 10–15 is roughly when both are possible on the same week — short dark window for aurora in the early morning, long evenings still with good light quality.
What focal length is best for midnight sun seascapes?
A moderate wide-angle (24–35 mm on full-frame) balances sky and foreground well for seascape compositions. The 14–16 mm extreme wide shows dramatic sky proportion but distorts the horizon. The 50–85 mm range compresses the scene and makes the sun appear larger relative to the landscape.
Do I need a remote shutter release for midnight sun photography?
Yes, for any exposure longer than 1/30 second. The midnight sun at the horizon is bright enough for fast shutter speeds (1/500s at ISO 100, f/8) if exposing for the sun itself. For the landscape in shadow (with graduated ND to balance), you may use 1/4 to 1 second — a remote release prevents camera shake.
What is “midnight sun fever” and does it affect photography?
Local term for the effect of perpetual light on sleep patterns and mood. Visitors who don’t manage sleep schedules can find themselves awake at 03:00, too tired to function properly, having missed the best photography window at midnight. Plan sleep before the midnight shoot.
Can I photograph the midnight sun from the city centre?
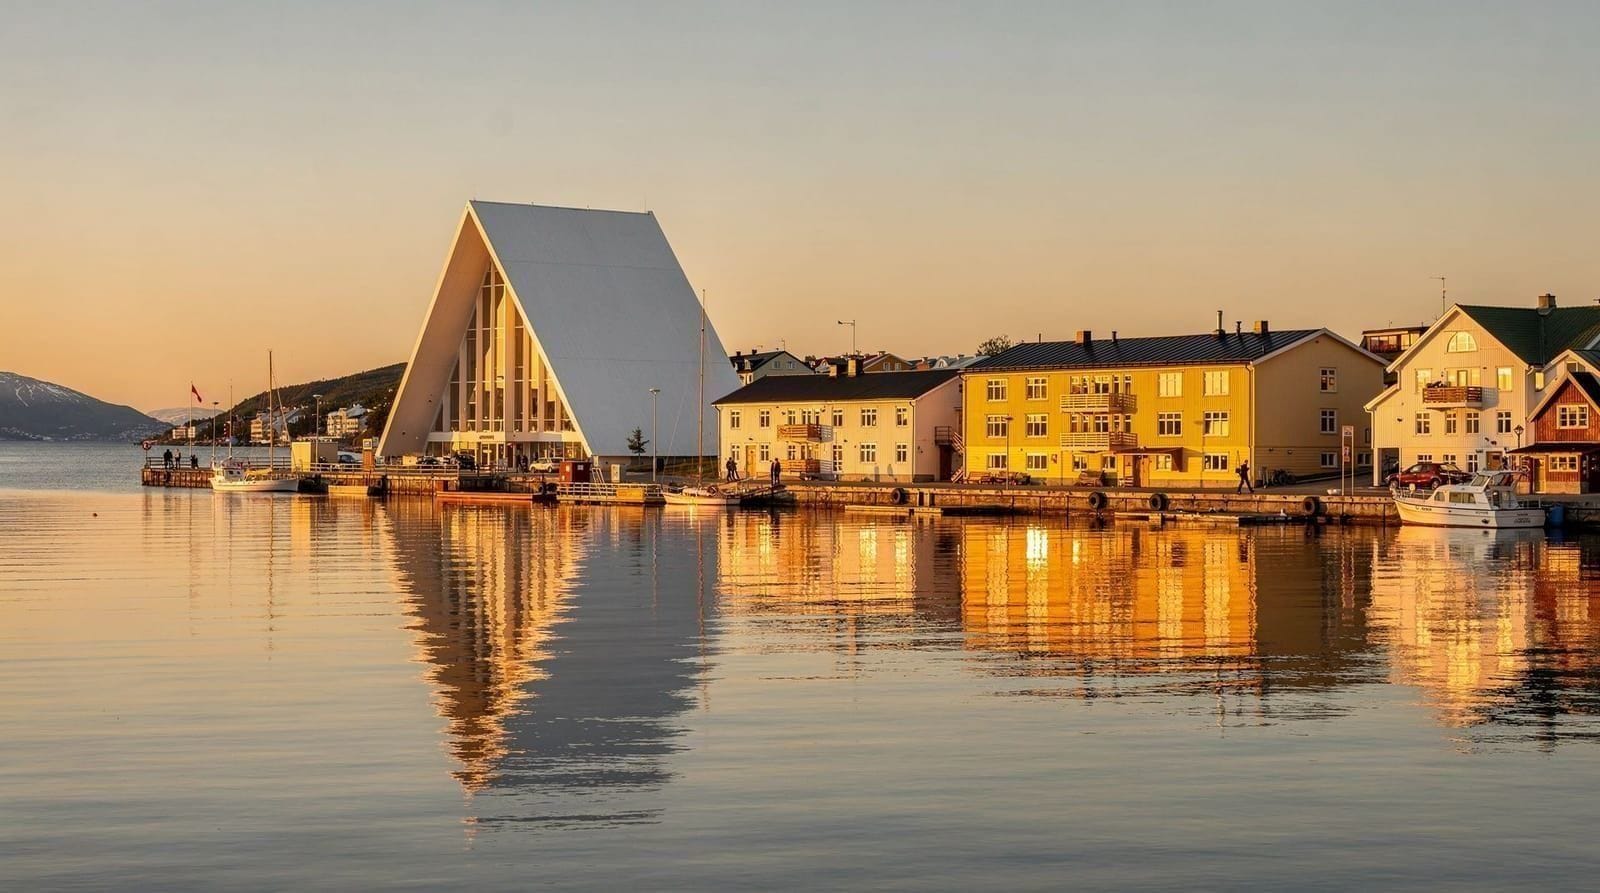
Yes — the Tromsø waterfront faces northeast and northwest, giving a clear view of the low sun at midnight from the city promenade. The Stortorvet square and harbour area provide urban context. Not as dramatic as hilltop or ocean locations but accessible without transport.
Do I need a full-frame camera for midnight sun photography?
No — a good crop-sensor mirrorless or DSLR with a wide-angle lens and manual exposure control handles the dynamic range perfectly well with a graduated ND filter. Full-frame helps with high-ISO cleanliness more relevant to aurora photography than midnight sun, where light levels are already high.
Top experiences
Bookable activities with verified prices and instant confirmation on GetYourGuide.