Photographing the aurora in Tromsø: settings, gear, and honest mistakes
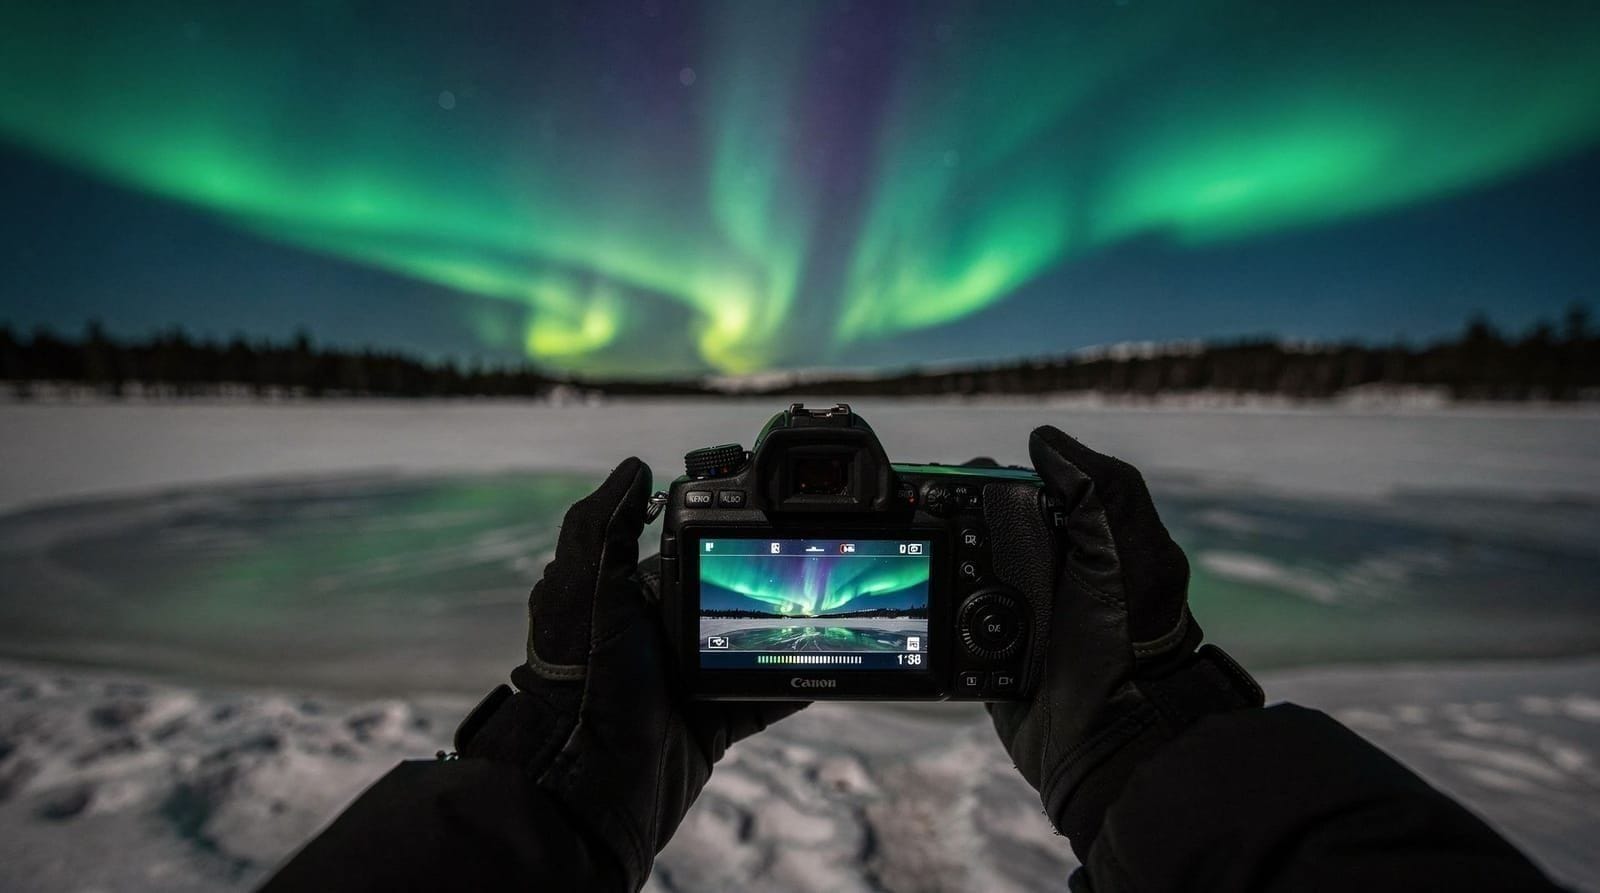
Let me start with the shot I did not get. January, KP 4 display above the Tromsø fjord, mountains in the background, a perfectly framing composition. My camera was on the tripod. My shutter was open. The aurora was actively moving in green curtains across the sky.
The photo shows a faint green smear and black mountains. Useable: no.
The problem was ISO. I had set 800 because I was afraid of noise. The correct ISO for that scene was 2500–3200. I lost the shot because I had not practised the settings before going outside at 11 pm in −8°C.
| Minimum gear | Manual-mode camera, f/2.8+ lens, tripod |
| Starting ISO | 1600 (moderate) to 3200 (active display) |
| Shutter speed | 5–15 seconds, adjust to display speed |
| Rental tripod | ~200 NOK/night, Bravida Foto, Storgata |
| Photography tour cost | 2,200–2,800 NOK |
The core settings (learn these before you leave)
Aurora photography is long-exposure photography of a moving subject in complete darkness. The variables you control:
ISO: The most important variable. For a moderately active aurora (KP 2–3), start at ISO 1600. For an active display (KP 4+), ISO 2500–3200. Pushing beyond 3200 creates visible noise on most sensors; modern full-frame cameras (Sony A7 series, Nikon Z6/Z7, Canon R5/R6) handle ISO 3200 cleanly. Crop-sensor cameras (Fuji X-T series, Nikon Z50) start showing noise at ISO 1600–2000.
Shutter speed: 5–15 seconds depending on the speed of the display. A calm, slow aurora benefits from 15–20 seconds of exposure — you get more light without motion blur because the aurora is barely moving. A fast-moving active display (what the guides call “dancing”) needs 2–5 seconds or you lose structure to motion blur. Experiment on the night; aurora speed varies.
Aperture: As wide as your lens allows. f/2.8 is the practical minimum. f/1.8 or f/2 is better. At these apertures, the “500 rule” for star photography (maximum 500 divided by focal length in mm = maximum seconds before stars trail) becomes relevant — at 24mm, that is about 20 seconds, which aligns with the aurora settings.
Focusing: This is where most people fail. In complete darkness, autofocus does not work reliably on aurora. Use manual focus. Set your lens to infinity (the ∞ symbol), then rotate slightly back — most lenses overshoot infinity. A practical trick: during the day before your tour, focus on a distant mountain or building, then tape the focus ring in place with gaffer tape. Check by going to live view and zooming in on a star.
The aurora photography settings guide goes deeper on all of this.
Settings by display strength
| Display strength (KP) | ISO | Shutter speed | Notes |
|---|---|---|---|
| KP 1–2 (faint) | 2000–3200 | 10–20s | Push ISO higher; the aurora is barely moving |
| KP 3 (moderate) | 1600–2500 | 8–15s | Most common Tromsø displays fall here |
| KP 4 (active) | 2500–3200 | 4–8s | Faster shutter to preserve curtain structure |
| KP 5+ (storm, corona) | 1600–2500 | 2–5s | Structure changes fast; lower ISO is fine given the brightness |
What gear you actually need vs. what you think you need
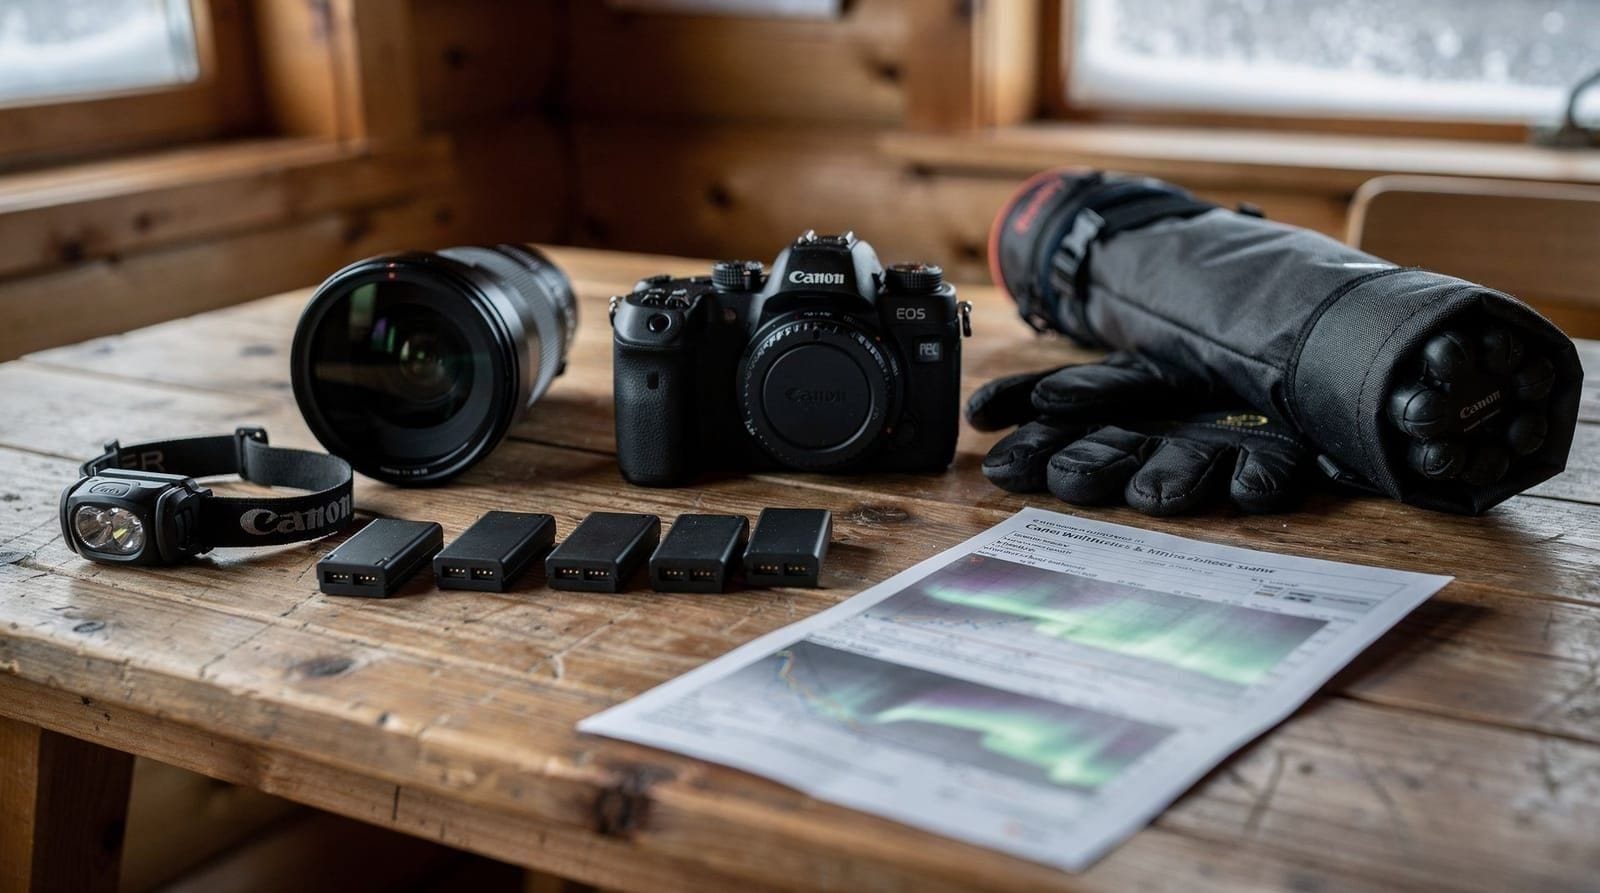
Minimum viable setup: Any camera with manual exposure controls + a wide-angle lens of f/2.8 or wider + a tripod + a remote shutter release or 2-second self-timer.
The camera brand matters less than the sensor size and the lens aperture. A Sony A6400 (crop sensor, €800–1,000 used) with a 16mm f/1.4 lens will outperform a Canon 5D mark II with a 24-105mm f/4 lens for aurora work, despite the 5D being nominally the “better” camera.
What matters most, in order:
- The lens’s maximum aperture (f/1.4 or f/1.8 is significantly better than f/2.8 or f/4)
- A stable tripod (not a tiny travel tripod — the Manfrotto Befree is the minimum; anything lighter vibrates in Arctic wind)
- A camera with manual mode
What you do not need: Image stabilisation (useless on a tripod), 4K video capability (nice but irrelevant for stills), 50 megapixels (aurora is low-frequency subject matter; file size matters less than sensor performance at high ISO).
Cold weather considerations: Batteries die rapidly in −10°C. Carry two fully charged batteries kept warm in a chest pocket; swap when one runs low. Keep your camera body under your jacket between shots to prevent the electronics from cooling too much. Memory cards function normally in cold but rubber gaskets on weather-sealed cameras can stiffen — this is not a problem for most users but is worth knowing.
Gear recommendations are covered in detail in the aurora photography gear guide.
Location matters as much as settings
The best aurora locations near Tromsø covers this properly. The practical summary:
Tromsø city centre: Viable for strong displays (KP 4+) but the harbour lights, street lighting, and cruise ship floodlights wash out fainter aurora. Fine for a backup but not the primary choice.
Breivikeidet / Sjursnes direction (E8 north): About 20–25 km from the city, dark enough to see KP 2+ displays. The fjord provides foreground interest and mountain reflections. Accessible by car.
Ersfjord (Kvaløya): 45 minutes from Tromsø, consistently darker, and the fjord curves in a way that gives north-facing views framed by mountain ridges. One of the most used spots for aurora photography tours.
Tromsdalstinden and surrounds: Higher elevation, above common cloud inversion layers, but requires significant hiking in winter conditions. Not recommended for casual photographers.
For serious photography, join a small-group photography tour — the guides know the real dark-sky spots and can adapt the route based on where the cloud gaps are.
Northern lights photography tour (4x4, small group)The mistakes I see most often
Shooting JPEG instead of RAW. Aurora colour rendering varies enormously depending on atmospheric conditions. RAW files give you the ability to correct white balance, push shadows, and recover highlights in post-processing. JPEG files lock in the in-camera processing, which frequently renders aurora colour incorrectly. Always shoot RAW for aurora.
Not charging batteries the day before. Cold kills batteries. A battery that shows 85 percent at room temperature may show 10 percent after 20 minutes at −10°C. Always start with fully charged batteries.
Shooting handheld. A 10-second exposure handheld produces nothing usable, even with image stabilisation. Tripod is mandatory. If you do not own a tripod, rent one in Tromsø (Bravida Foto on Storgata, approximately 200 NOK/night) or borrow one from a photography tour operator.
Waiting for a dramatic display before starting to shoot. Practice your settings on the first faint aurora appearance. A dim smear at KP 2 on the first night is a free tutorial. If you only shoot at peak intensity, you will not have the settings dialled in when it matters.
Not bringing a headtorch. Changing settings in darkness on a cold camera with cold fingers is hard enough. Without a headtorch it is nearly impossible. A red-light headtorch is best — it preserves night vision while providing enough light to read camera controls.
Post-processing basics
Aurora images need post-processing. A “straight out of camera” RAW aurora file typically looks flat, noisy, and blue-shifted. The corrections:
White balance: Aurora is greenish-white in person; cameras often render it greenish-blue. Push the white balance slightly warmer (toward yellow) to correct.
Shadows: The foreground in an aurora shot is usually very dark. Lifting shadows in Lightroom or Capture One recovers landscape detail without blowing out the aurora.
Noise reduction: At ISO 3200 on a modern camera, noise is manageable. Lightroom’s AI denoise tool (and equivalent functions in Capture One or DxO PhotoLab) does a good job at preserving aurora texture while removing grain.
Star reduction: If stars are visible in the shot, the Lightroom “Star Trails” or the Nik Collection star reducer plugin can clean up point-source noise. Not always necessary.
The aurora photography settings guide links to video tutorials for the post-processing workflow.
What a photography tour adds
A dedicated aurora photography tour costs 2,200–2,800 NOK — about 600–700 NOK more than a standard chase tour. What you get for the premium:
- A professional photographer who adjusts your settings on-location and shows you the difference in real time
- Transport to locations chosen for visual interest and dark sky access, not just cloud avoidance
- Longer time at each location (standard chase tours move more frequently)
- Real-time feedback on composition and timing
For people who want to leave Tromsø with publishable or display-quality images, the photography tour is worth the cost. For people who want a snapshot memory of having seen the aurora, any standard tour will do.
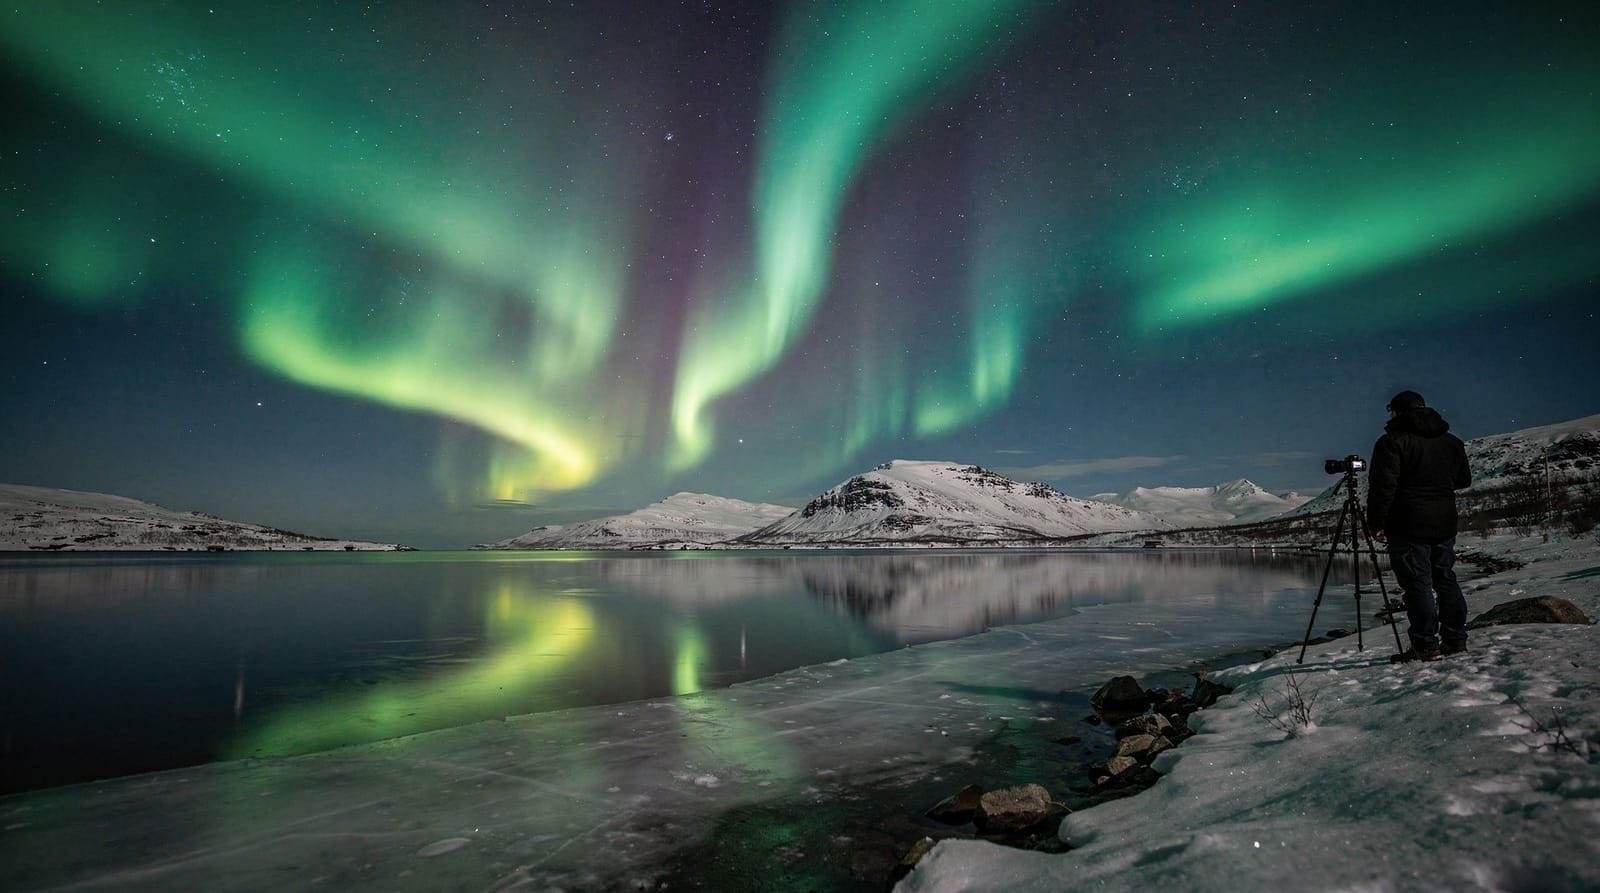
Photographing aurora with fjord reflections and fresh snow
Two conditions elevate aurora photography beyond the basic curtain shot: still fjord water and fresh, unpacked snow. Reflections require near-zero wind and a location with an unobstructed northward view — Ersfjord on Kvaløya and the Lyngen Alps coastline are the most reliable spots, since the fjords there are sheltered by surrounding mountains. Compose with the shoreline low in frame to maximise the reflected sky. Fresh snow, meanwhile, brightens the foreground significantly — after a snowfall, drop your foreground exposure slightly to avoid blowing out the white ground while the sky remains correctly exposed. Both conditions reward checking the forecast the night before and being willing to drive rather than staying in the city centre.
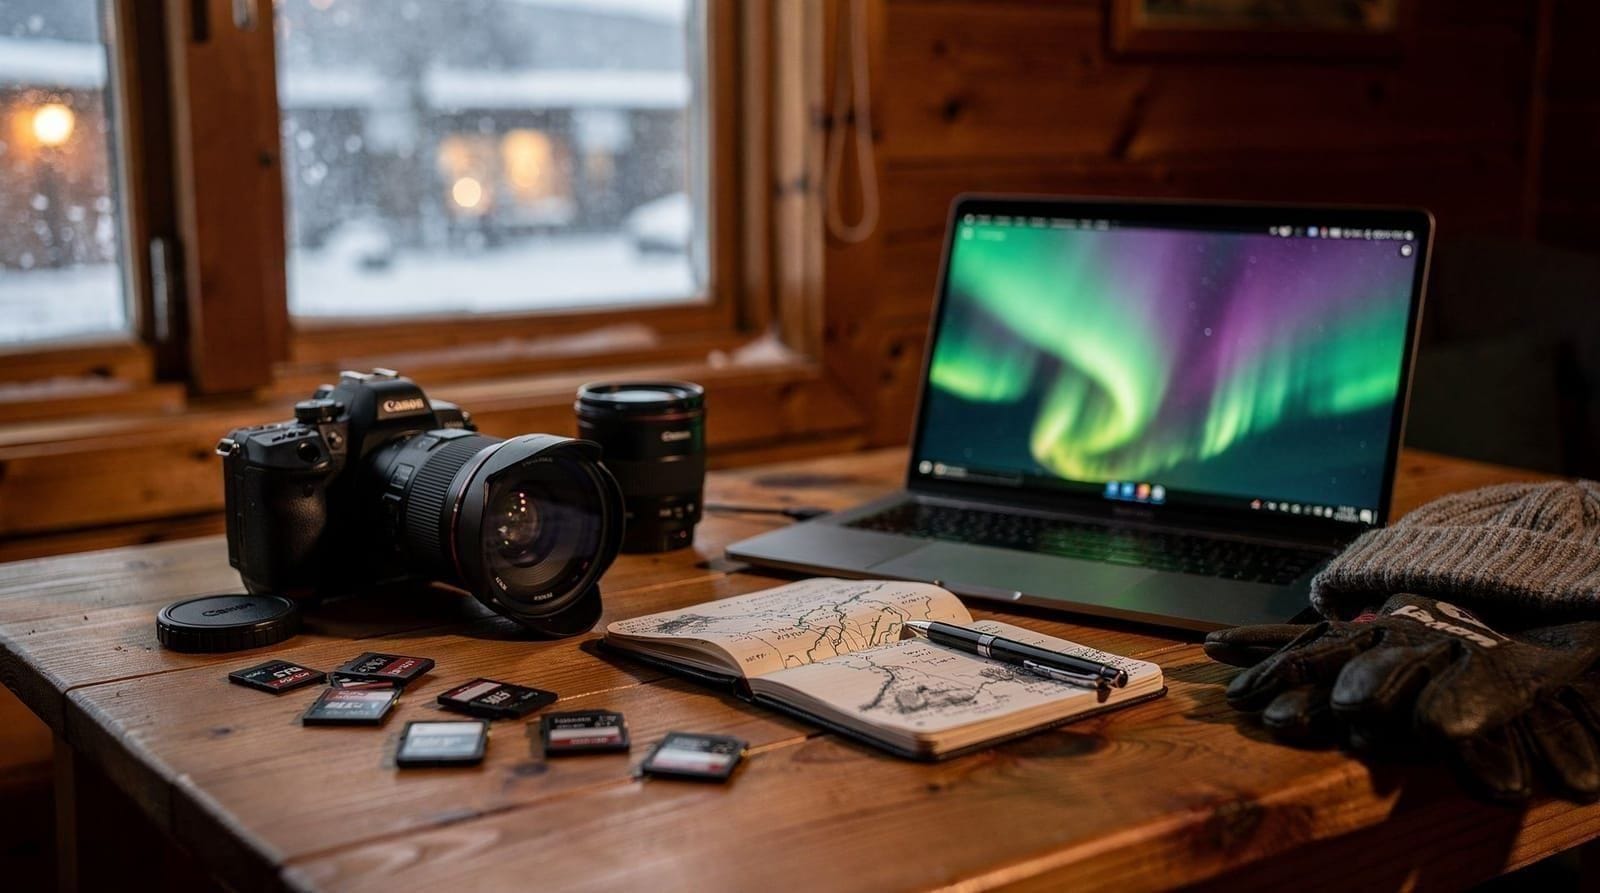
Bringing your photos home: files, backup, and printing
A night of aurora shooting easily produces 200–400 RAW files. Back these up before you sleep — a cheap portable SSD or a second memory card swapped mid-session is cheap insurance against a card failure or an accidental format. If you want prints or a slideshow to show people afterward, cull hard: five or six genuinely strong frames communicate the night better than fifty mediocre ones. The aurora photography gear guide also covers storage and backup options suited to a week-long Arctic trip.
Aurora chase tour with professional photographersFrequently asked questions about aurora photography
Can I photograph the aurora with a smartphone?
Modern flagship phones (iPhone 15 Pro, Samsung Galaxy S24 Ultra, Google Pixel 8 Pro) can capture faint aurora on night mode. For a strong display, results are reasonable. For a weak or moderate display, results are usually poor. The limitation is aperture — phone lenses are typically f/1.8 on the widest end, which is adequate, but the small sensor accumulates noise faster than a dedicated camera.
How long should my shutter speed be for northern lights?
Start at 10 seconds and adjust. If the aurora is moving quickly, reduce to 3–5 seconds to preserve detail. If it is slow and steady, try 15–20 seconds for more light accumulation. Review each shot and adjust accordingly.
What focal length is best for aurora photography?
Wide to ultra-wide: 14–35mm on full frame (or equivalent crop-sensor focal length). This gives you sky context, foreground interest, and enough field of view to capture large displays. A 50mm lens can work for tighter compositions but misses the full arc of a strong overhead display.
Do I need a photography-specific tour or will any aurora tour work?
Any tour gives you access to dark skies and the aurora itself. A photography-specific tour adds on-location instruction and optimised site selection. If your primary goal is learning to photograph aurora well, the photography tour is worth it. If photography is secondary to the experience, a standard tour is fine.
What’s the single most common reason people miss the shot?
Not practising settings before a real display appears. Faint aurora at KP 1–2 on the first night is a free rehearsal — dial in ISO, shutter speed, and manual focus then, so you’re ready when a strong display actually happens rather than fumbling with settings in the moment.